General operation – SONIQ I400 User Manual
Page 5
GENERAL OPERATION
Switching on the i400 for the first time
onnect the mains plug to a wall outlet.
xtend the pig tail antenna as far as it can go.
et the Power ON/OFF switch to ON to power on the unit.
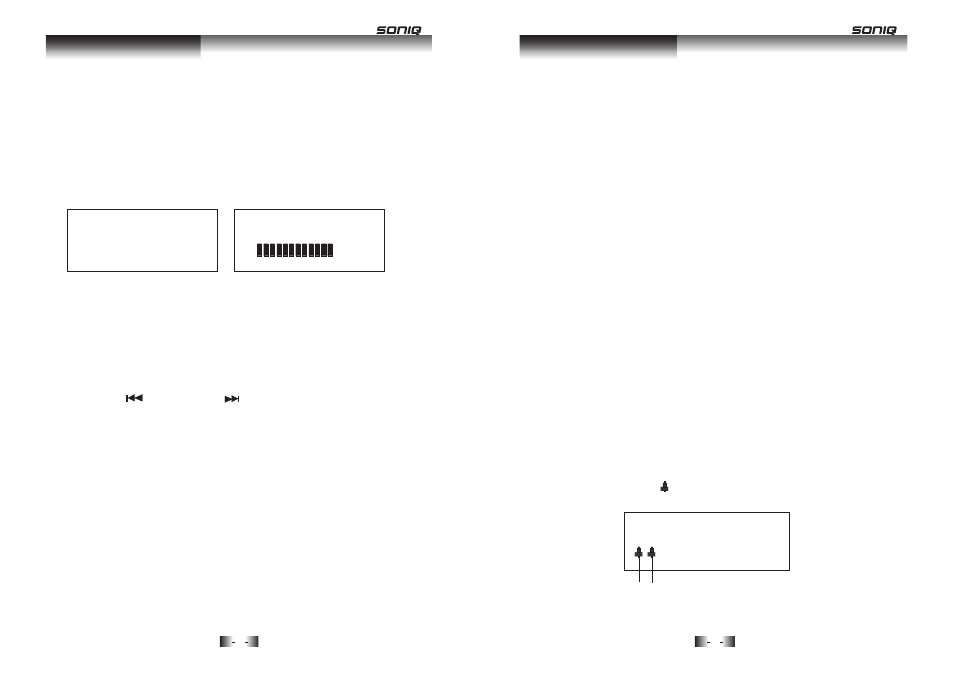
4 The radio will auto tune and operate the quick scan.
During scan mode, the LCD will display a slide bar that indicates the
progress of the scan, and the amount of radio stations that have been
found so far. Once the scan has finished, the radio will select the first
alphanumeric station.
To listen to the stations that have been found, use the < / > buttons on
the remote or PREV/ NEXT (main unit) to cycle through. Each
time you press a button, the unit will skip to the next or previous stored
station. The radio will switch to display the station name.
Press the ENTER button (remote) to active the station.
Press the STANDBY button on either the unit or remote to put the
system into standby mode. To resume normal operation, press the
STANDBY button again.
Note: When you power on the unit from standby, the last used mode will
resume.
GENERAL OPERATION
Setting the Time & Date
Clock settings must be completed in STANDBY mode.
1. Press the CLOCK button on the remote.
2. Use the / buttons to adjust the digits, and the buttons to
skip to the next or previous setting.
3. Once all the time settings are finished, press the CLOCK button once
more to edit the Date settings the same way.
4. Once completed, pressing the CLOCK button to store the settings.
Setting Alarm 1 & Alarm 2
Alarm settings must be operated in STANDBY mode.
1. Press the ALARM button once, then use the / buttons to have
the alarm activated in Once, Weekdays, Weekends, All days, or
Alarm off.
2. Press the ALARM button twice to set the time. Use the / buttons
to adjust the digits, and the < / > buttons to skip t o the next or
previous setting. Once completed, the unit will store the settings
automatically.
3
ress the ALARM button three times, then use the / buttons to
choose the mode which the alarm will function with.
4
ress the ALARM button four times, use the / buttons to adjust
t he volume.
When you press the ALARM button the fifth time, you will enter the
setting. Repeat steps 1-4 to set Alarm 2.
When an alarm is set, the icon will appear on the display.
7
8
<
>
<
>
<
>
<
>
<
>
General Operation
POWER ON
WELCOME
Scanning ... 12
16-09-2010
01:20:23
Alarm 1 Alarm 2
General Operation
. P
. P
.
.
.
.
1 C
2 E
3 S