Figure 6: combination spike/glide components, Figure 7: combination spike/glide options, Making connections – Revel Salon 2 User Manual
Page 15: Caution
Ultima Salon2/Studio2
Owner’s Manual
13
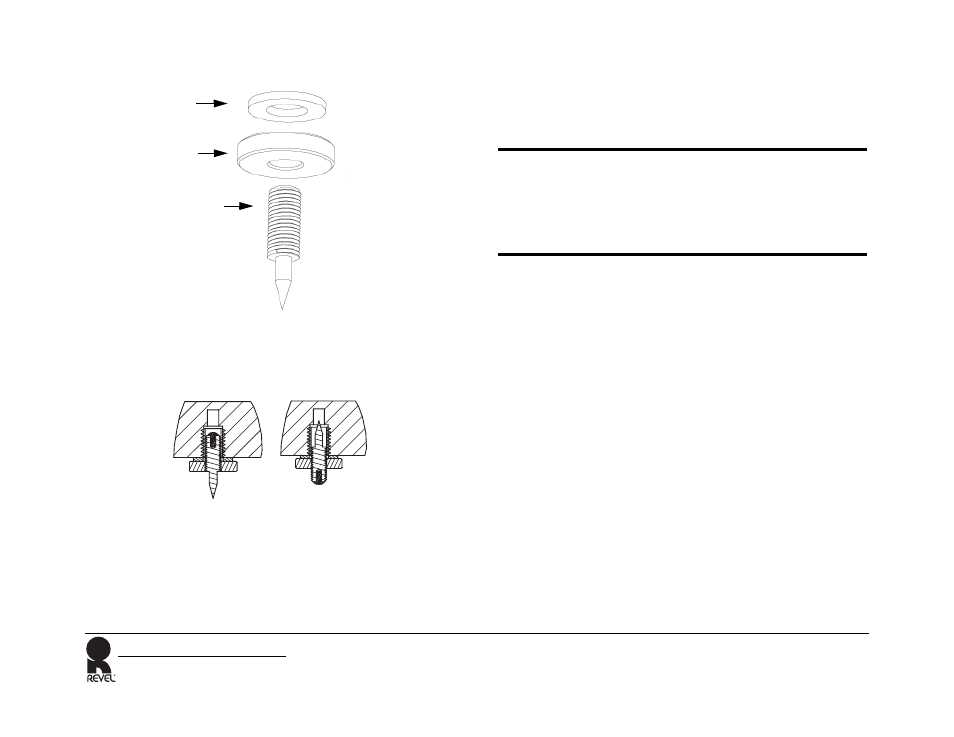
Figure 6: Combination Spike/Glide Components
Figure 7: Combination Spike/Glide Options
MAKING CONNECTIONS
The Salon2/Studio2 features gold-plated binding posts and
jumper straps that allow it to be configured for single-wired,
Bi-wired, or Bi-amplified connections.
Before making connections, note the following:
•
The standard connection method uses a single loudspeaker
cable. The Salon2/Studio2 are equipped with two pairs of
input terminals to allow for bi-wiring or bi-amplification.
While Revel does not endorse one particular connection
method over another, these additional connection options are
available if desired. The design of this loudspeaker is such
that optimal performance can be attained using the standard
connection method.
•
Make all connections observing the proper polarity,
positive-to-positive (+) and negative-to-negative (-).
Connections that do not observe the proper polarity will
cause poor stereo imaging and diminished bass response.
•
Use high-quality loudspeaker cable with a maximum total
loop resistance of 0.07 Ohms or less (for each wire run). Refer
to the following table to determine the appropriate wire
gauge.
Felt Washer
Locking Ring
Spike
(Spike End Down)
Spike End Down Glide End Down
Caution
Never make or break connections unless all system
components are powered off.
Remove the input panel jumper-straps identified in Figure 4,
page 9, before making bi-wired or bi-amplified connections.
Failure to do so may cause damage to some power amplifiers.