Operating adjustments, Page 10, Dip switch settings – Blizzard Lighting Kaptivator RGB 3D Laser User Manual
Page 10
Page 10
Kaptivator™ Manual - Rev. A
(c) 2013 Blizzard Lighting, LLC
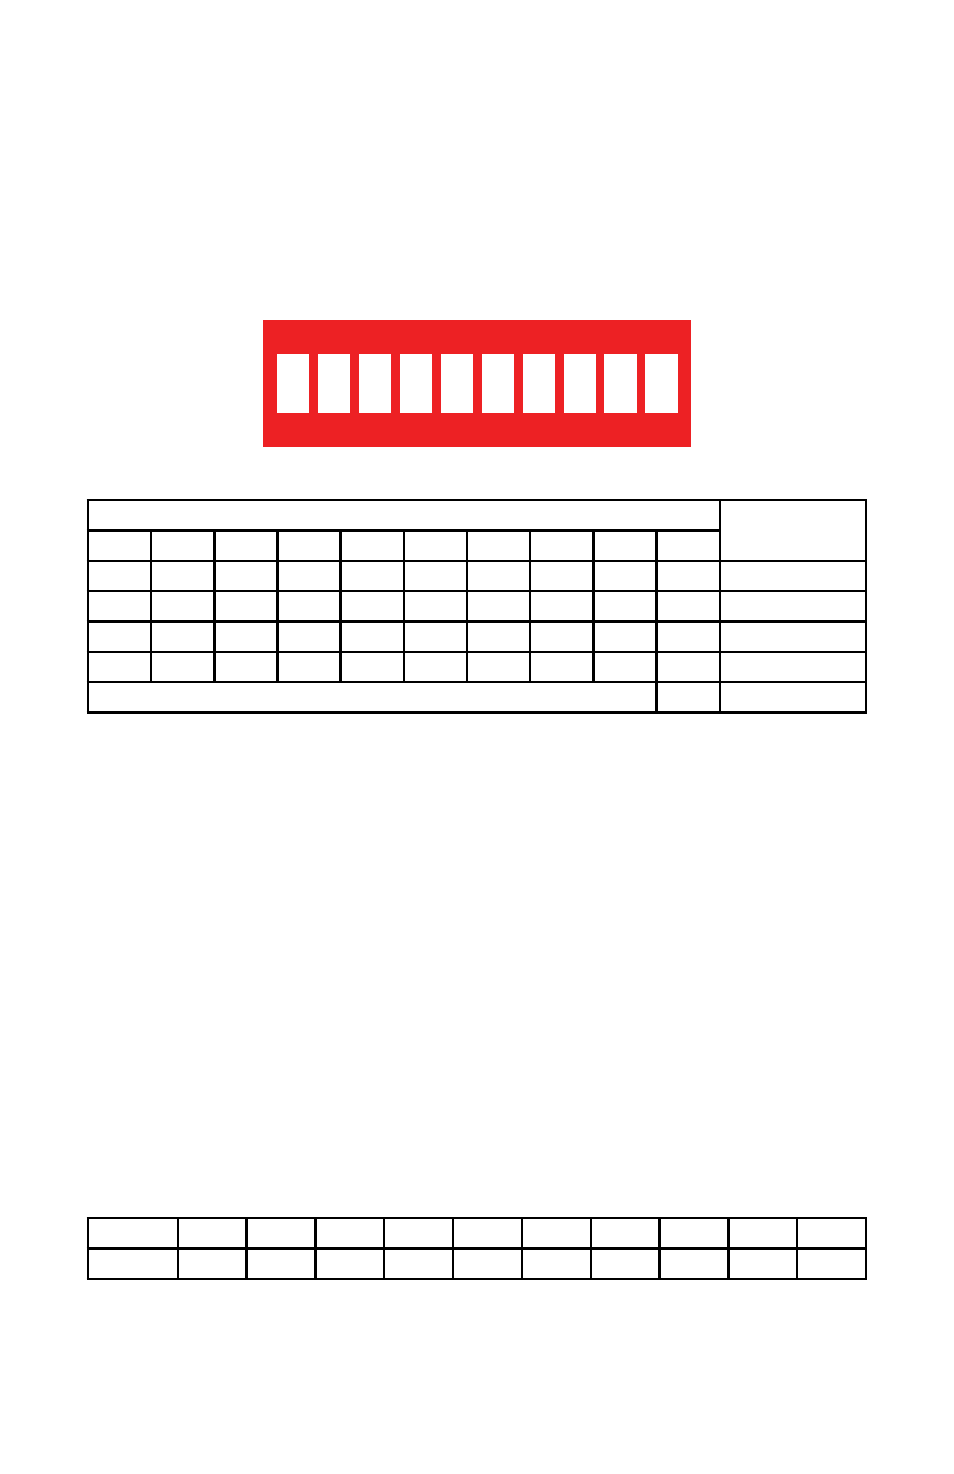
Dipswitch
#1
#2
#3
#4
#5
#6
#7
#8
#9
#10
Value
1
2
4
8
16
32
64
128
256
ON
4. OpERATING ADJUSTMENTS
DIP Switch Settings
All of the various functions of the Kaptivator™ are set up using the 10-position DIP switch
located on the rear of the unit. Using this set of switches, you can select the different
operating modes and also set up the starting DMX channel in DMX mode. The chart below
describes the various operating modes and their respective DIP switch settings.
Sound Active Mode
1.) Set the dipswitch numbers 1-9 settings to OFF, and #10 to ON.
2.) Adjust the sensitivity knob to the desired level.
Auto - Shapes
1.) Set the dipswitch numbers 1-8 settings to OFF, and #9 and #10 to ON.
Auto - Animation
1.) Set the dipswitch #1, #9 and #10 to ON, and dipswitch numbers 2-8 to OFF.
Slave Mode
1.) Set dipswitch #1 to ON and others to OFF.
DMX Mode
1.) Set dipswitch 10 to OFF.
2.) Connect DMX OUT of controller to DMX IN of 1st fixture. Daisy chain DMX OUT to DMX
IN for any additional fixtures.
3.) Use dipswitches 1 – 9 to set the fixtures Starting DMX Address. Each dipswitch repre-
sents a binary value in which the sum would equal the set address.
Example: To set the fixtures starting DMX address to 12, dipswitch #10 would be OFF
(DMX Mode), plus dipswitch #3 and #4 would be ON. (4+8=12).
DIPSWITCH CHART
Function
#1
#2
#3
#4
#5
#6
#7
#8
#9
#10
OFF
OFF
OFF
OFF
OFF
OFF
OFF
OFF
OFF
ON
Sound Active
OFF
OFF
OFF
OFF
OFF
OFF
OFF
OFF
ON
ON
Auto - Shapes
ON
OFF
OFF
OFF
OFF
OFF
OFF
OFF
ON
ON
Auto - Animation
ON
OFF
OFF
OFF
OFF
OFF
OFF
OFF
OFF
OFF
Slave Mode
SET DMX ADDRESS
OFF
DMX Mode
ON
DIP
1
2
3
4
5
6
7
8
9
10