Installing floor heating under concrete slabs – WarmlyYours Floor Heating Under Concrete Slabs User Manual
Page 2
Free Design Service • 24/7 Installation Support • No Nonsense™ Warranty • (800) 875-5285 • www.WarmlyYours.com
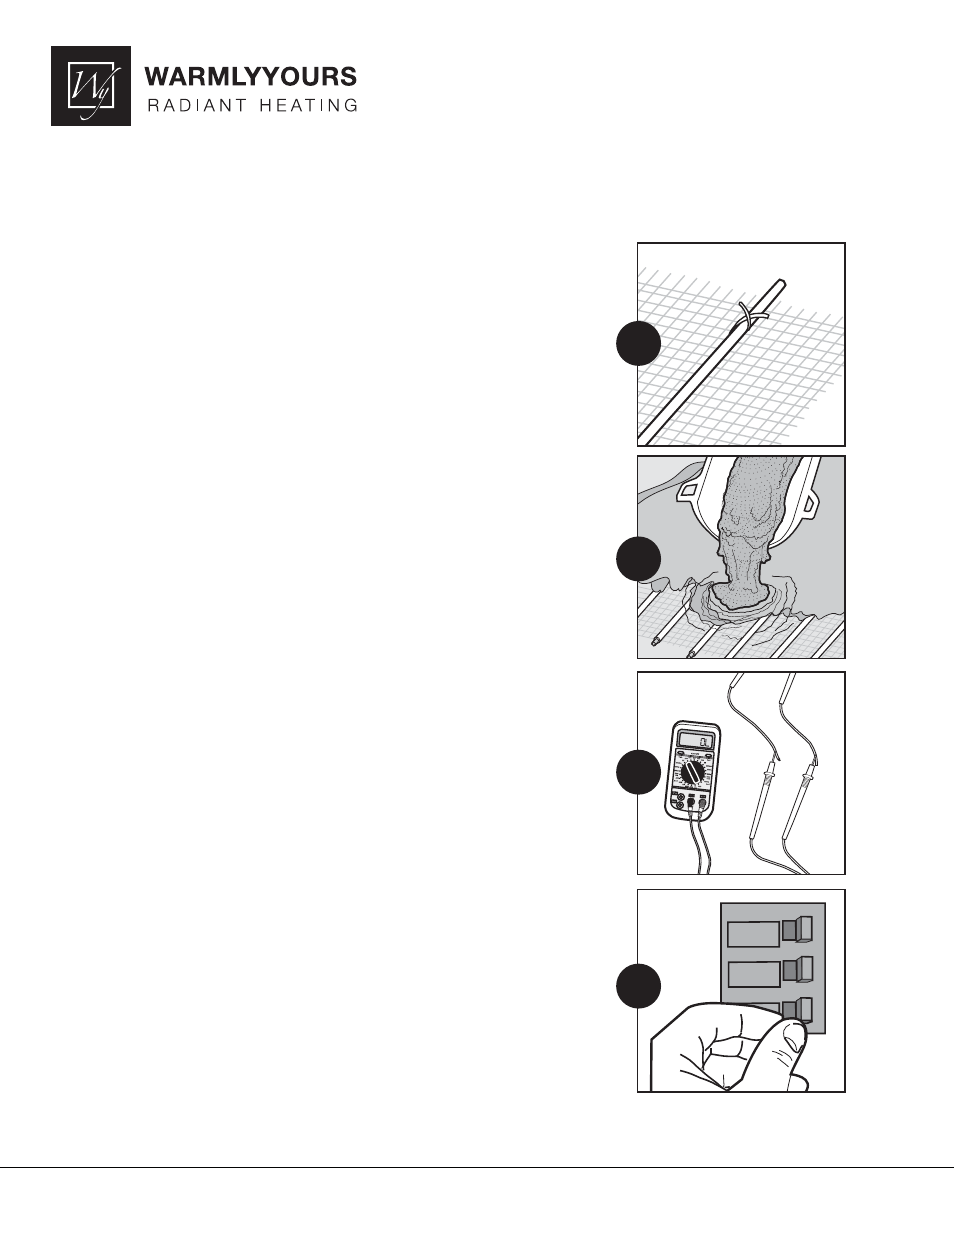
Step 4 – Heater & Sensor Placement
The electrician uses plastic cable ties to attach the heating cable/mats to the
wire mesh at the appropriate spacing or pattern (as per the Custom Design
Layout). Avoid any overlapping, touching, or crossing of heating wires. The slab
temperature sensor should be ohms tested & then inserted into a ¾” rigid metal
conduit and placed between two heating cable passes (or between mats) with its
end capped off.
Step 5 – Concrete Pour & Heater Burial
The concrete installer pours 4” to 6” of concrete to bury the heating cables/mats
so they end up 2” to 3” from the fi nished concrete surface. Installers must not
pull up on the heating cables during the pour with rakes and or shovels. The
electrician tests the heaters continuously with an ohms meter during the concrete
pour. For “2 Step Pour” details, please contact WarmlyYours technical support.
Step 6 – Re-test Mat/Cable Heaters
The electrician makes a fi nal ohms & megohms test on each mat/cable. The
ohms value of the sensor should be verifi ed at this time. The electrician should
enter all test results on the warranty documents.
Step 7 – Final Wiring & Amp Testing
The Electrician completes all wire splicing in the junction box(es). All thermostat,
relay panel (if needed), or sensor wiring should be completed. Breakers should
be turned ON, and the system should be activated to allow the electrician to
check the amp draw of each heater.
Installing Floor Heating
Under Concrete Slabs
4
5
6
7
10001
9/11