Strikefire – Vortex Optics STRIKEFIRE II RED DOT User Manual
Page 6
11
10
RED DOT
StrikeFire
®
S
ighTing
in
Bore Sighting
After mounting, an initial bore sighting of the StrikeFire II at short range
(25–50 yards) will save time and money at the range. This can be done
using a bore sighter according to the manufacturer’s instructions or by
removing the bolt on some rifles to visually sight through the barrel.
To visually bore sight a rifle:
1. Place the rifle solidly on a rest and remove the bolt.
2. Sight through the bore and center the target inside the barrel.
3. With the bulls eye centered in the bore, make windage and elevation
adjustments until the illuminated dot is also centered over the bulls eye.
S
hooTing
wiTh
The
S
Trike
f
ire
ii
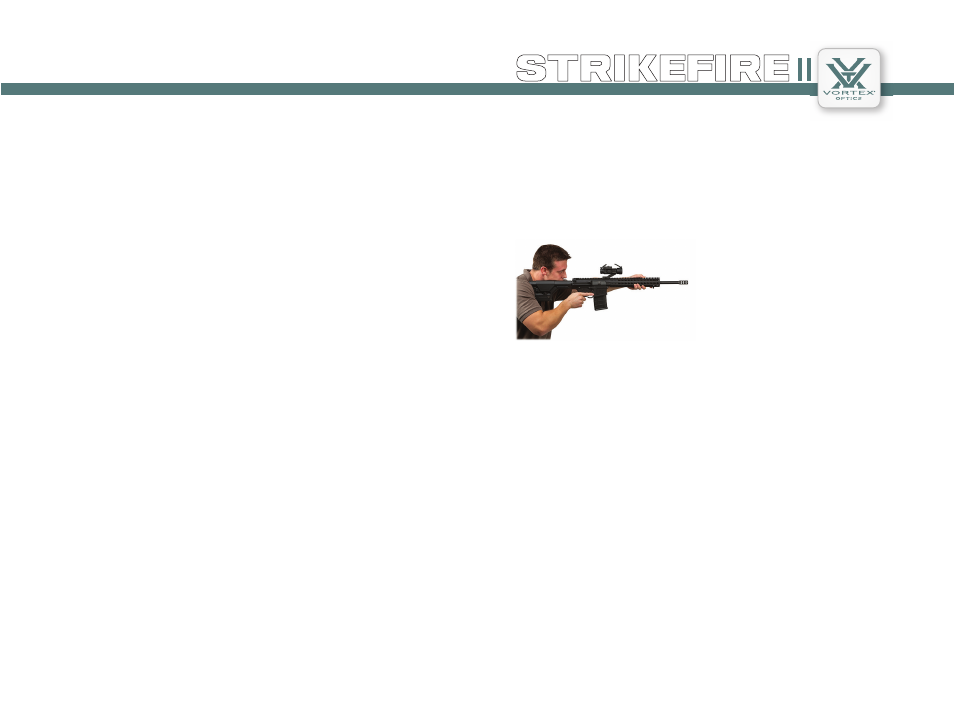
The key thing to remember when shooting with the StrikeFire II red
dot is to keep both your eyes open! Shooting with both eyes open allows
you to take full advantage of your peripheral vision to get on target very
quickly. Eye placement is not critical. As long as you can see the dot,
you’ll hit your target!
Note: If using an optional
magnifier for distance shooting,
you may find it easier to shoot
with one eye closed due to the
increased magnification.
T
roubleShooTing
Please check the following before returning a scope for service.
If the red dot does not illuminate:
• Is the battery dead? Replace.
• Is the battery installed correctly? Be sure the battery is oriented with
the “
–
”
lettering facing the cover.
• Is the battery cover loose? Be sure cover is snug and contact points are
clean.
If bullets are not grouping:
Be sure all mount screws are tight. You should not be able to twist or move
the StrikeFire in any direction. Many times, problems thought to be with
the scope are actually mount problems.
Note: Our Troubleshooting Guide is available online at http://www.
vortexoptics.com/content/troubleshooting.
Final Range Sight-In
Final sight-in should be done at the range using the exact ammunition you
expect to hunt or shoot with:
1. After the StrikeFire has been bore sighted, fire a shot or two at your
desired zero distance to check that you’re roughly on target. If necessary,
adjust the dot to put you near the center of the target (see Windage and
Elevation Adjustment on page 6).
2. Fire a three-shot group as precisely as possible.
3. Using the center of this group as a reference, make any necessary
adjustments for windage and elevation correction. Using arrows for
reference, adjust dials in the direction you wish the group to move.
4. Fire a final three-shot group to confirm proper adjustment. Repeat
as necessary.