UVP GelCam 310 Camera User Manual
Page 4
GelCam 310
4
GelDoc-It with Motorized Lens
This configuration comes with:
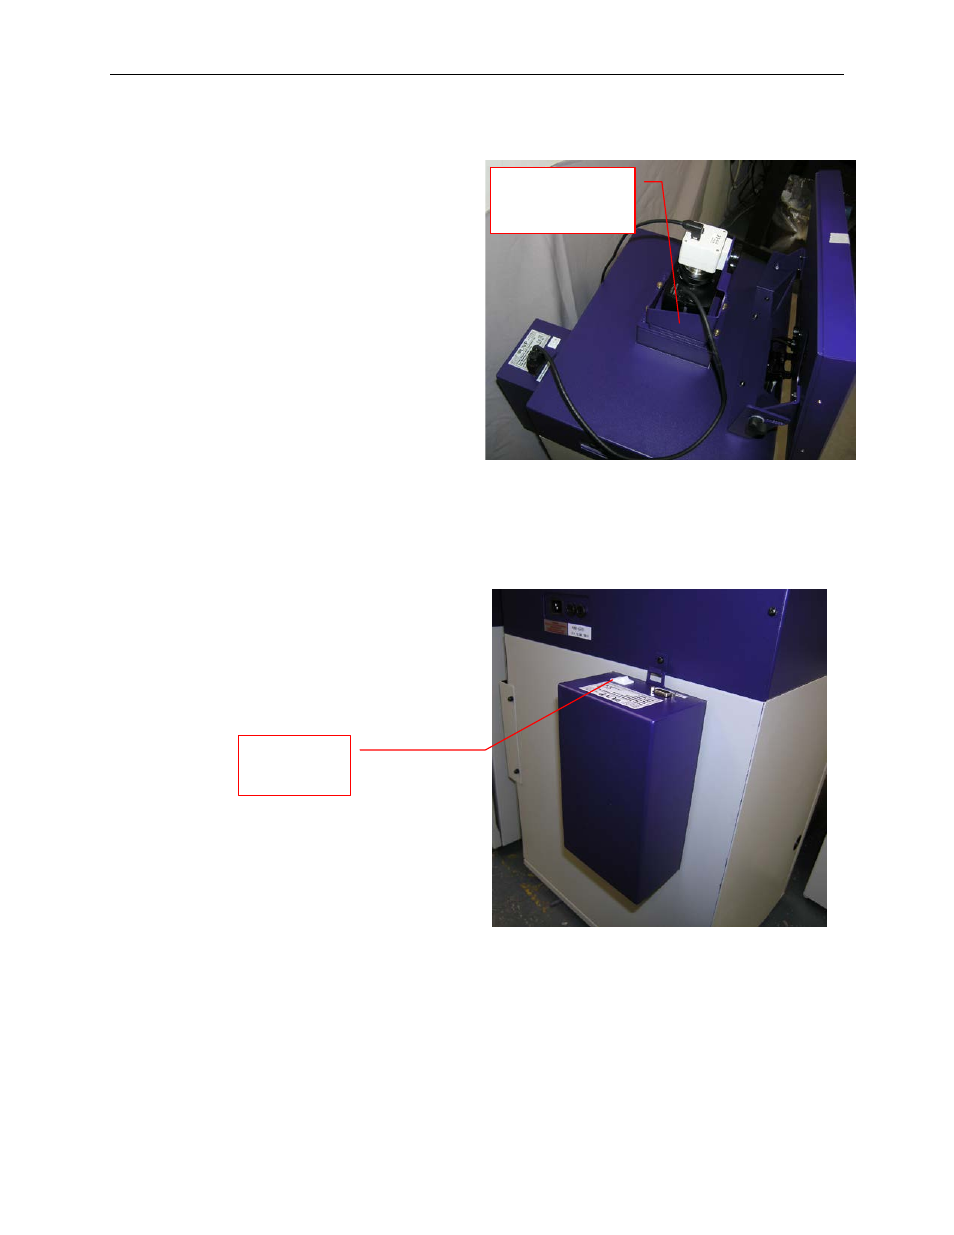
GelCam 310 Camera
Motorized lens
Lens control box
+2 diopter
Bracket
Base (typically shipped on system)
USB Cable (for connection from camera to PC or TS)
USB Cable (for connection from motorized lens
control box to PC or TS)
Note: The above images are for clarification only, and may be different than the system shipped.
Hardware Installation
1. On the back of the darkroom remove the screw
and attach the hook to the darkroom (typically a
darkroom ships with the hook installed).
2. Mount the lens control box on the hook located
at the back of the darkroom.
3. Place the bracket on the mounting base aligning
the holes on the base. Using the four thumb
screws provided, secure the bracket to the
base.
4. Slide the camera and lens assembly into the
camera bracket.
5. Insert and tighten the knob/washer to secure
the camera to the bracket. Be sure to position
the knob in the central hole in the camera.
Bracket mounts on
top of filter tray for
the TS unit
Power switch
for the Lens
Control Box