Settings, Ming options (p.9), Ap included (p.9) – SPYPOINT SMART-8 User Manual User Manual
Page 9
9
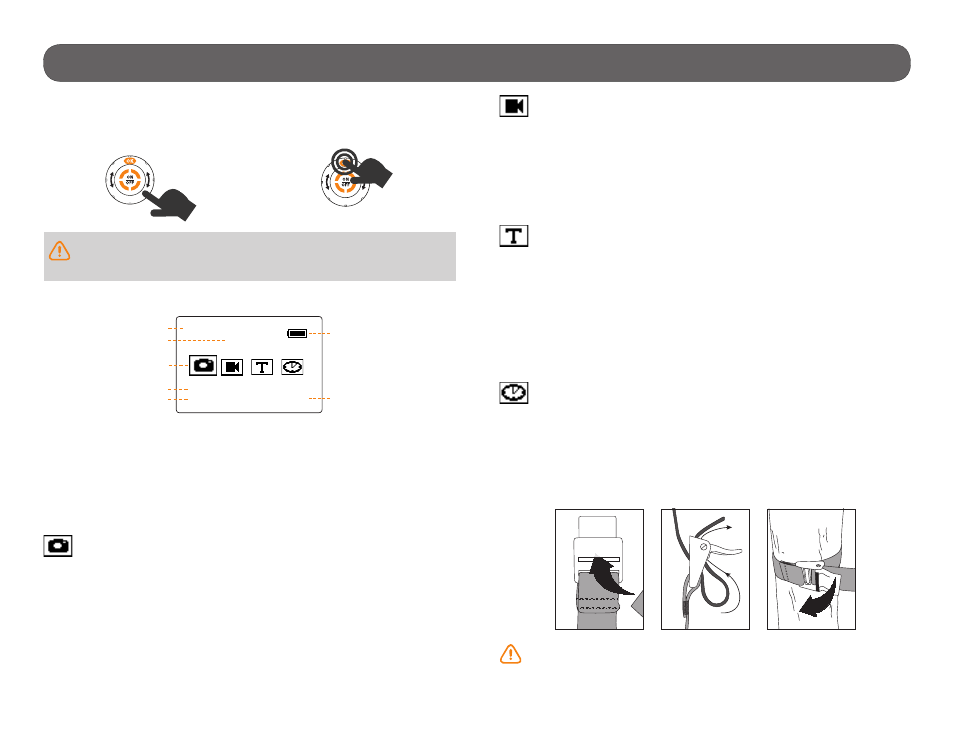
Settings
Gently slide one finger on the wheel
clockwise or counterclockwise to
navigate on the interface and to
change option.
Touch the top of the wheel (OK) to
select an option.
MAIN SCREEN
A
: Indicates that the I.T.T mode is activated
B
: Option name
C
:
Options (Photo, Video, Test, Date/Time)
D
: Time (hh:mm)
E
: Date
(MM/JJ/AA)
F
: Battery level
G
: Number of files recorded
PHOTO
Allows the user to take photos. When the PHOTO mode is selected,
the initialization countdown appears on the screen and the test light in front
of the camera will flash for 60 seconds to allow the user to leave the area
without being photographed.
During the countdown, it is possible to return to the main menu by sliding a
finger on the wheel clockwise or counterclockwise.
VIDEO
Allows the user to take videos. When the VIDEO mode is selected,
the initialization countdown appears on the screen and the test light in front
of the camera will flash for 60 seconds to allow the user to leave the area
without being recorded.
During the countdown, it is possible to return to the main menu by sliding a
finger on the wheel clockwise or counterclockwise.
TEST
Allows the user to test the detection system of the camera. When
TEST mode is selected, no photo or video is recorded. Walk perpendicu-
larly in front of the camera. When the camera detects a movement, the
light blinks to indicate that normally, a photo or video would have been
recorded. If the system does not detect the movement, increase the detec-
tion distance using the "Sensitivity" option in the advanced settings of the
software. You can also realign the camera differently.
To return to the main menu, slide one finger on the wheel clockwise or
counterclockwise
DATE/TIME
Allows the user to set the date as Month/Day/Year and the time as
Hour/Minute.
Slide one finger on the wheel clockwise or counterclockwise to adjust the
digit and press OK to confirm the entries.
INSTALLATION WITH THE SUPPLIED STRAP
Recommended installation height: about 3 feet above the ground.
Do not place the camera facing the sun.
1. Insérez l’extrémité de la courroie dans la fente
qui se trouve au dos du mécanisme.
2. Insérez la courroie dans la fente sous le levier
et faites-la ressortir en arrière.
3. Créer une tension sur la courroie en la tirant vers
la droite, puis rabattez vers la gauche le levier pour
maintenir la position.
I.T.T.
PHOTO
oo:oo
o2/21/14
oooo
D
E
A
B
C
F
G
Do not use any object other than a bare finger or a touch screen
glove to touch the wheel. Keep the touch wheel clean for a good
touch sensitivity, dirt may cause a malfunction.