File transfer to a computer, P.16) – SPYPOINT BF-10HD User Manual User Manual
Page 16
16
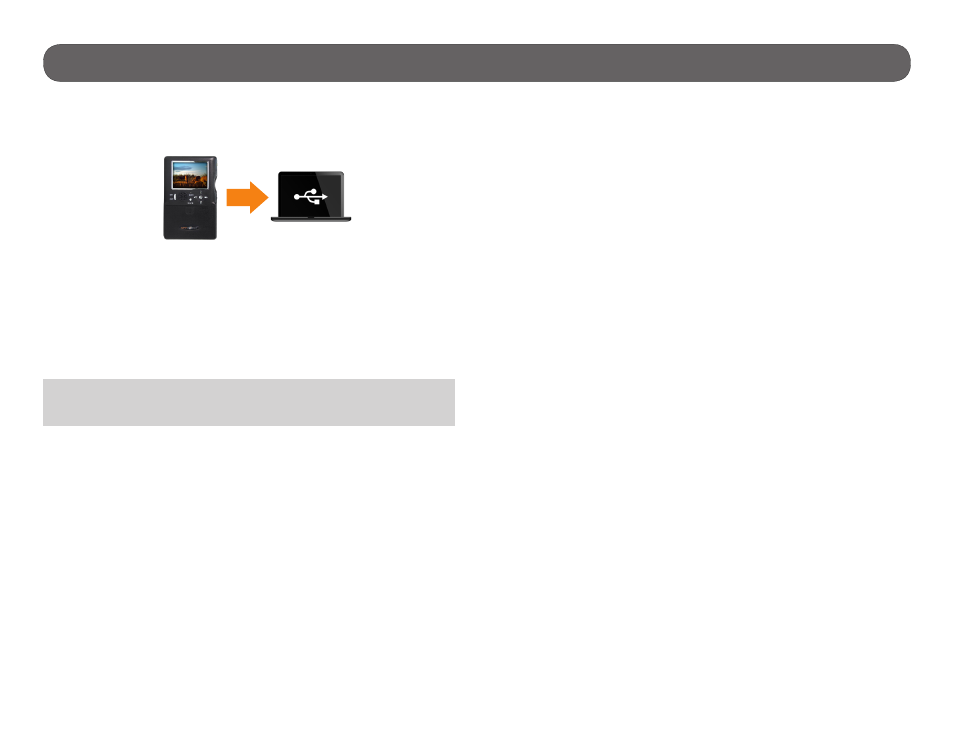
File transfer to a computer
To transfer photos/videos to a computer:
1. Turn OFF the camera.
2. Connect the USB cable (supplied) from the camera to a computer
3. The computer will detect the camera and install the driver automatically.
4. Click on "My Computer" and select "Removable Disk".
5. Then click on "DCIM" and "100DSCIM" to find all recorded photos and
videos.
6. Drag or save the files to the desired location.
Taking the memory card (sold separately, p.19) out of the camera and
inserting it into the computer slot will achieve the same results.
Note: Videos in .MP4 format require the use of a compatible video player
software such as VLC, Windows Media Player or QuickTime.
USB
See also other documents in the category SPYPOINT Camcorders:
- BF-6 User Manual (28 pages)
- BF-6 Quick start (2 pages)
- BF-10HD Quick start (2 pages)
- BF-7 (25 pages)
- D6 (25 pages)
- FL-7 (27 pages)
- FL-8 (29 pages)
- FL-A (11 pages)
- HAWK Quick start (2 pages)
- HAWK User Manual (18 pages)
- HD-10 (30 pages)
- HD-12 (34 pages)
- I-6 (26 pages)
- IR-10 (27 pages)
- IR-5 (23 pages)
- IR-6 (25 pages)
- IR-8 (28 pages)
- IR-A 6mp (24 pages)
- IR-B 7mp (25 pages)
- IR-C (25 pages)
- LIVE (49 pages)
- LIVE-3G (49 pages)
- Mini-LIVE Quick start (2 pages)
- Mini-LIVE User Manual (23 pages)
- PRO-X (27 pages)
- Pro-X Plus (28 pages)
- SDB-85 (22 pages)
- SMART User Manual (20 pages)
- SMART Quick start (2 pages)
- S-TINY-PLUS (2 pages)
- S-WiFi (47 pages)
- SC-Z9 (44 pages)
- TINY (42 pages)
- TINY-4G (54 pages)
- TINY-HD (51 pages)
- TINY-D (45 pages)
- TINY-W (49 pages)
- TINY-W2 (53 pages)
- TINY-W2s (52 pages)
- X-CEL (22 pages)
- XCEL HD User Manual (26 pages)
- XCEL HD Quick start (2 pages)
- XCEL HD Quick start (2 pages)
- XCEL HD Quick start (2 pages)