S&S Cycle Billet Aluminum Rocker Arm Kit for X-Wedge Engines User Manual
Page 2
The safety of the motorcycle rider is dependent of proper installation of this product. If you are not certain of your capabilities or do
not have the correct tools for this installation, please consult a shop to have it done. Improper installation of this product could result
in injury or death to the rider.
Kit Contents:
X-Wedge® Billet Aluminum Rocker Arm Kit Part Number 900-0213
Part Number
Item
Qty
900-0239
Billet Aluminum Rocker Arm
4
900-0241
Rocker Arm Stud
4
930-0017
Pushrod Set (4pcs)
1
36758PS
Rocker Arm Pedestal Stand
4
500-0123
Adjusting Screw 5/16" cup
4
900-0242
Jam Nut 5/16" 12 point
4
50-0283-S
Jam Nut 3/8" 12 point
4
51-9004
Loctite® 262 Red 5mL
1
NOTES: The intake pushrods may need additional clearance to the cylinder head. Follow steps 1 thru 14 to mock up the rocker arm assembly to deter-
mine if clearance is required. If the engine is still in the chassis, secure the motorcycle on a suitable work stand or lift. Disconnect the negative
battery terminal and secure away from the battery. Remove the fuel tank and necessary bodywork to gain access to the top of the engine. If
the engine is out of the chassis, bolt the engine to a work stand and secure to the bench.
Disassembly
1. Remove the spark plugs.
2. Remove the rocker box covers
3. Starting on the front cylinder, rotate the engine so that both valves are in the closed position (TDC compression).
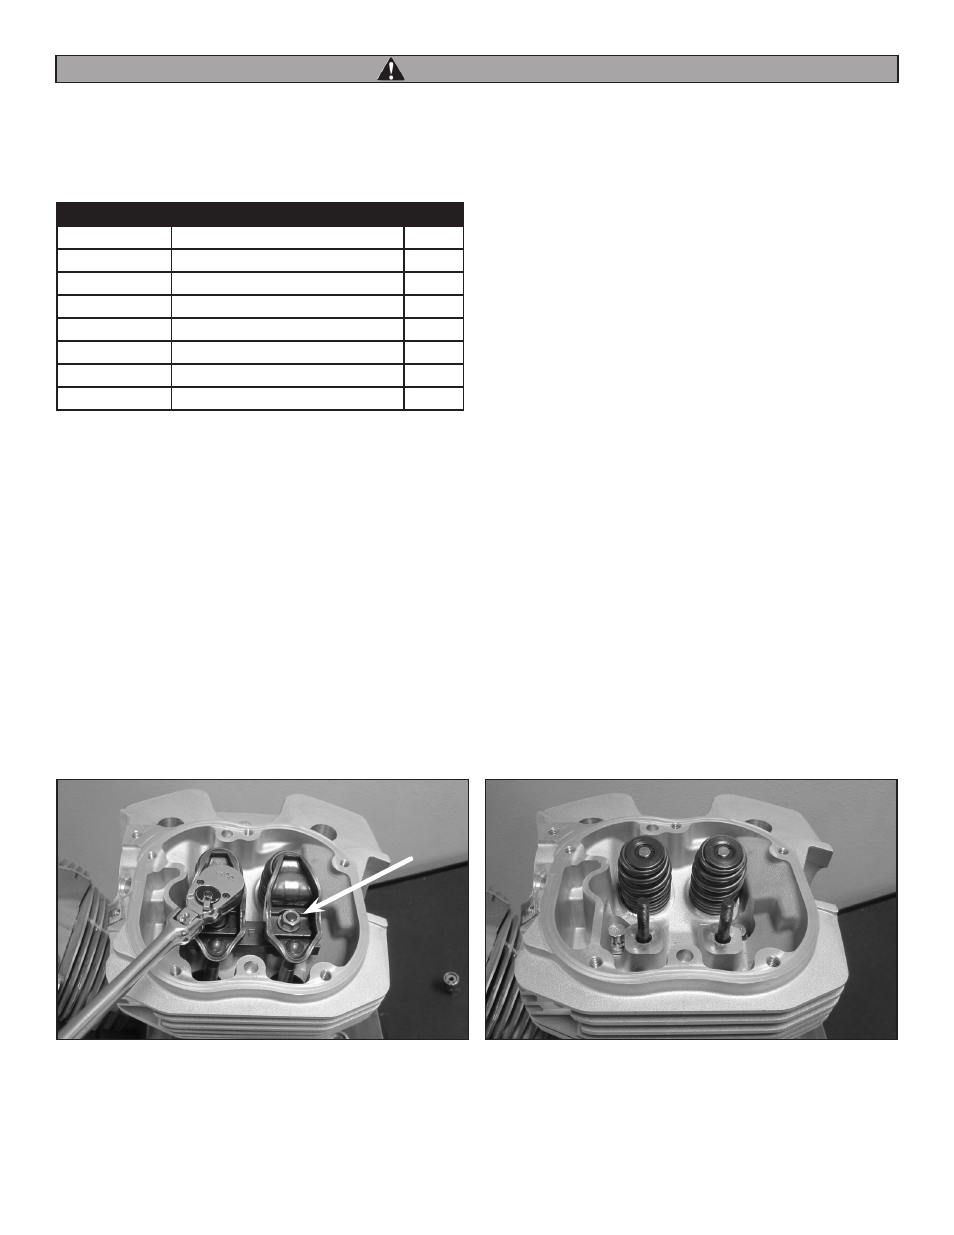
4. Remove the two 5/16" nuts and washers that secure the steel rocker arms. See Picture 1, below left
5. Remove the rocker arm supports, rocker arms, rocker arm alignment channel and pushrods. Only the alignment channel will be re-used.
See Picture 2, below right.
2
WARNING
Tools needed:
• 1/4" Allen wrench
• 5/32" Allen wrench
• 3/8" 12 point socket
• 7/16" 12 point wrench
• 1/2" socket
• Ratchet
• Stud remover/installer
• Ft.-lb Torque Wrench
Picture 1
Picture 2