Setup sensors, 4 setup sensors – PLX Devices DM-200 OBDII User Manual
Page 13
Users Guide: iMFD User Guide
Version 1.0 Jan 1, 2008
www.plxdevices.com
(408)745-7591
13
3.4 Setup Sensors
Once you have all the iMFD daisy chain components properly installed, connected, and powered on, you
will need to setup the DM-200 to detect your available sensors. Each DM-200 can display and detect up to
4 sensors simultaneously. These are referred to as “Parameters.” Please note setting up sensors only
affect the standard gauges. It does not affect OBDII Sensor menus.
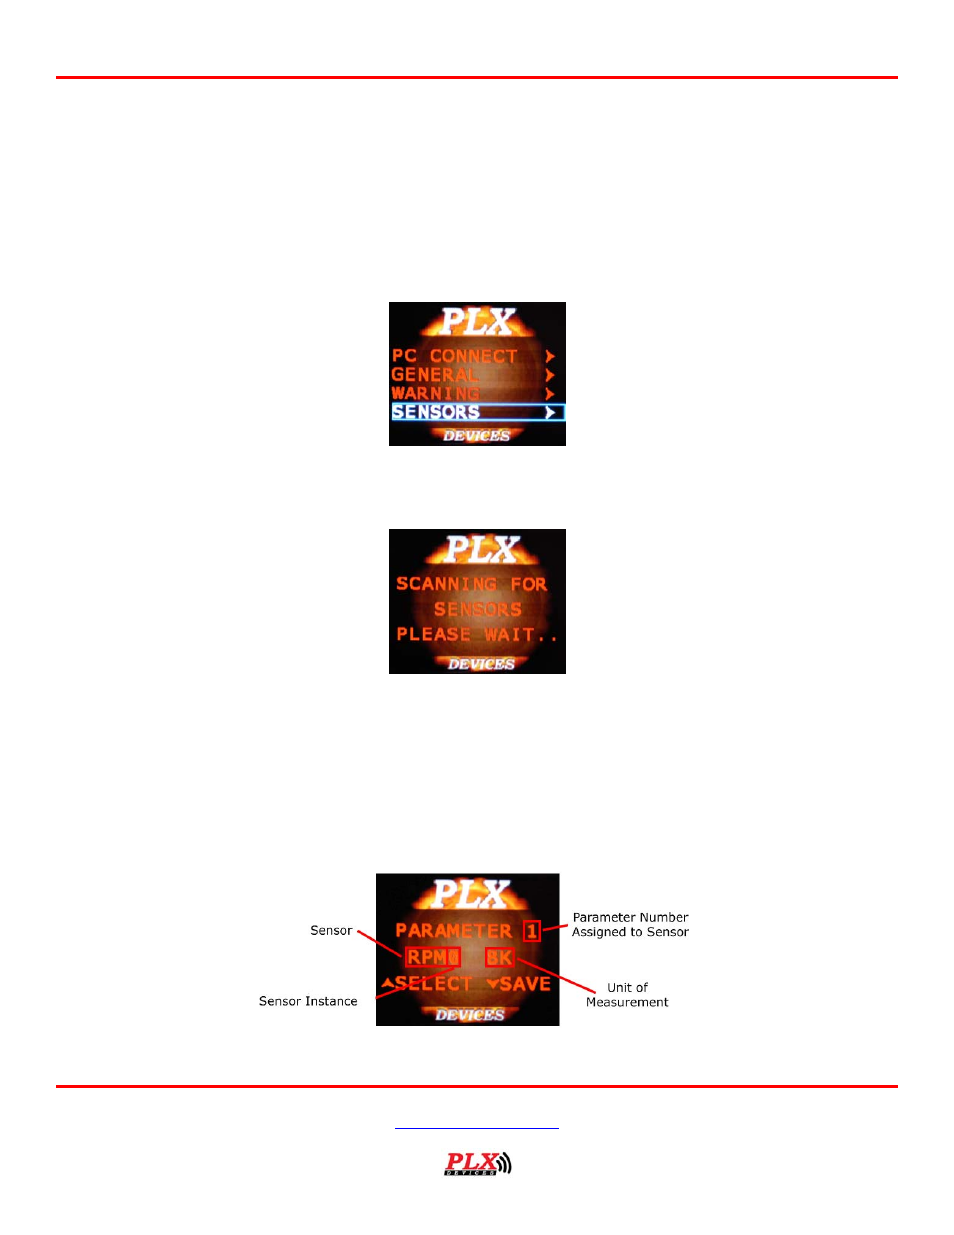
To setup your 4 parameters, you will need toggle all the way down to the “Sensors” menu. You can do this
by pressing the down button continuously on your remote control until you reach this menu.
Once you’re in the menu, double check your connection and make sure all Display Modules (DM) and all
Sensor Modules (SM) are powered ON. Then press the “RIGHT” button on the remote. The DM-200 will
start scanning for available sensors.
If your DM-200 gets stuck at the above screen for more than 5 seconds, this means that the DM-200 did
not find any sensors. Double check your connections and try again. If you have several sensor modules
connected, try connecting only 1 to see if the DM-200 properly detects the sensor. Then continue to add
sensor modules systematically and repeat the process. This is a good method to troubleshoot your circuit.
Be sure to have your termination jumpers properly installed. Refer to section 3.2 for more details. Only 1
sensor module should be terminated (with jumper installed) in the iMFD system.
Once the DM-200 properly detects the iMFD sensors, you should see the Parameter 1 screen.