Assembly – Meade Instruments LX850 User Manual
Page 19
OTA. To install StarLock, loosen the two (2) retaining
nuts at the side of dovetail adapter, slip in the StarLock
assembly, position Starlock so that the back edge of
the StarLock dovetail is flush with the lower edge of
the saddle plate. Tighten to securely retain StarLock
(Page 8, Fig. 42). Locate the included rectangular
counterweight, loosen its securing thumbscrew, and
slide it on the rail on the opposite side of the dovetail
adapter (if needed).
Note that the counterweight is
NOT needed when StarLock is mounted to a LX850
ACF OTA. Use the counterweight when StarLock
is mounted directly to the saddle plate. Secure the
counterweight by re-tightening the nuts.
Attach the four-pin StarLock connector cable to the
rear panel of StarLock in the receptacle on the left side
(Page 10, Fig. 42).
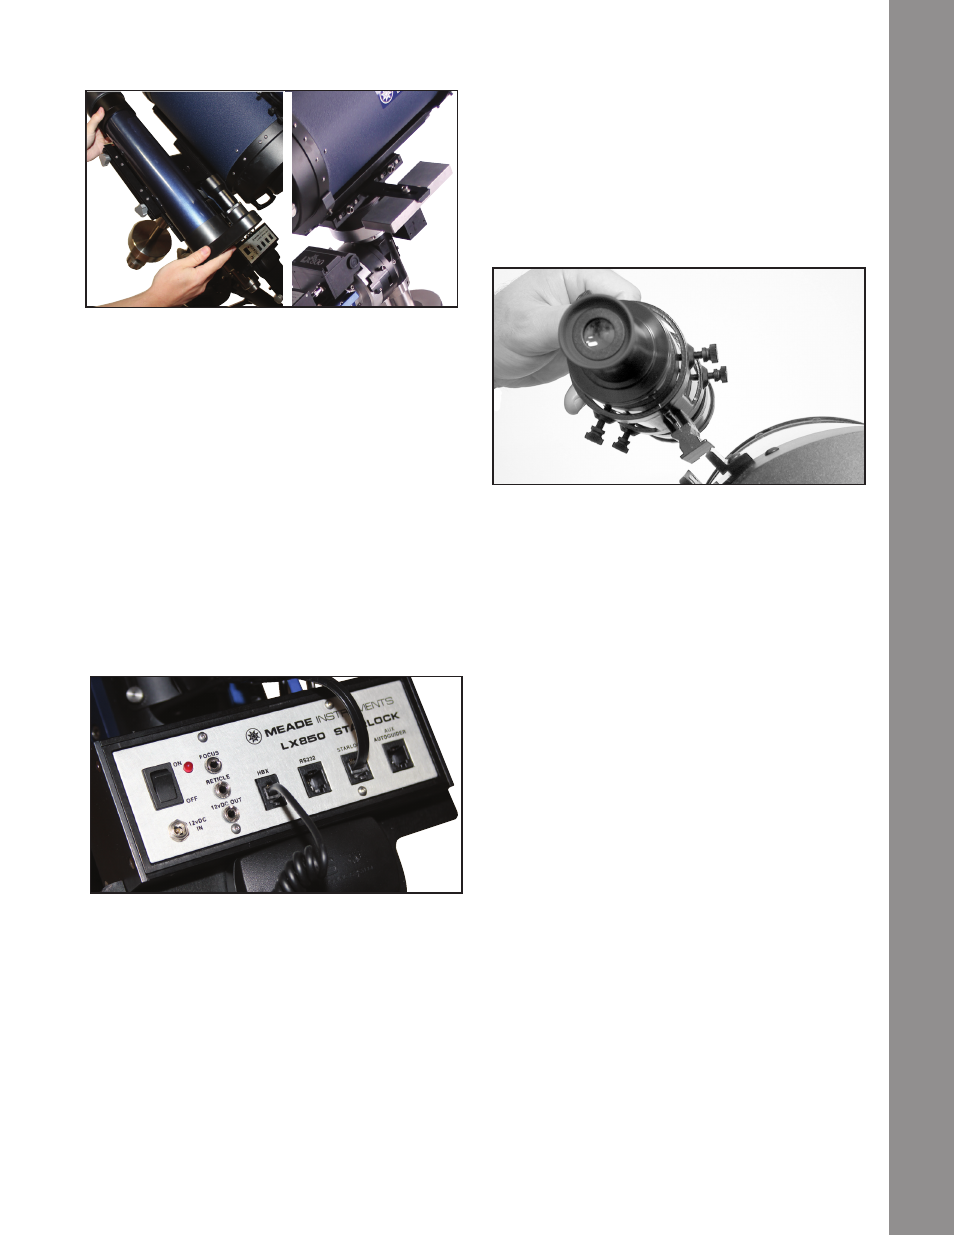
Plug in the AutoStar II Handbox
Locate and unpack the AutoStar II handbox. The
connecting cable is packed together with the handbox.
Plug one connector into the handbox, and the other
into the “HBX” receptacle on the control module.
Fig 26: Mounting StarLock to the saddle plate. Attach
StarLock counterweight.
Attach the Viewfinder to the OTA
The Meade OTAs sold with the LX850 are equipped
with a standard 8x50 finderscope. To assemble and
align the viewfinder, perform steps 1 through 6 below
during the daytime.
1. Assemble the viewfinder by attaching all included
thumbscrews onto the viewfinder bracket and
insert the 8X50 viewfinder into the bracket. Tighten
the thumbscrews to a firm feel only so the 8x50
optical tube is roughly centered in the middle of
the bracket.
2 . Slide the viewfinder bracket into its mounting
assembly on the OTA
(Page 7, Fig. 1, #1). To secure
the viewfinder to the mounting assembly, tighten
the two thumbscrews
(Page 7, Fig. 1, #2) to a firm
feel only.
Mount Additional Accessories and
Equipment
At this time it is advisable to mount any additional
accessories and equipment that you will be using
during nighttime use. Balancing the telescope is the
next step and it is important that this procedure be
performed in its operational configuration.
Balancing the Telescope
Level the mount, using the integrated bubble level
at the base of the mount as an aide if necessary, by
adjusting the length of the three tripod legs.
Before using the telescope, you will need to balance the
RA/DEC axes and the StarLock. Before you balance,
attach the eyepiece assembly, the viewfinder and all
the accessories you will be using with the telescope
(cameras, guide scopes, etc.). In other words, you
need to balance the unit with all the “weight” that will
be attached to it.
Fig 28: Slide viewfinder into receiver
19
Assembly
Fig 27: Connect handbox cable to HBX