Littlebig tarp™ installation & operation – Let's Go Aero LittleBig Tarp ACC 3083 User Manual
Page 2
LittleBig Tarp™ Installation & Operation
Step 4: Attach D-Rings to Sides of Trailer
See LittleBig Tarp Toggle Balls installation on page 3 for information on
installing D-Rings to the outside of the trailer.
Step 6: Attach O-Rings on Inside of Trailer
Unzip LittleBig Tarp™ at the rear endgate about 12 inches. Mount loom
clamp of O-Ring on #7 U-Tube on the inside of the trailer, 1-1/8” inch down from
the C-Channel using (1) Self Tapping Fastener and (1) External Tooth Washer.
Repeat on the other side of the trailer.
Step 7: Adjust Side Tensioning Straps
Attach S Hook on each side tensioning strap to an inside O-Ring and
pull tight, tensioning tarp.
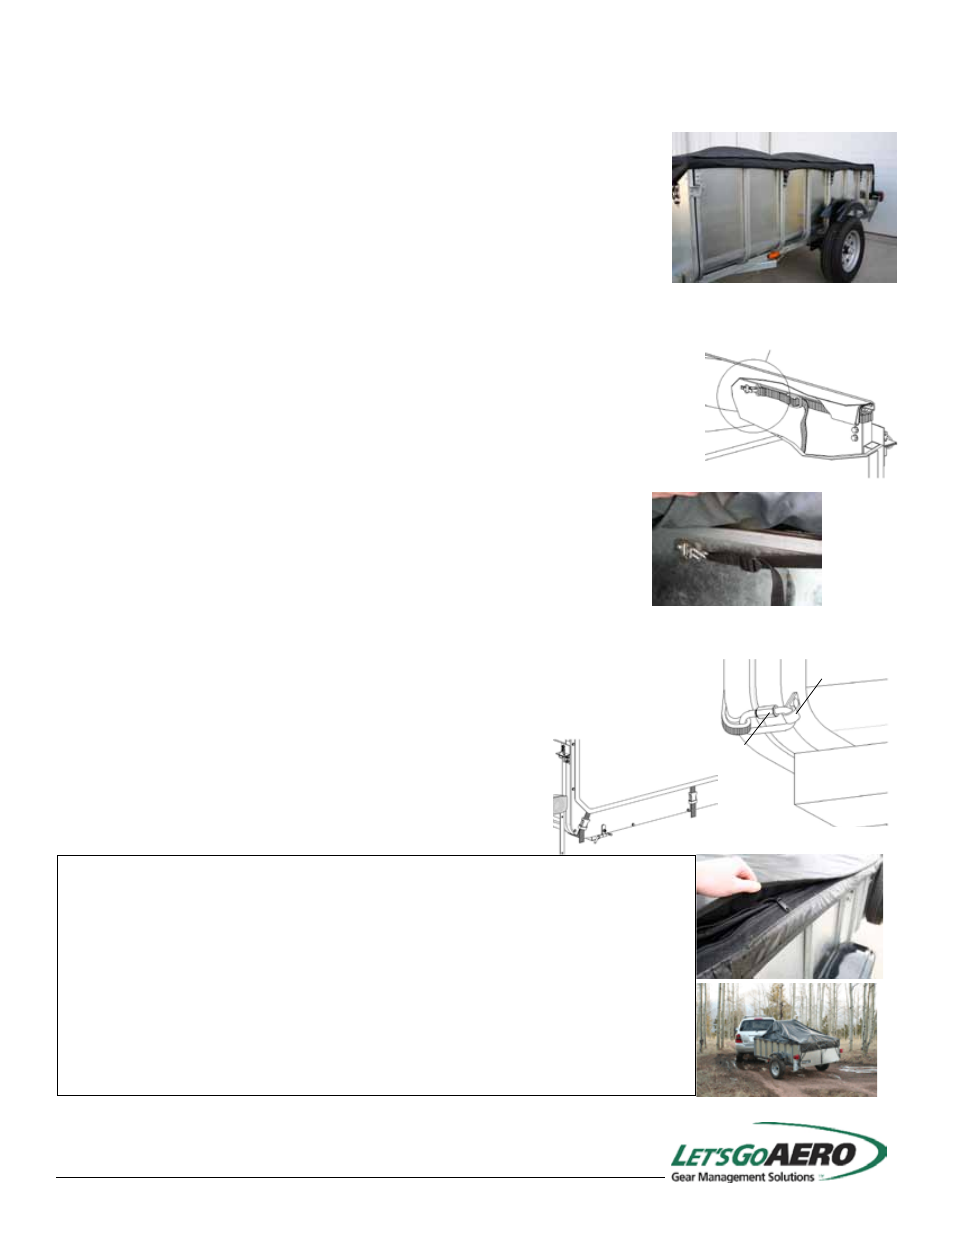
Step 8: Attach LittleBig Tarp to Rear Endgate
Attach Loom Clamps to the two Quick Links located on two of the three
rear straps (the third strap, at rear center, has been pre-installed). Undo the clips on the straps.
Attach Loom Clamps to trailer, using remaining (3) Self Tapping Fasteners and
(3) External Tooth Washers, one at the bottom center of the #8 U-Tube on the
outside, and one each at the two midpoints of the radius of
the outside apex of the #8 U-Tube.
Reattach strap clips and tighten to fit.
Operation
* The battens provide the LittleBig Tarp™ with structural support and tension.
The cover should be installed for a sturdy fit in unexpanded form.
* To release the cover from its clips along the sidewalls, it is helpful to utilize
the zippers in the process.
* To expand the cover, unzip along sidewalls. The battens may be relocated
along the C-Channel track or removed.
*
Do not stretch the cover. Utilize within the parameters
of its expandability.
Loom Clamps
Quick Links
ACC3083rev0614
WARRANTY: Limited 6 month warranty from manufacturer defect on soft
goods including the LittleBig Tarp™.