Beka Deluxe & ultimate easel User Manual
Page 2
Care and Use of Your Beka Easel
Art Surfaces
Chalkboard: The green chalkboard is shipped ready to use, but will perform best when “seasoned” before general use. To
reduce “ghosting”, use the edge of a piece of white chalk to cover the entire surface with chalk dust. Remove excess dust with
a dry cloth or chalkboard eraser. The resulting surface is said to be “seasoned”. Use chalk intended for chalkboards, as
harder versions like sidewalk chalk can scratch the board’s surface. Do not use water on the chalkboard, as doing so will re-
move the chalk dust used to season the surface, and possibly damage the board itself.
Dry-Erase Markerboard: Use high quality dry-erase markers for best results on Beka’s white wipe-off marker surface. Test
markers on a corner of the board to insure easy erasure before allowing general use. Clean the entire surface regularly.
Markers can leave stains, especially if left on the surface for extended periods. If stains occur, many may be removed with
special whiteboard cleaners available in office supply stores (any “cleaners” used to remove stains should only be used by
adults). Do not use household cleaners (especially abrasive ones) on the markerboard surface. They can damage the clear
surface coat that allows dry-erase markers to be used.
Washable Magnetboard: Beka’s magnetboard is designed primarily for use with magnets. It has a washable surface that will
perform like a wipe-off marker surface with high quality markers. It is not as reliable a markerboard surface as our standard
dry-erase markerboard, so extra care should be taken to clean it often. Should the surface become damaged, keep in mind
that it is reversible.
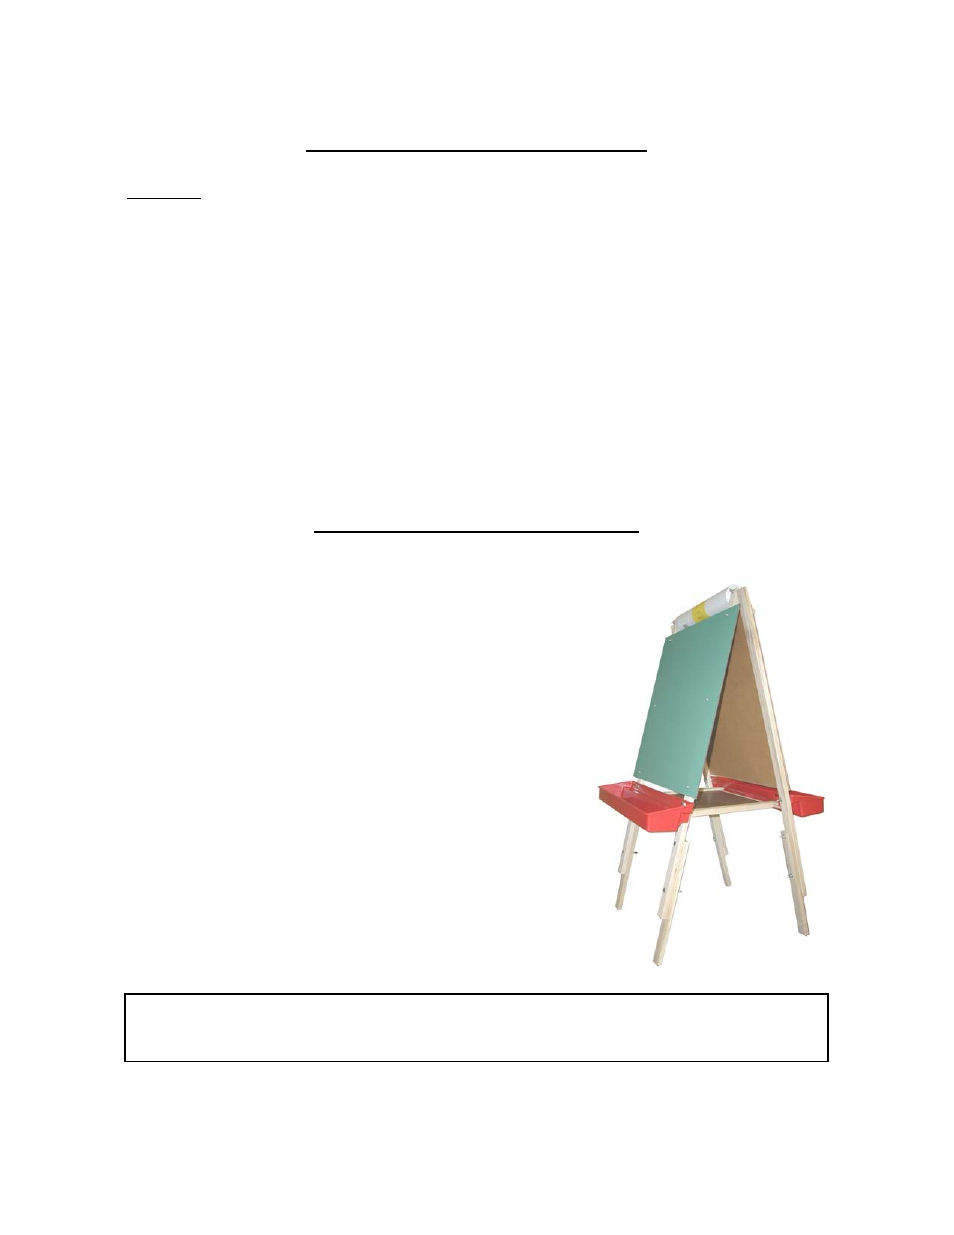
Beka’s Adjustable Easel Option
Beka offers an Adjustable Easel with all the features described on the
other side of this sheet. The Adjustable Easel comes out of the box fully
assembled and ready to use. It has shorter legs than the fixed leg ver-
sion; each leg includes a series of holes used to attach the leg exten-
sions when desired. The leg extensions are optional, and may be added
as needs change. Leg extensions allow the choice of several heights. If
leg extensions are not used, store them and all hardware in a safe place
out of reach of children (as small hardware can present a choking haz-
ard).
To attach the leg extensions, first place the folded easel on a flat surface
(like a table). Use pairs of 2” bolts to attach the leg extension to the ea-
sel’s fixed legs. Be sure to use the same hole pattern for each set, or the
easel will not stand up straight! Insert each bolt through a fixed leg hole,
then through an extension leg hole, securing it with a washer and wing
nut on the inside surface of the leg extension. The holes chosen will de-
termine the easel’s assembled height.
When all four leg extensions are securely attached, stand the easel up-
right. Follow the procedures described on the other side of this paper to
secure the easel’s center storage platform, attach it’s storage trays and
optional roll of paper.
Check hardware regularly to insure it is tight. Hardware parts are small, so may pose a choking
hazard to young children if they become loose. Dispose of any unused hardware and all plastic
bags appropriately; please supervise young children whenever they use the easel.