AirLive WP-201G V2 User Manual
Page 50
Double-click “TCP/IP” icon and the TCP/IP configuration window will pop up.
You can configure the print server to automatically get IP from DHCP server or manually specify static IP. The
print server also has a built-in DHCP server. You can enable this DHCP server and let it manage the IP for
you.
Click the “IP” button to enter the IP setting page. If you need the print server to automatically get an IP from
the DHCP server, select “Auto IP”. You also can select ‘Static IP” to manually assign “IP Address”, “Subnet
Mask” and “Gateway” for the print server.
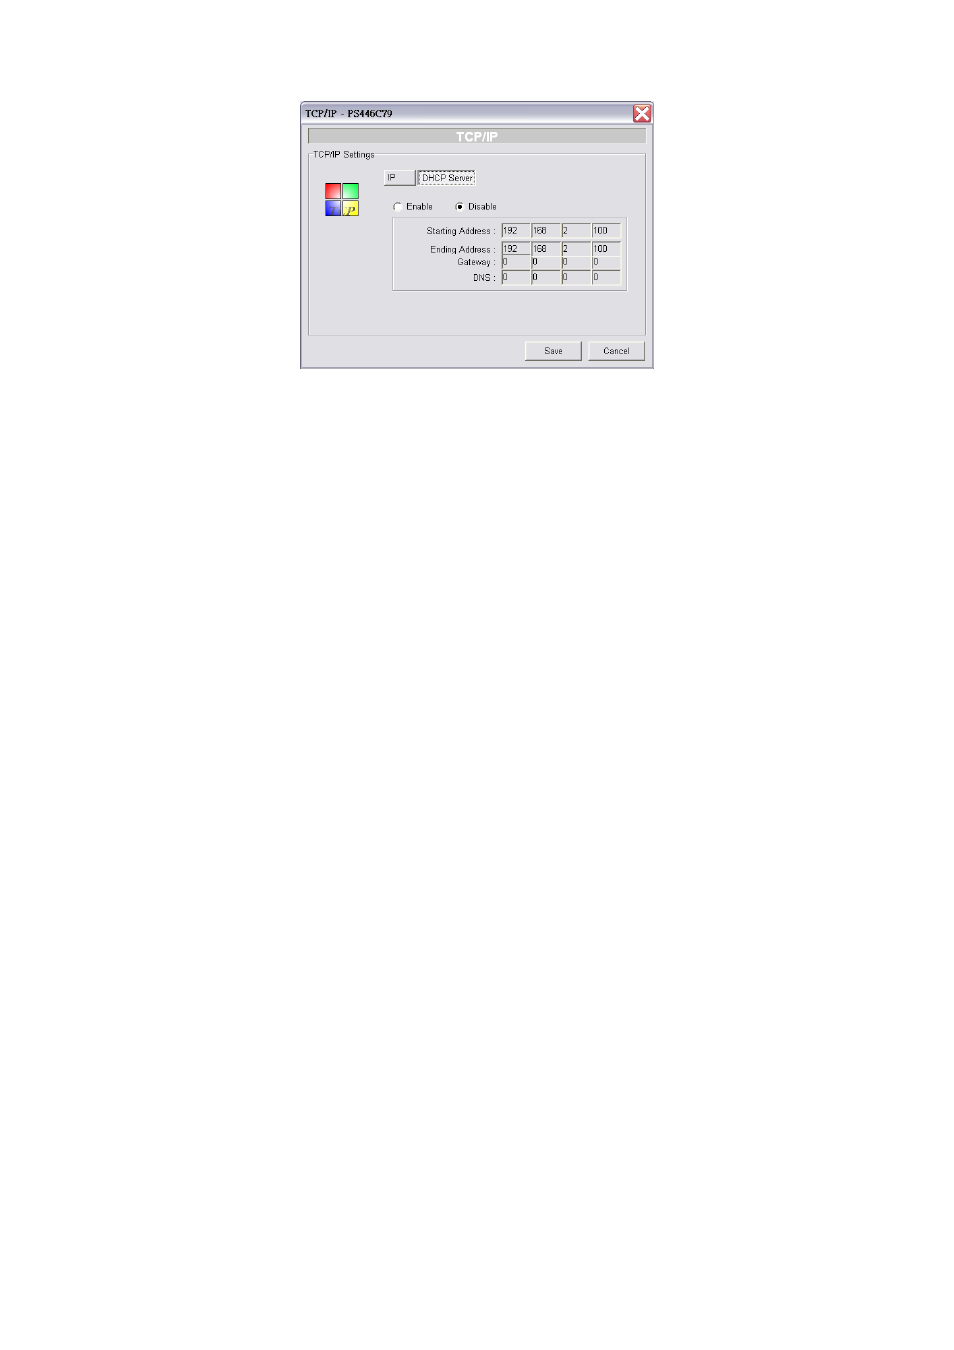
Click on the “DHCP Server” button to enter the DHCP server’s setting page. You can “Enable/Disable” the
DHCP server or set “Auto” and assign a range of IP addresses here. The DHCP server is disabled by default.
If Auto is selected, the DHCP server of the print server will be enabled only when there is no other DHCP
server within the network. When “Enable” or “Auto” is selected, you have to configure “Starting Address”,
“Range”, “Subnet Mask”, “Gateway” and “DNS”. The print server will assign a unique IP for each client.
AirLive WP-201G v2 User’s Manual
42