Assembly, controls, and engine operation – Echo 71825 User Manual
Page 6
4
1.
Remove from shipping crate.
2.
Support the frame on wood blocks or other support device.
3.
Mount the two tires and rims to the axle assembly with the lug nuts (supplied).
4.
Mount the trailer hitch assembly to the frame using three 3/8 X 3-1/2 inch bolts
and locknuts (supplied).
5.
Fasten the chipper chute to the main frame mounting bracket using eight 3/8 X
1 inch bolts and locknuts. Use three bolts on each side and two on the bottom.
6.
Attach the blower discharge tube to the mounting flange on the chipper frame.
Half of the mounting clamp is already attached to the tube. Slide the tube into
the flange and tighten the bolts to secure it. Install the second half of the
clamp to the tube and flange. Rotate the tube 360 degrees and lock it in place
with the handle to make sure it is mounted correctly.
7.
Install battery, connect positive and ground battery cables, and check battery
condition. Charge if needed.
Use caution when connecting battery cables near fuel. A spark could ignite
the fuel and cause a fire.
8.
Fill the engine with oil (per instructions in supplied engine manual) and fill the
gas tank with gasoline.
9.
Your chipper should be ready to use.
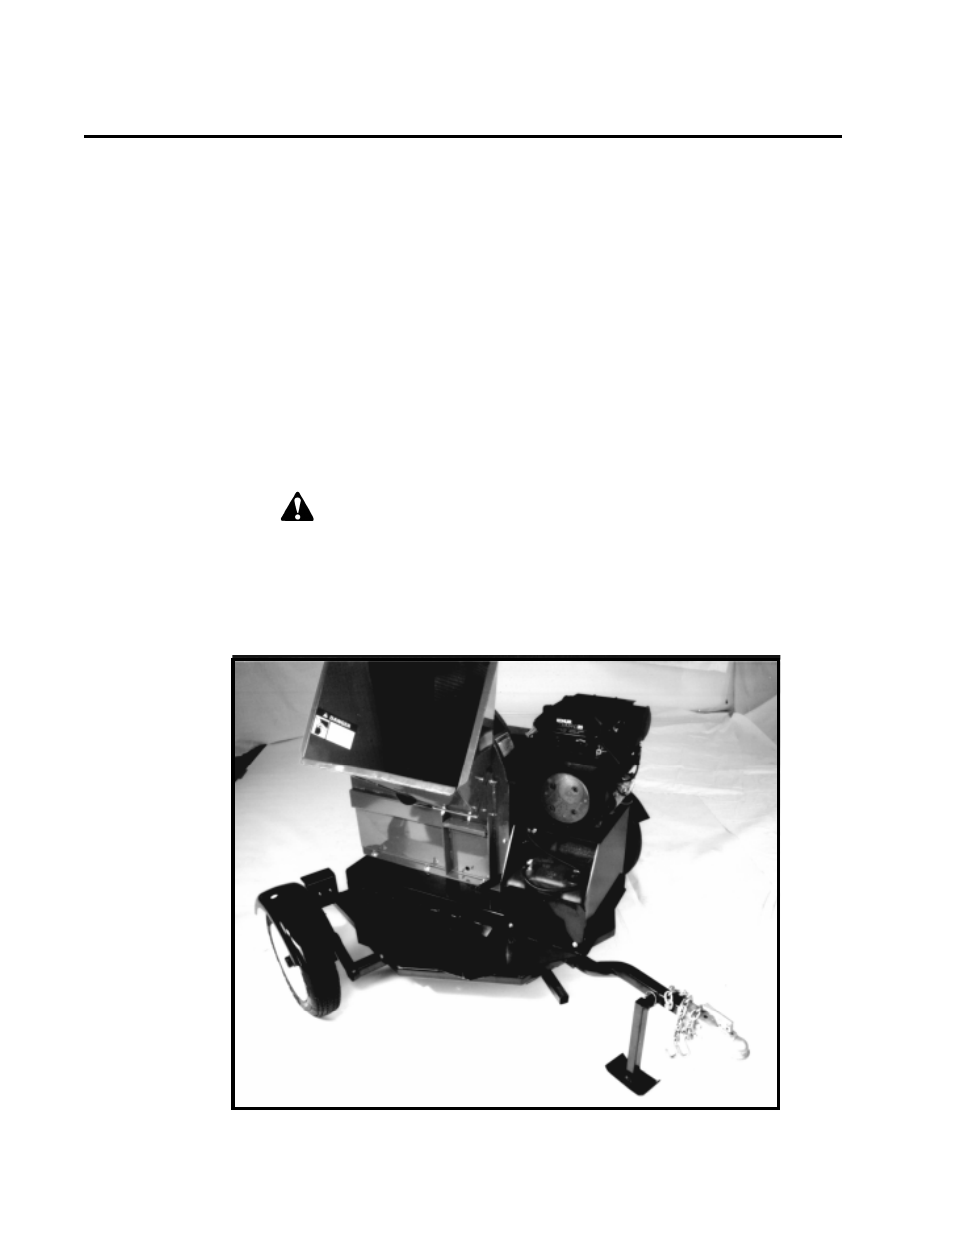
Assembly, Controls, and Engine Operation
Assembly
See Figure 1
Figure 1