2 using cardiris™ on a windows pc – I.R.I.S. IRIScan Anywhere 3 Quick Start User Manual
Page 5
En
gli
sh
2.2 Using Cardiris™ on a Windows PC
2.2.1 Starting Cardiris™
During installation, a Cardiris™ program shortcut was created on your Desktop.
•
Right-click the shortcut and click Run as administrator to start Cardiris™ for the
first time.
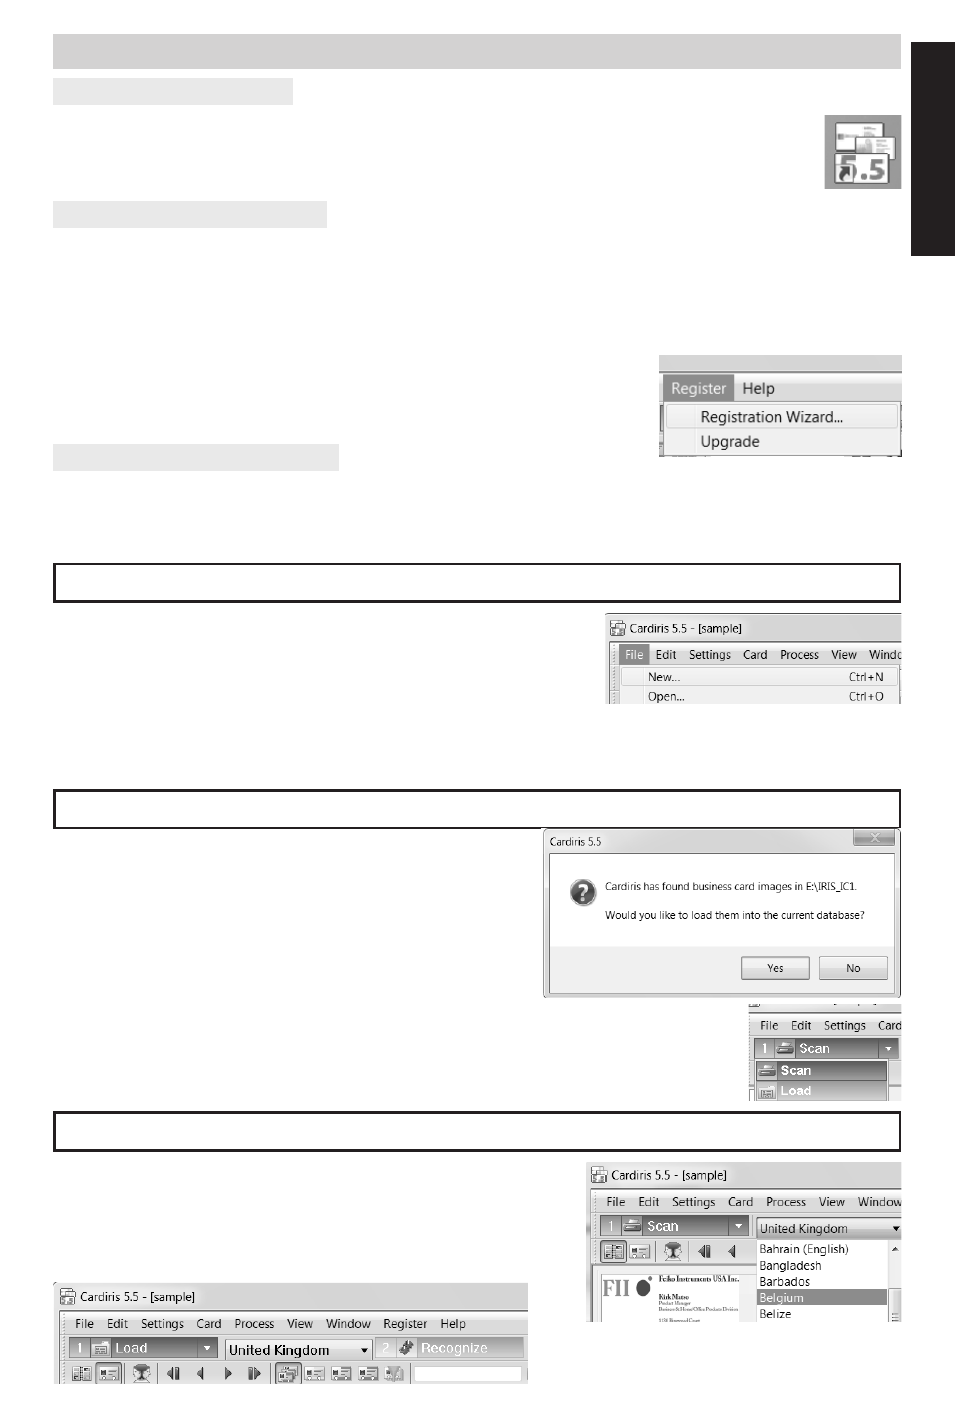
2.2.2 Registering Cardiris™
It is recommended you register your copy of Cardiris™. Registering is required to get Technical
Support.
Registering also offers other benefits such as product updates and discounts on future
products.
•
On the Register menu, click Registration Wizard.
•
Then follow the on-screen instructions.
Note that an internet connection is required to register.
2.2.3 Basic Processing Steps
In this section we cover the basic processing steps in Cardiris™.
Follow these steps in order to create a new database, load and recognize your documents and
export them to your favorite applications (e.g. Windows Contacts, Google Contacts™)
Step 1: Create a new database
On the File menu, click New to open a new, empty
database.
Then click Save as on the File menu to save the new
database.
Any changes you now make in the database are saved
automatically.
Step 2: Load your IRIScan™ images
1. Connect your IRIScan™ scanner to your computer
and power on the scanner.
2. Cardiris™ detects if card images were scanned
to the scanner memory. Click Yes to select them.
Cardiris™ then opens the right folder.
Tip: to load other images at a later time, click the
down arrow next to Scan, and select Load. Now click
the Load button to load images
Step 3: Recognize your documents and turn them into contacts
1. Select the country of your documents in the
drop-down list.
2. Select the cards you want to recognize.
3. Then click Recognize.