Installation, How to run readiris, How to configure your scanner – I.R.I.S. Readiris Corporate 12 for Windows Quick Start User Manual
Page 2: How to use readiris™ 2 - quick start guide
This Quick Start Guide provides general guidelines for installing and using Readiris™ Pro 12 and
Readiris™ Corporate 12. For detailed instructions on the full range of functionalities of Readiris™,
see the complete User Guide on the Readiris™ CD-ROM.
Installation
• Log on to Windows as administrator or make sure you have the necessary administration rights
to install the software.
• Connect your scanner to your PC and install the software delivered with your scanner.
Test your scanner. If you experience any problems, contact your scanner manufacturer.
• Insert the Readiris™ CD-ROM in the CD-ROM drive and follow the on-screen instructions to install the software.
How to run Readiris™
• Start Readiris™ from the Windows Start menu or double-click the Readiris™ icon on your desktop.
• Click the splash screen to launch Readiris™. The OCR Wizard automatically opens. This wizard
allows you to quickly define all required settings to operate Readiris™.
• Should you want to skip the wizard, click Cancel.
How to configure your scanner
Before you can use Readiris™, you must configure your scanner:
- Click the Scanner button on the left toolbar.
- Click Scanner model and select your scanner from the list. (If your scanner is not on the list, select
Twain other models.)
- Click Configure to select the Twain source, if applicable.
- Select the settings you want to apply (300 dpi is recommended), then click OK to save the settings.
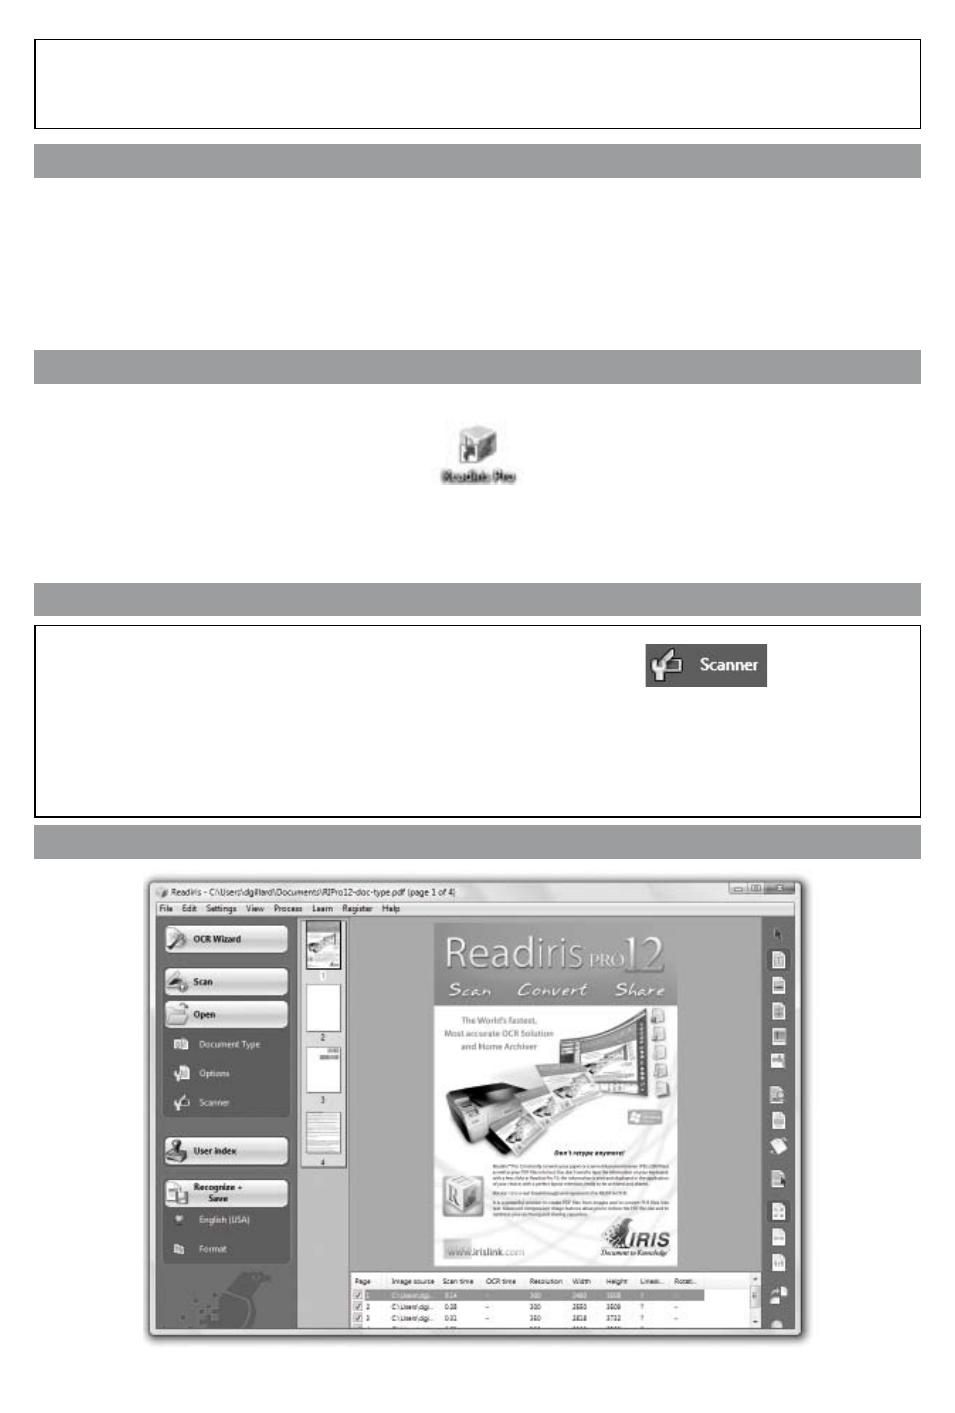
How to use Readiris™
2 - Quick Start Guide