Passenger side installation pictured – Aries Automotive 3063-2 User Manual
Page 3
Page 3 of 6
11/13/2009
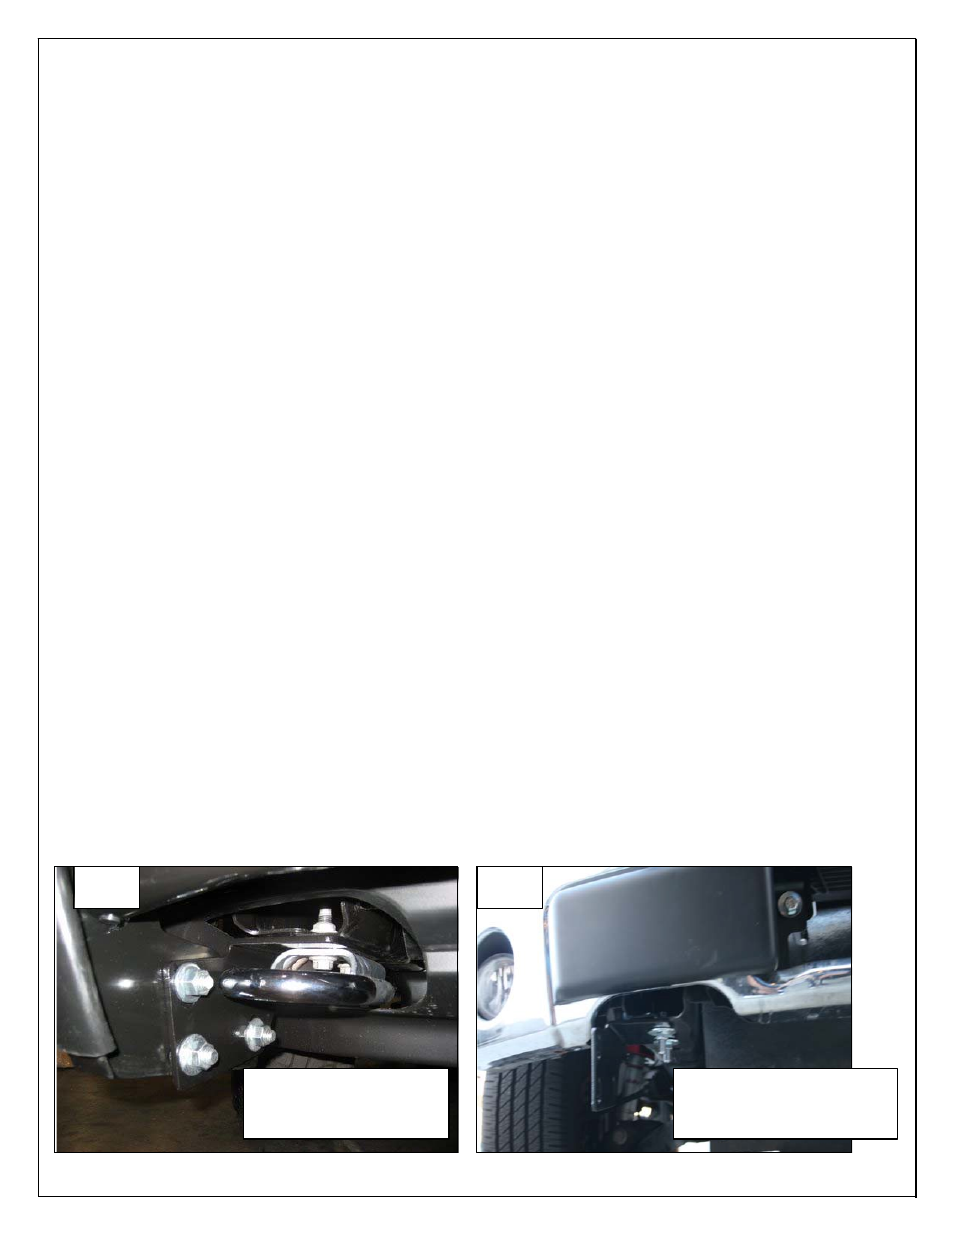
Fig 1
Passenger/Right side
Mount Bracket
Attached with tow hook
7. With assistance use the two previously installed Hex Bolts as a hinges and rotate the Grille
Guard up to the vehicle. Line up the two remaining holes per side of the Frame Mounting
Brackets with the Grille Guard. Insert the12mm Plastic Washer (1 per hole) between the
remaining Mounting Bracket and the Grille Guard as described in step 6, and secure with (2)
12mm x 30mm Hex Bolts, (4) 12mm lock Washers, (8) 12mm Flat Washers and (4) 12mm Hex
Nuts. (Fig 5) shows hardware attached. Keep snug but do not tighten hardware at this time.
Repeat this step for the Driver/left side.
8. Moving to the Passenger/Right side Top Bracket installed in Step 5. Line up the slotted hole in
the Top Bracket with the hole in the Grille Guard. Insert (1) 3/8" Plastic Washer between the
Top Bracket and the Grille Guard, (FIG 6). Line up the hole in the Plastic Washer with the hole
in the Grille Guard and the slot in the Top Bracket. Insert (1) 3/8" Quick Release Bolt and (1)
3/8" Flat Washer through the Grille Guard, Plastic Washer and Top Bracket. Secure the Quick
Release Bolt with (1) 3/8" Plastic Washer, (to protect the finish on the Top Bracket), (1) 3/8"
Flat Washer and (1) 3/8" Nylock Nut, (FIG 7). Snug but do not tighten at this time. Repeat this
step for the Driver/Left side installation.
9. Pull the Grille Guard forward, away from the vehicle, (FIGURE 9)
10. Carefully close the hood and check for clearance between the Top Bracket and the factory
grille. Adjust the brackets for fit as necessary. IMPORTANT: Always make sure that the Grill
Guard is in the opened position before closing the hood.
11. Push the Grille Guard back towards the vehicle until it is upright, check the alignment again
and adjust the Grille Guard as required. Tighten all Mounting Bracket hardware including the
Quick Release Bolts, (FIGURE 8A).
12. Do periodic inspections to the installation to make sure all hardware is secure and tight.
To protect your investment, wax this product after installing. Regular waxing is recommended to
add a protective layer over the finish. Do not use any type of polish or wax that may contain abrasives
that could damage the finish.
For stainless steel: Aluminum polish may be used to polish small scratches and scuffs on the finish.
Mild soap may be used also to clean.
For gloss black finishes: Mild soap may be used to clean.
PASSENGER SIDE INSTALLATION PICTURED
Fig 1A
Passenger/Right side
Mount Bracket
Attached with out tow hook