Opening the xserve, Removing the installed rear id tab – Apple Xserve (Early 2008) DIY Procedure for Rear ID Tab User Manual
Page 3
Xserve (Late 2006/Early 2008) Rear ID Tab Replacement Instructions
3
Opening the Xserve
Loosen the thumbscrews at the back of the top cover and slide the cover back and up to remove
it. If you have difficulty removing the cover, check the enclosure lock on the front panel.
Warning: Even after you shut down the Xserve, its internal components can be very hot. Let
it cool before you open it.
Important: To minimize the possibility of damage to Xserve components due to static discharge,
wear an antistatic wrist strap, if possible, while you work inside the Xserve.
Unscrew the two
captive thumbscrews.
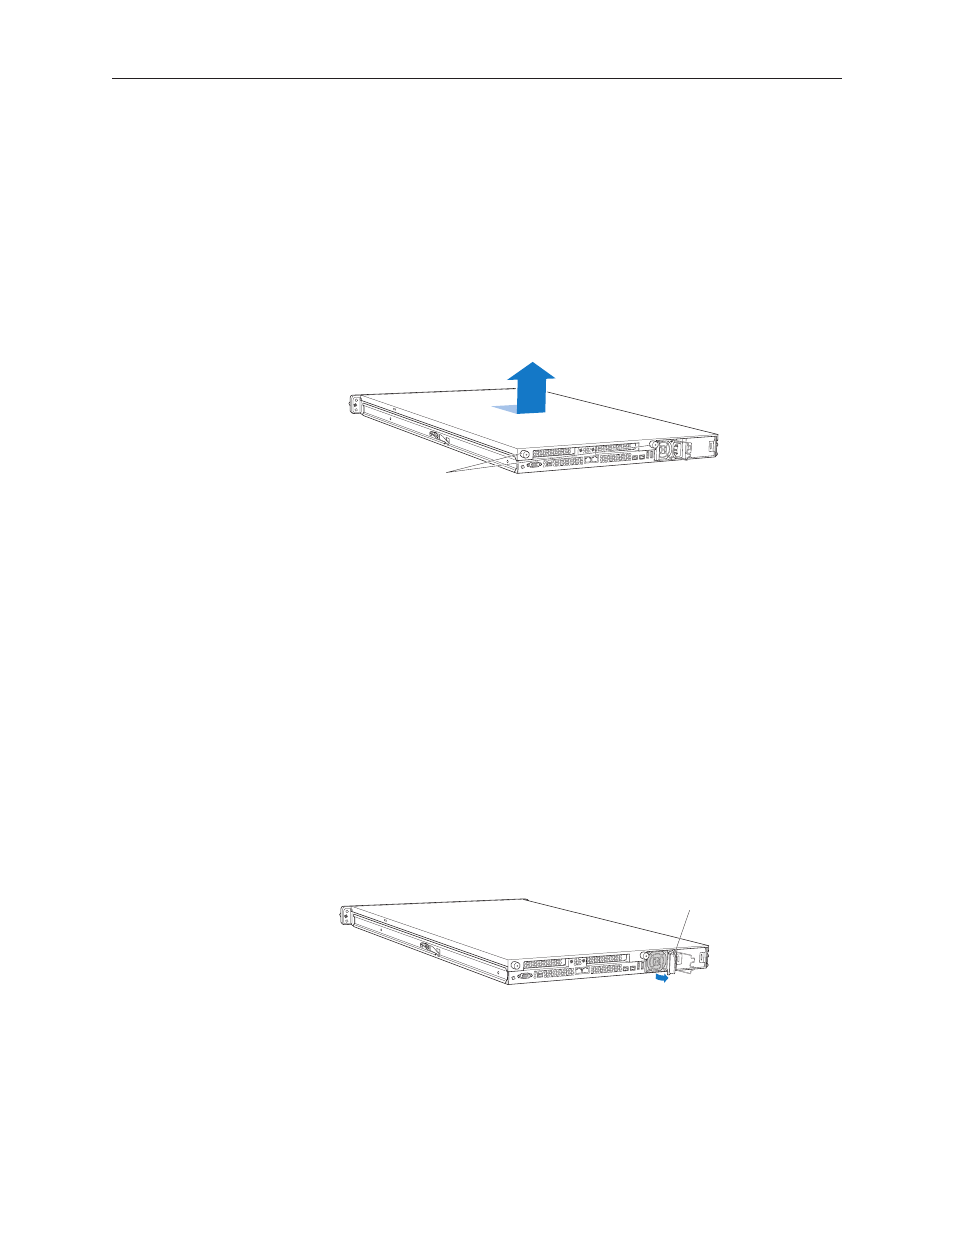
Slide the cover back and lift it off.
Removing the Installed Rear ID Tab
Before removing the installed rear ID tab, remove the following parts:
Both power supplies
•
PCI riser cards and any expansion cards in both slots (if installed)
•
Airflow duct
•
Fan array
•
Backplane-to-logic board I/O cable
•
Both processor heat sinks
•
Logic board
•
Power Supplies
Pull the handle to release the first power supply and slide it out of the bay.
1.
Pull the handle to unlatch the
power supply and remove it.
Repeat for the second power supply, if installed.
2.