Apple AppleWorks 5 : Windows 95/NT 4.0 User Manual
Page 14
1-10
AppleWorks 5 Installation Manual
To create a shortcut to AppleWorks in each user’s Start menu:
1. On a user’s computer, click the Start menu, choose
Settings, and then choose
Taskbar.
2. Click the
Start Menu Programs tab.
3. Click
Add.
4. Click
Browse, navigate to the server, and select the AppleWorks application on
the server.
5. Click
Open and then click Next.
6. Select a program folder for the shortcut, or click
New Folder to create and name
a new folder, and then click
Next.
7. Type a name for the shortcut (for example, AppleWorks application) and then
click
Finish.
8. Repeat steps 3 through 7 for each of the following files:
1
AppleWorks Help (Clworks.hlp)
1
Introduction to AppleWorks (Cwintro.exe)
1
Readme (Readme.cwk)
If you don’t see these files on the server, select Show All Files (*.*) from the
Files of type pop-up menu.
9. Click
OK in the Taskbar Properties dialog box when you’re finished.
Next, you must set up each user’s computer to point to the AppleWorks
folder on the network. You must also set up a place for each user’s user
dictionary, preferences, and macros. To do so:
1. Start AppleWorks on the user’s computer.
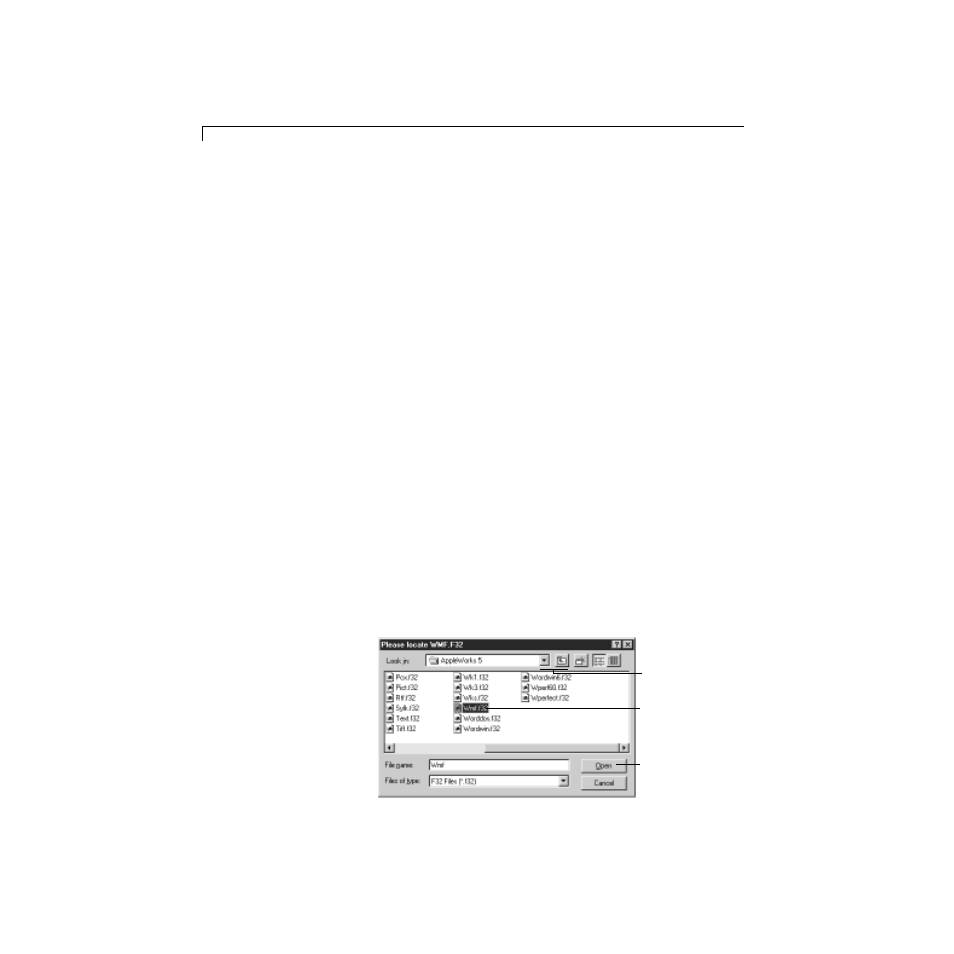
You see a dialog box asking you to locate the WMF.F32 file.
Select the WMF.F32 file
Then click Open
Use the navigation icons to
locate the WMF.F32 file in
the AppleWorks 5 folder on
the server