Rubicon Express RE7364 User Manual
Page 6
RI73547364 Page 6 of 11
B. Using the supplied ½” bolt, install the Super-Flex end of the bar into the drop track bar bracket. Using the factory track bar bolt,
install the bushing end into the axle bracket. Do not tighten the axle end until the final length check at the end of the installation
and the vehicle is sitting on its own weight. (Photo 11)
Front brake lines, shocks, and sway bar links/disconnects
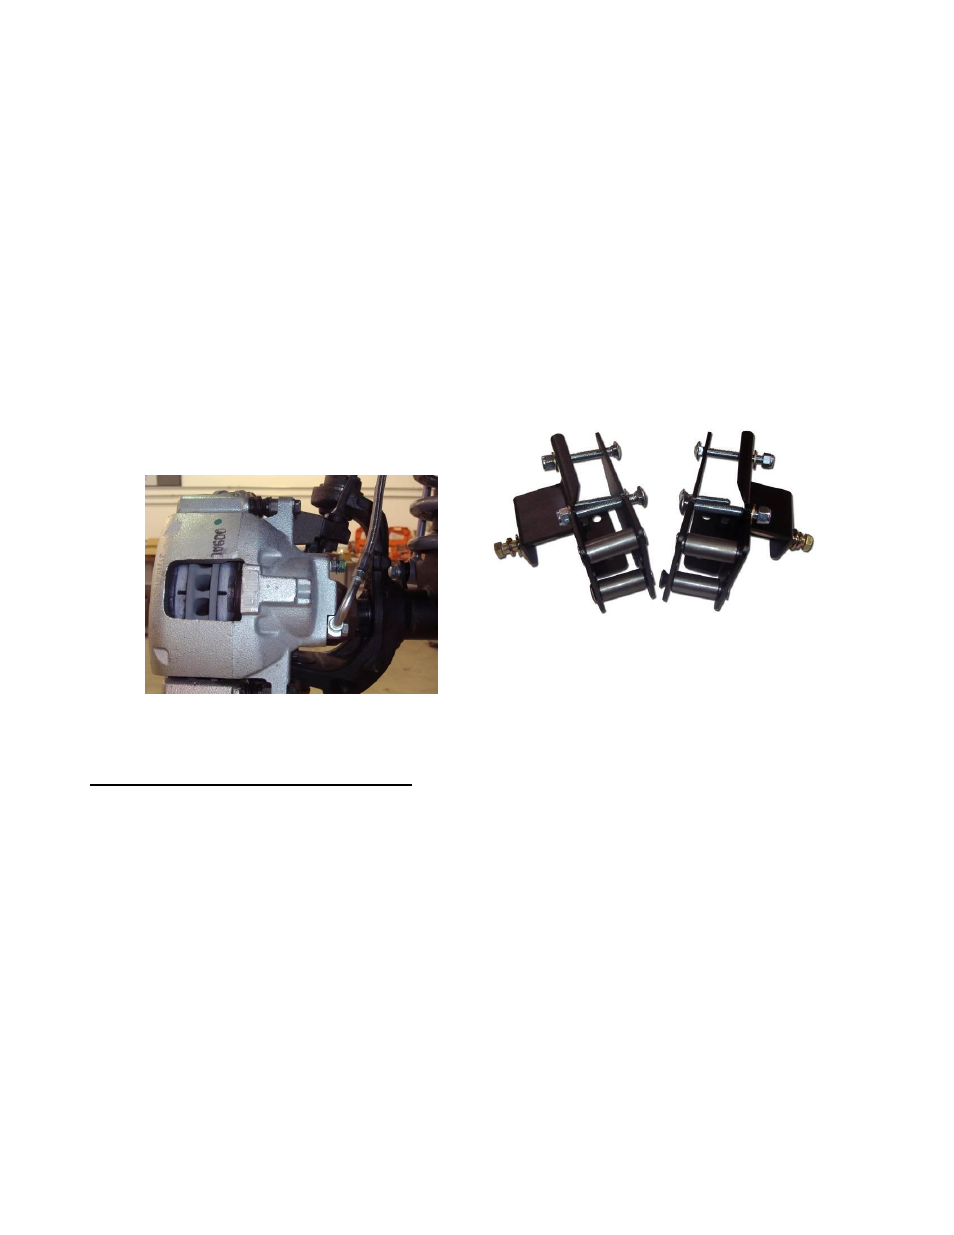
A. Remove and replace the front brake lines with the included stainless steel brake lines. The lines are left and right specific, when
installed the 90 degree leader from the caliper should be leaning away from the tire. (photo 12)
B. Install shock absorbers.
NOTE:
Shock absorbers are sold separately from the suspension system. It is highly critical that the correct length shock be
used with the system to prevent excessive axle droop. Incorrect length shocks will result in loss of coil springs and/or
drive shaft damage. Rubicon Express Radius Long Arm™ systems are designed around Mono-Tube shocks, using a twin
tube shock may cause interference issues and damage to the shock or suspension. Rubicon Express always
recommends using Rubicon Mono-Tube Shock Absorbers for proper fitment and vehicle specific valving.
C. Install sway bar links. See supplied instruction sheet for the front sway bar link / disconnect information (RE1143). This kit
contains all parts necessary to be used on a Jeep Rubicon model with factory electronic disconnect as well as X and Sahara Jeep
models.
Photo # 12
Photo # 13
Step 4 – Rear control arm bracket installation
NOTE: All of the dimensions listed for set up of the Rubicon Express control arms are base line
measurements for set up only. Due to differences in individual vehicle tolerances each vehicle
will need to be fine tuned for its particular lift height and tire size. Final adjustments should
be checked with the shocks installed and coil springs removed and the suspension cycled
from full compression to full droop including full articulation to the left and right side. Any
areas of contact should be addressed at this point by adjusting the control arms.
NOTES:
1.
If the vehicle is equipped with factory rocker skids, remove the rockers before going forward with
the control arm bracket installation.
2.
Two Door models will require that the forward exhaust hanger and t-case skid mount nut be cut off
of the frame and sanded smooth for proper bracket clearance.
3.
The rear control arm brackets should be installed before any of the factory rear suspension
components come off of the vehicle. This will keep the axle in place while working around the rear
section of the frame.