Rubicon Express RE7364 User Manual
Page 10
RI73547364 Page 10 of 11
B. Using the factory spring isolator place the rear coils up into the upper mount and over the lower mount. Raise the axle into
place just enough to keep the coil spring from falling out.
C. Install the supplied links (RE1157) in the factory location.
Rear brake lines and shocks
A. Remove and replace the rear brake lines with the included stainless steel brake lines. The lines are left and right specific and
when installed the 90 degree leader from the caliper should be leaning away from the tire. (photo 12)
B. Install shock absorbers.
NOTE: Shock absorbers are sold separately from the suspension system. It is highly critical that the correct length shock be
used with the system to prevent excessive axle droop. Incorrect length shocks will result in loss of coil springs and/or
drive shaft damage. Rubicon Express Radius Long Arm™ systems are designed around Mono-Tube shocks, using a twin
tube shock may cause interference issues and damage to the shock or suspension. Rubicon Express always
recommends using Rubicon Mono-Tube Shock Absorbers for proper fitment and vehicle specific valving.
Fuel tank and exhaust
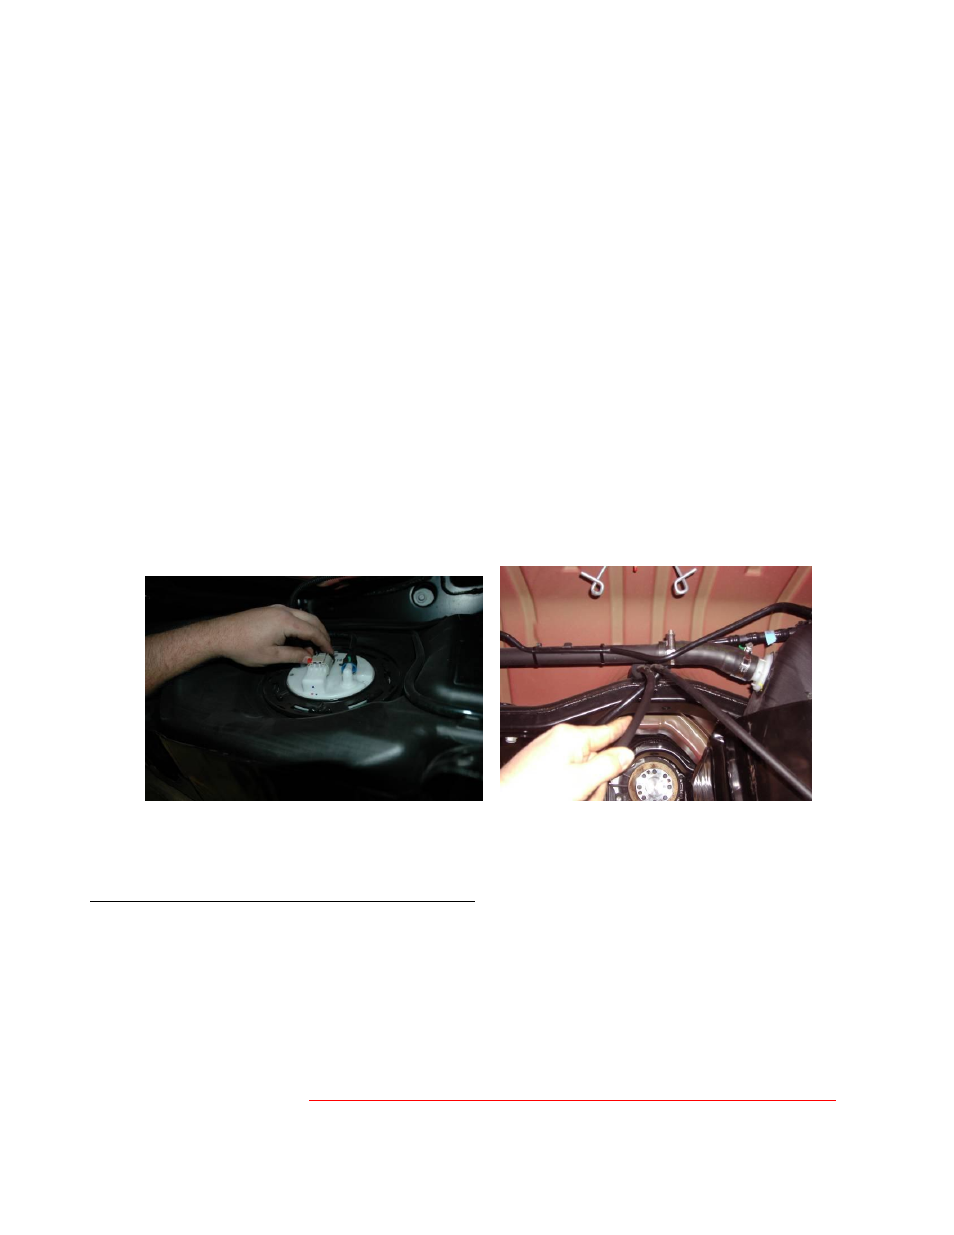
A. Reinstall the fuel tank in the reverse order of removal. Be sure that the hoses do not get bound on any frame rails or cross
members while raising the tank into position. Connect the wire harness and hose on the top of the tank before completely
raising the tank. (photo 24)
B. Route the e-brake cables below the fuel filler and breather hose so during suspension cycling the cables do not pull on the
fuel hoses. (photo 25)
C. Re-hang the factory exhaust system and tighten all clamps.
NOTE: It may be necessary that the exhaust system is loosened from the exhaust manifold connection. Doing so will allow for
minor adjustments to the catalytic head pipe for increased clearance around the cross member. Be sure to tighten all connections
after adjustments to the exhaust have been made.
Photo # 24
Photo # 25
Step 6 - Final details, adjustments and drag link install
A. Install wheels, verify all coils are properly seated, shocks installed, and lower the vehicle.
B. Check the front track bar for axle center, adjust as necessary.
C. Tighten all control arm and track bar rubber bushing hardware. Use factory specs where factory bolts are used.
D. Properly bleed brake lines per factory manual and check for leaks and a firm pedal.
E. Manually disable the factory ESP system before the first test drive. (Refer to owners manual for the disable procedure) Note the
location of steering wheel while driving in a straight line and any driveline vibrations.
F. Install RE2610 drag link.
See supplied instruction sheet for the front drag link (RE2610) for proper install (4.5” lifts only).
Adjust drag link to center the steering wheel. NOTE: Centering the steering wheel is highly critical for proper ESP function.
Minimum factory caster and maximum factory toe-in. (see Troubleshooting as well).