Mounting the set under a cabinet – Philips AJL700-37B User Manual
Page 10
10
English
Mounting the Set under a Cabinet
Preparation
●
Ask a friend to help out. An extra hand to hold
the set makes mounting easier and quicker.
●
You may install the unit in the kitchen with or
without spacers.
a
Find a mounting location near a wall outlet.
b
Use the mounting template to test the design
and thickness of your kitchen cabinet bottom.
c
Decide whether you want to connect the set
with other audio/ video equipment.
Mounting the Set
For full details on how to use the Mounting kit,
please refer to the printed instructions in the
Quick Start Guide and Template.
IMPORTANT!
– Never plug in the AC power cord to
the power outlet before installation is
completed.
– Mount the set so that its AC power
cord can be plugged directly into a wall
outlet.
– Do not use a converter or extension
cord.
- Install the set as far as possible from
sources of interference, such as a
refrigerator, microwave oven, fluorescent
lamp, etc.
– There should be at least 2.5" distance
between the unit and the wall.
– To reduce the risk of fire, do
not place any heating or cooking
appliance beneath the set, especially
while the LCD screen is open or on
view.
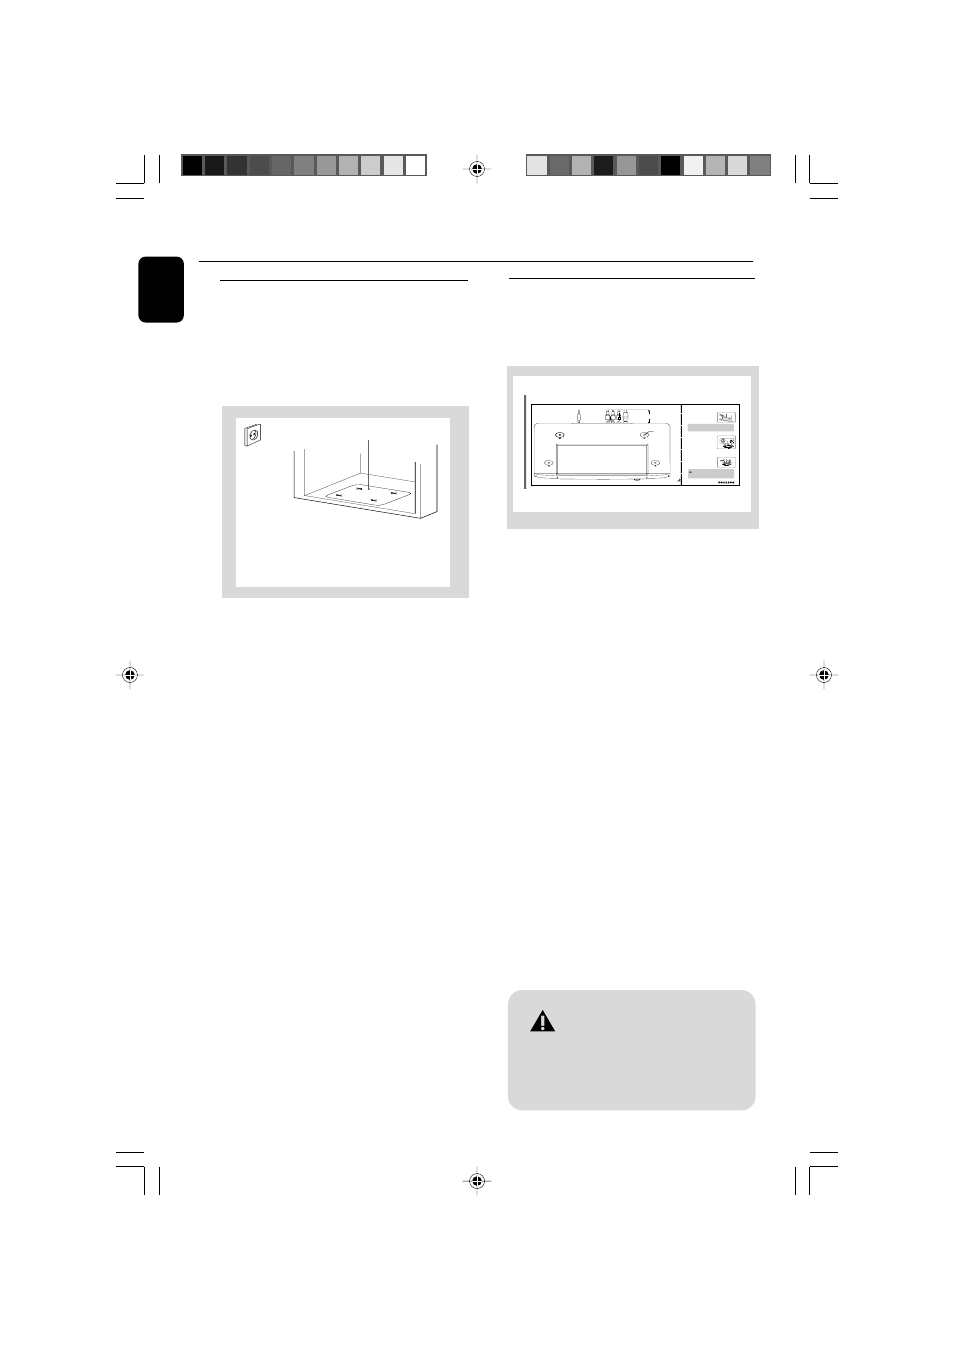
FRONT
Use 1/4"
drill
Recommended depth of cabinet
at the rear to allow for connections
DC
VIDEO
IN
AUDIO
L
IN
R
TV
ANT
AM
FM
Mount it
Ask a friend to help you mount the unit as it is quite heavy.
A
• Cut the template to fit inside the cabinet.
• Align the template border marked "FRONT"
along the front edge of your cabinet.
• Use adhesive tape to fix the template.
• Drill 1/4 inch holes (size X.X mm diameter, X
inch), as marked X on the template.
• Remove the template when you finish drilling.
B
Using the spacers
On the spacers, there are 4 pairs of notch length
options. Depending on the thickness of you cabi-
net bottom (with/ without an overhang), these
notch lengths correspond to the 4 notch height in
the space holders, and allow you to adjust to the
best height to help you mount the unit.
• Measure the height of the cabinet bottom
and/overhang.
• Turn the spacer counterclockwise to determine
which of the 4 heights is most suitable: High • •
Low
• Insert the spacers accordingly.
C
• Manually fasten the 4 screws down into the
spacer holder holes to mount your set. If the
overhang is more than 1 1/4 inch, use longer
screws (not included).
Tip
– Use a nail to start each drill hole.
– Hold your drill firmly at 90o with the cabinet bottom and drill holes at
low speed.
– Clear wood shavings.
Tip
To prevent damage to your set, do not use an electric drill
to secure screws when mounting!
– Hold the unit horizontally when installing it, since the CD tray may
open if the unit is shaken.
– Use the cable manager to manage excess power cord length.
C
Template
A
H
L
Spacer
L (Low)
L••H (4 heights)
Arrow
B
a
Template
b