Operation assembly (continued), Learning to use the rotary tool, Warning – Bosch 400 Series XPR User Manual
Page 9: Caution, Keyless chuck
9
OPERATION
ASSEMBLY (CONTINUED)
Learning To Use the Rotary Tool
Getting the most out of your rotary tool is a
matter of learning how to let the speed and
the feel of the tool in your hands work for you.
The first step in learn-
ing to use the rotary
tool is to get the “feel”
of it. Hold it in your
hand and feel its
weight and balance.
Feel the taper of the
housing. This taper permits the tool to be
grasped much like a pen or pencil. The
unique comfort grip on the nose allows for
added comfort and control during use.
Always hold the tool
away from your face.
Accessories can be damaged during
handling and can fly apart as they come
up to speed. This is not common, but it
does happen.
When holding tool, do not
cover the air vents with
your hand. Blocking the air vents could
cause the motor to overheat.
IMPORTANT! Practice on scrap material first
to see how the tool’s high-speed action per-
forms. Keep in mind that your rotary tool will
perform best by allowing the speed, along
with the correct Dremel™ accessory and
attachment, do the work for you. Do not put
pressure on the tool during use, if possible.
Instead, lower the spinning accessory lightly
to the work surface and allow it to touch the
point at which you want to begin.
Concentrate on guiding the tool over the
work using very little pressure from your
hand. Allow the accessory to do the work.
WARNING
!
CAUTION
!
Usually it is better to make a series of pass-
es with the tool rather than to do the entire
job with one pass. A gentle touch gives the
best control and reduces the chance for
error.
2
4
2
4
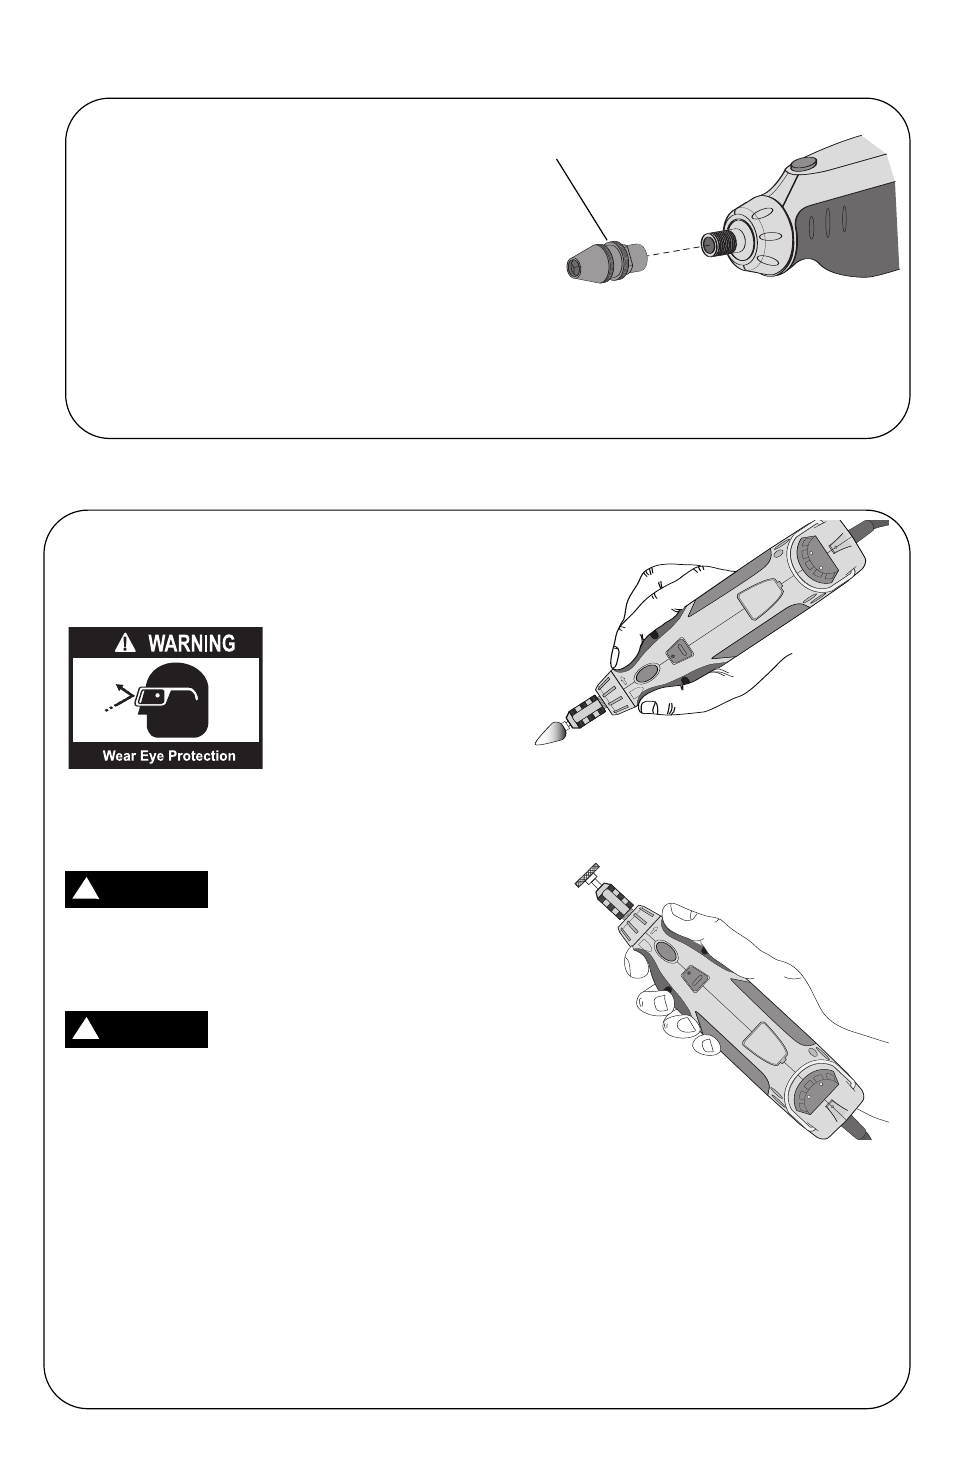
For best control in close work, grip the rotary
tool like a pencil between your thumb and
forefinger.
The “golf” grip method is used for more aggres-
sive operations such as grinding or cutting.
Keyless Chuck
The keyless chuck is used in place of the stan-
dard collet and collet nut to easily and quickly
remove and install some accessories.
The keyless chuck holds various accessories
with shank sizes 1/32" to 1/8" and is intended
for light duty accessories such as drill bits,
sanding drums, polishing accessories, wire
and bristle brushes and cut-off wheels.
1. See steps 1—3, Changing Collets on
page 7 to install the keyless chuck.
2. Thread the keyless chuck onto the rotary
tool shank.
3. Use the supplied wrench to complete-
ly tighten the keyless chuck if you are
unable to apply sufficient tightening
pressure to hold the bit or accessory.
Keyless Chuck