Exploring the pages : using the info boxes – Bushnell Onix 364000 User Manual
Page 13
13
because “No Information” is selected for display there. Simply select
something else, and you can have up to a maximum of 4 Info Boxes in the
lower part of your Map screen (Fig. 9).
7. Once you have set up the lower Info Boxes with a few different types of
Nav data, press EXIT or hold MENU again to leave the Info Box setup process
and return to normal display. The info you chose will still be displayed in the
boxes, and any boxes with “No Information” selected will not appear.
8. You can also change the info displayed in the upper two Info Boxes, to
show additional Nav related data (Fig. 10). After following step 2 above to
highlight the first lower Info Box, press UP and you will jump to the upper
left Info Box. Press OK to see the list of info to display here (then press “+”
to see a second list). As described in step 4, make a selection from one of
the lists, then press OK. Press RIGHT to jump to the upper right Info Box and
repeat. Once you have one or both upper boxes set up as you like, press
EXIT.
9. In the previous example, you picked information types for the Info Boxes
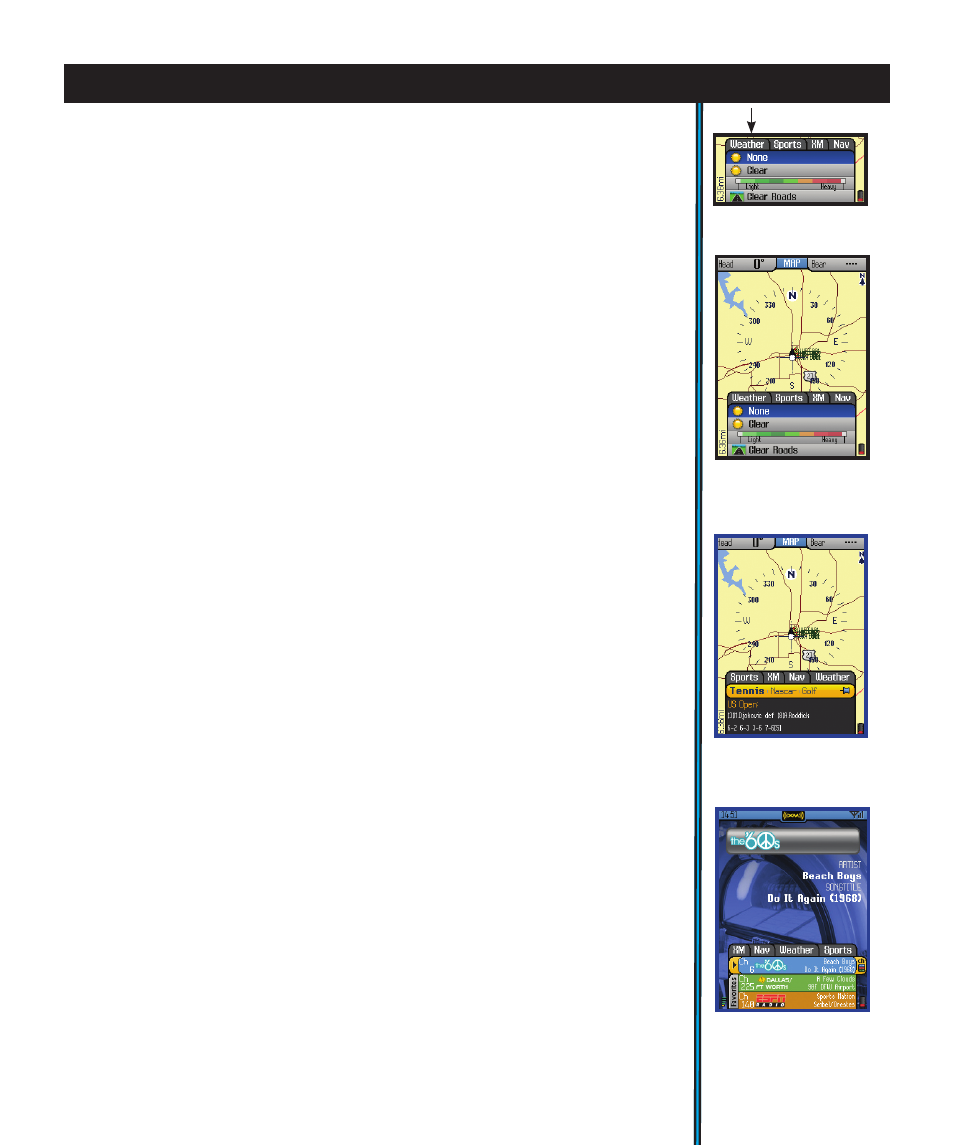
only from the Nav tab. Let’s try another one, like Weather. Hold MENU again
to get back into the Info Box setup, then press “+” to make the Weather tab
active (move it into far left position) (Fig. 11).
10. Follow steps 3 through 6 above to set up Info Box displays for different
kinds of weather related info. When finished, press the LEFT button, then
EXIT, and the Info Boxes will now show the various weather information you
selected. (Fig. 12) Note that you can also select “Weather at Destination” or
“Local Weather” as one or two of your Info Boxes from the Nav tab, but the
full list of weather related info is only available by selecting the Weather
tab.
11. Try the other tabs- selecting the “Sports” tab will let you see streaming
XM information covering a variety of sports. Press DOWN to go to the first
Info Box, press OK and use LEFT/RIGHT to select a specific game or event
in one of your sports categories. Press OK again to hold or “Push Pin” that
game/event, and then press LEFT and EXIT. You now will see info relevant
to that sport only, instead of news and scores for all the sports. (Fig. 13)
You will also find options on the XM Radio Page to set up your sports and
team preferences.
12. By selecting the “XM” tab, you can set up the Info Boxes to give you a
choice of three different entertainment channel “presets” to listen to. Use
the same process as you did before to change the channel selected for
each box. Once you have your favorite channels set up on presets, let’s
say you see the name of a song you like pop up on one of them, and you
want to switch over to listen to it. Hold MENU, go DOWN to that Info Box,
and press OK. If you were already listening to an XM Radio channel, it will
“swap places” with the new one.
eXPloring the Pages : using the info boxes
Fig 12.
Info Boxes with
Weather Data
(note Weather tab is active)
Fig. 11.
Weather tab Selected
Fig 13.
Info Boxes with
XM Sports
(Sports tab is active)
Fig 14.
Info Boxes with
XM Radio
(XM tab is active)