Esata (external serial ata), Connecting the esata device – Toshiba Satellite T230 User Manual
Page 68
3-24
User’s Manual
T210/T230
When you turn on the power, the computer will automatically recognize the
monitor and determine whether it is a color or monochrome device. In the
event that you find that there are issues getting an image displayed on the
correct monitor, you should consider using the FN + F5 hot key to change
the display settings (if you then disconnect the external monitor before you
turn the computer’s power off, be sure to press FN + F5 hot key again to
switch to the internal display).
Please refer to Chapter 5,
, for further details on using hot
keys to change the display setting.
When displaying desktop at external analog monitor, desktop is sometimes
displayed on the center of the monitor with black bars around desktop (with
small size).
At that time, please read the manual of the monitor and set the display
mode which is supporting at the monitor. Then it will be displayed with
suitable size with correct aspect ratio.
eSATA (External Serial ATA)
A device corresponding to eSATA function can be connected to the
eSATA/USB combo port on the computer.
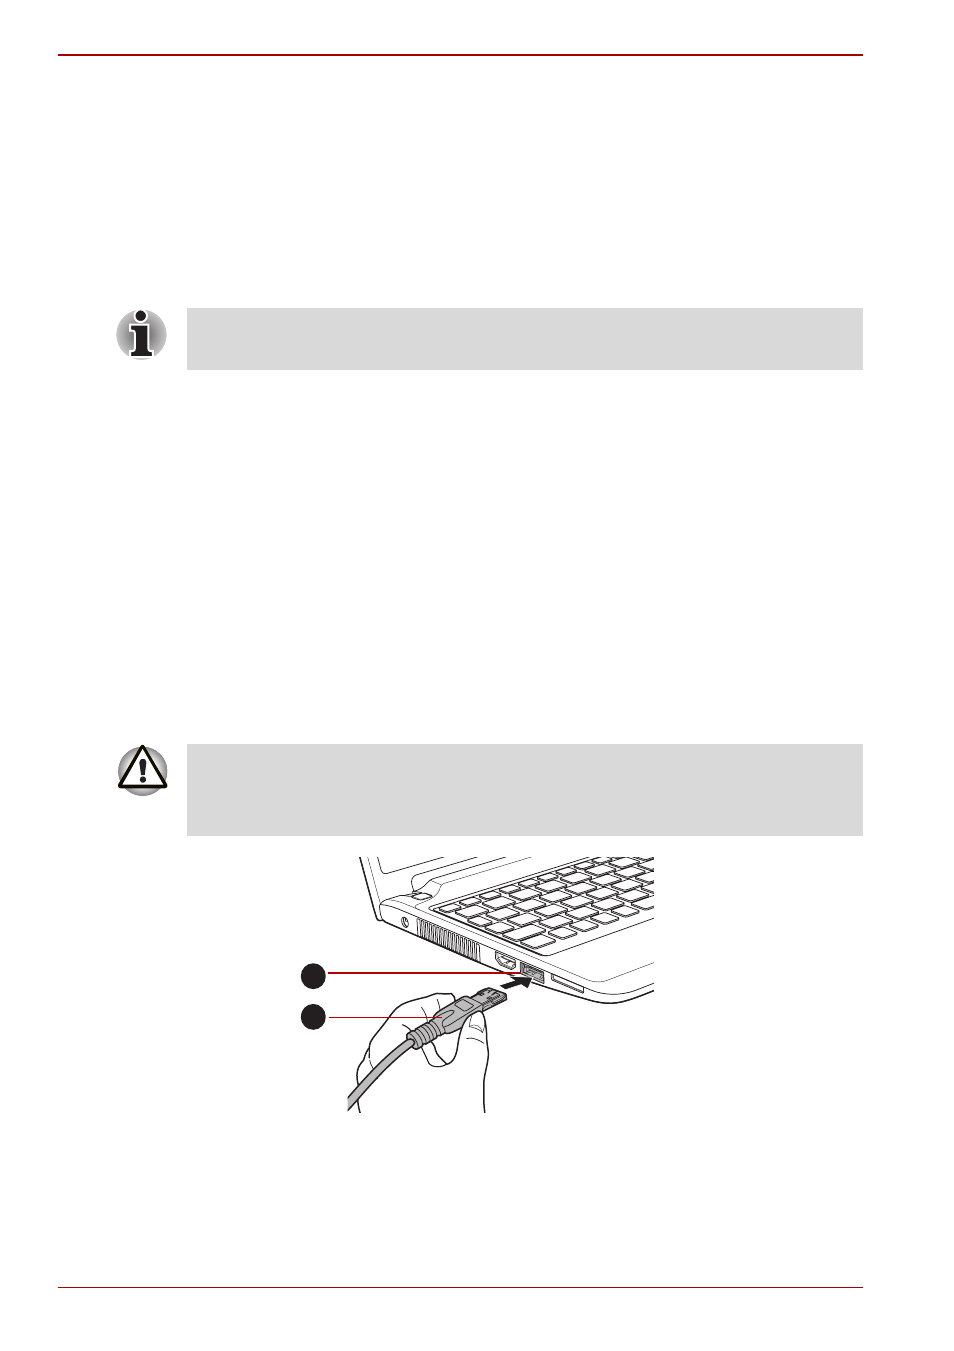
Connecting the eSATA device
To connect an eSATA device, follow the steps as detailed below:
1. Connect an eSATA cable to the eSATA/USB combo port.
Figure 3-13 Connecting an eSATA cable to the eSATA/USB combo port (T210)
Do not disconnect the external monitor while in Sleep or Hibernation Mode.
Turn off the computer before disconnecting the external monitor.
Make sure the connector is properly aligned with the socket.
Do not try to force the connection, doing so can damage the
connecting pins.
1
2
1. eSATA cable
2. eSATA/USB combo port