Changing the time and date, Setting time and date [time & date – Olympus DS-2500 User Manual
Page 21
Changing the time and date
When the recorder’s POWER/HOLD switch is turned
ON the [Time & Date] will be displayed for two
seconds. If the time and date is not correct, set it
using the procedure below.
2
Press the PLAY/OK or
9
button.
• The time and date screen appears. The hour
indicator flashes, indicating the start of the
time and date setup process. The following
steps are the same as Step 1 through Step 3 of
“Setting time and date [Time & Date]” (
☞
P.20).
3
Press the F3(EXIT) or
0
button to
complete the setting.
Example: October 14, 2012
10M 14D 2012Y
(Initial setting)
14D 10M 2012Y
2012Y 10M 14D
* The display will vary depending on the status of the
settings.
3
Press the PLAY/OK
button to complete
the setting.
• The clock will start from the set date and time.
Press the PLAY/OK button according to the
time signal.
Notes
• If you press the STOP button during the setup
operation, the settings are cancelled, and the
recorder returns to the previous screen.
• You can set the time and date from your PC using
DSS Player software (
☞ P.53).
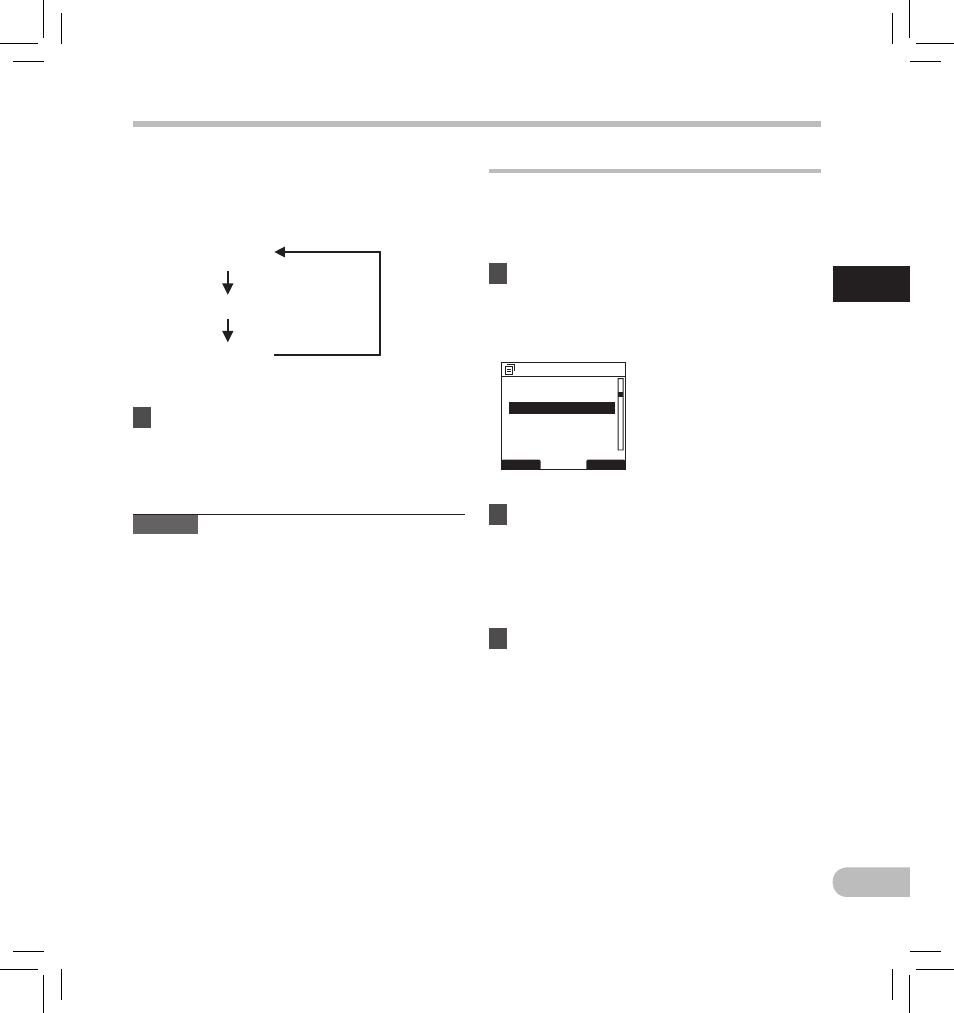
1
Press the + or − button in the [Device
Menu
] screen, then select [Time & Date].
• Refer to P.41 regarding each menu item
settings.
• You can choose the order of the year,
month, day by pressing the F2([M]/[D]/[Y]
or [D]/[M]/[Y] or [Y]/[M]/[D])* button while
setting them.
Setting time and date [Time & Date]
1
EN
21
Se
tt
in
g t
im
e a
n
d d
a
te
BACK
EXIT
Device Menu
Beep
Time & Date
Battery
USB Settings
Reset Settings
Power Save