Konica Minolta bizhub C3350 User Manual
Page 60
[Quick Start Guide]
5-25
5.6
Registering a destination
5
Basic
Us
age
Chap
te
r 5
[Internet Fax]
Tips
-
To check the settings for a registered destination, select its registered name, then tap [Check Settings].
-
To change the settings for a registered destination, select the registered name, then tap [Edit].
-
To delete a registered destination, select its registered name, then tap [Delete].
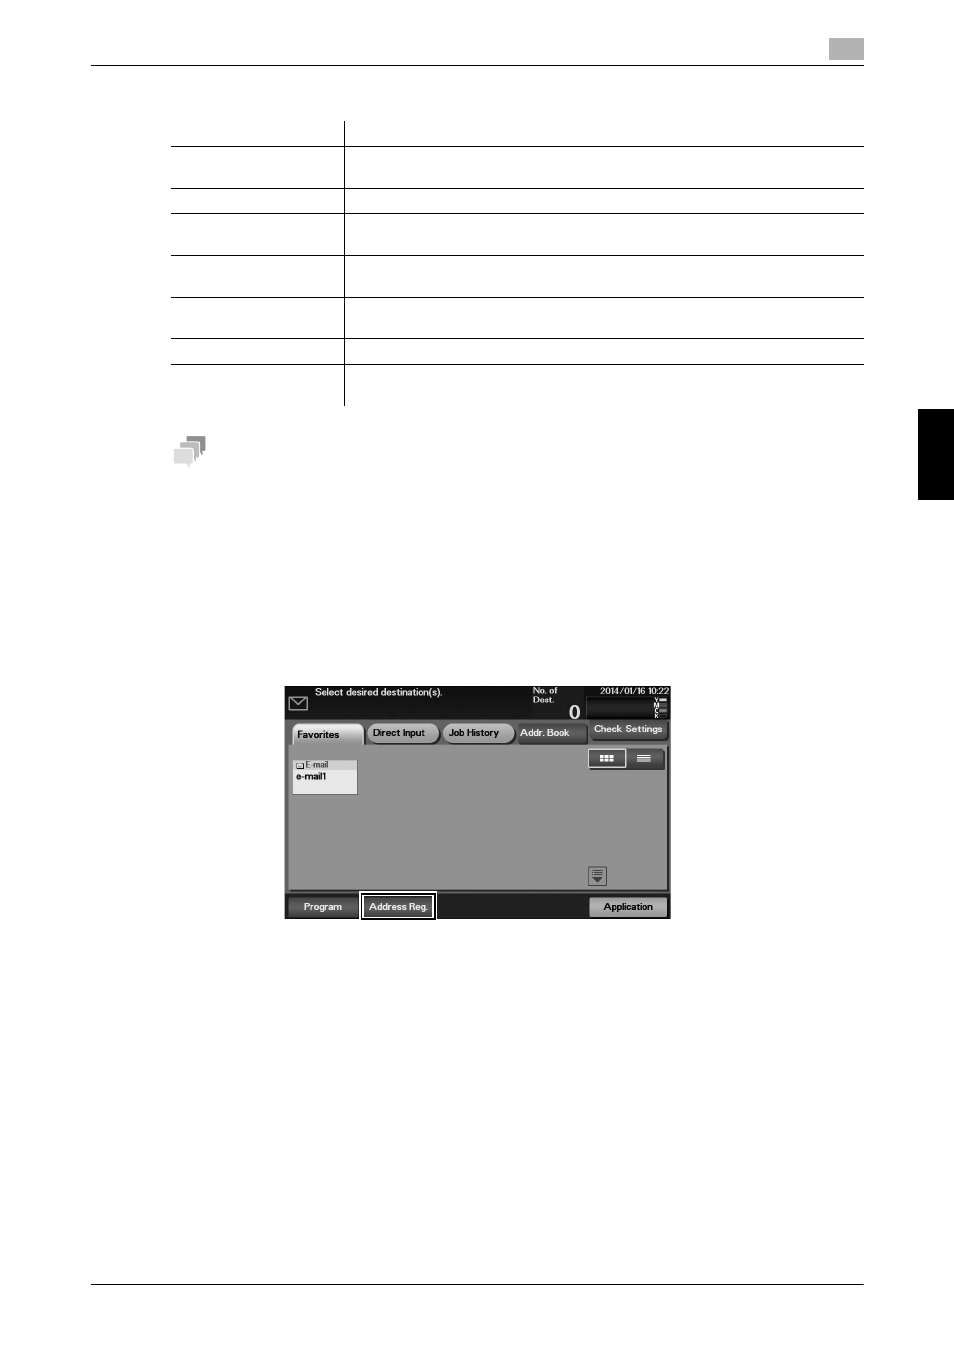
Registering information on the main screen in Scan TX mode or Fax mode
1
Depending on the type of destination you want to register, tap [Scan to E-mail], [Scan to Folder], or
[Fax].
2
Tap [Address Reg.].
3
Tap [Input New Address], then tap the type of the destination you want to register.
4
Enter destination information, then tap [Register].
% The registered information is the same as that to be registered from the Utility. For details, refer to
Settings
Description
[No.]
Destination registration number. The smallest available number that is not
used is automatically assigned.
[Name]
Enter the destination name (using up to 72 characters).
[Favorite]
Select this option to register a frequently used destination. The registered des-
tination is displayed in [Favorite], enabling you to easily specify a destination.
[Index]
Select a corresponding character so that the destination can be index
searched by name.
[E-mail]
Enter the E-mail address as a destination (using ASCII characters of up to 320
bytes).
[Details]
Enables you to check the E-mail address you entered in [E-mail].
[Receiver RX Ability]
Select [Compression Method] and [Resolution] respectively as the specifica-
tions of the original data that can be received on the destination device.