Locking, Optical, Drive – Lenovo ThinkCentre M57p User Manual
Page 26: Connecting, Five-wire, Power, Connector
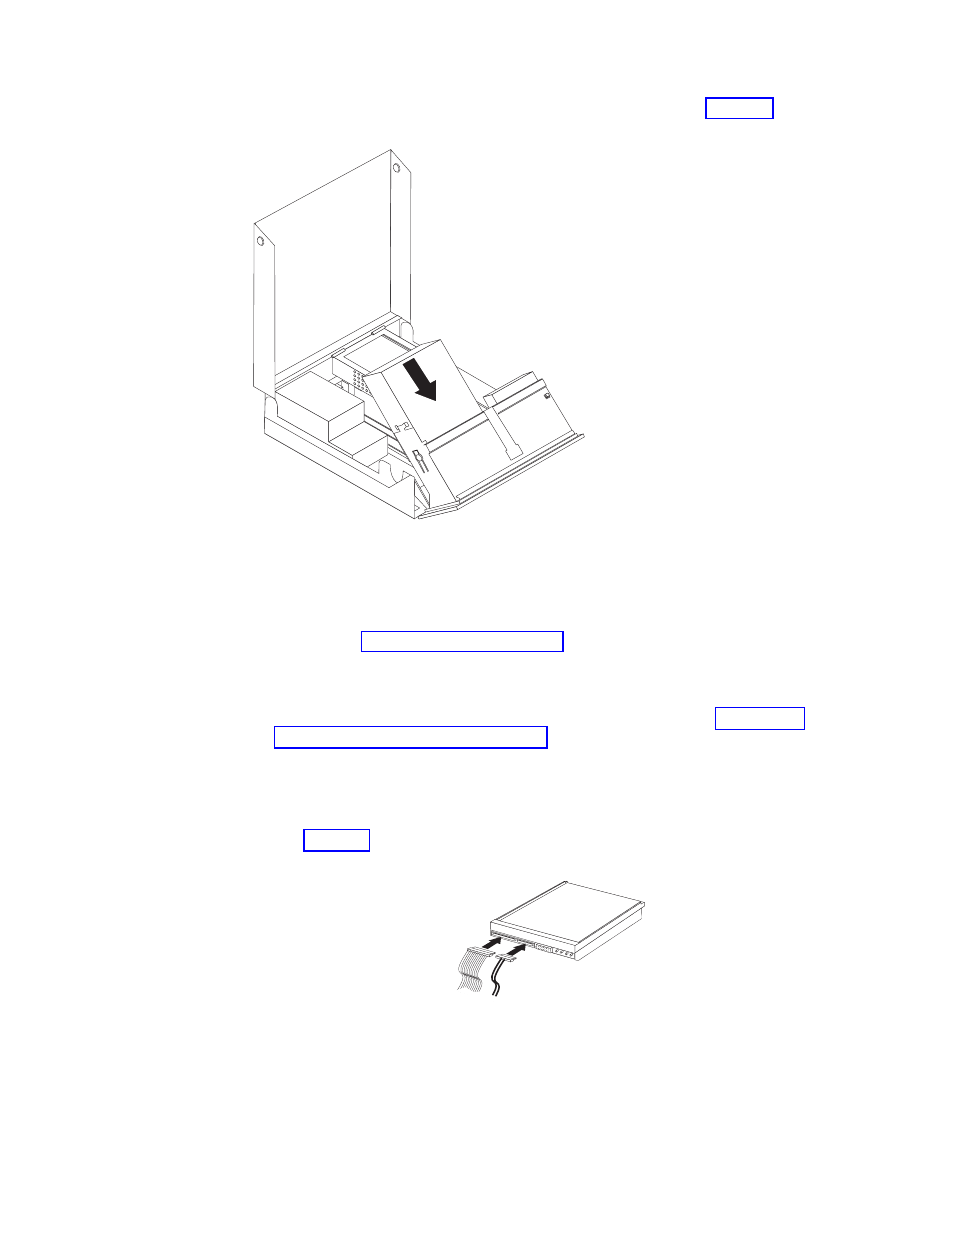
5.
Slide
the
drive
3
into
the
bay
until
it
locks
in
position.
See
6.
Pivot
the
drive-bay
assembly
upward
to
gain
access
to
the
cable
connections
and
connect
the
drive
cables.
7.
Reinstall
the
front
bezel.
8.
Continue
at
Connecting
a
SATA
drive:
A
serial
optical
or
additional
hard
disk
drive
can
be
connected
to
any
available
SATA
connector.
1.
Locate
the
available
SATA
connector
on
the
system
board.
See
2.
Using
the
signal
cable
that
came
with
the
new
drive,
connect
one
end
of
the
signal
cable
to
the
drive
and
the
other
to
the
available
SATA
connector
on
the
system
board.
3.
Locate
one
of
the
extra
five-wire
power
connectors
and
connect
it
to
the
drive.
See
Figure
10.
Locking
the
optical
drive
Figure
11.
Connecting
the
five-wire
power
connector
to
the
drive
18
ThinkCentre
Hardware
Installation
and
Replacement
Guide