Vollrath U421 Water Cooled User Manual
Page 25
17
D.
Clean the rear seal surface from inside of the freezer
barrel.
E.
Remove the rear drip tray by pulling from side panel.
Clean and replace drip tray.
F.
Assemble freezer parts. (Refer to section 3.13 for
assembly of freezer parts).
NOTE
Any cleaning procedure must always be followed
by sanitizing before filling freezer with mix. (Refer to
section 3.3)
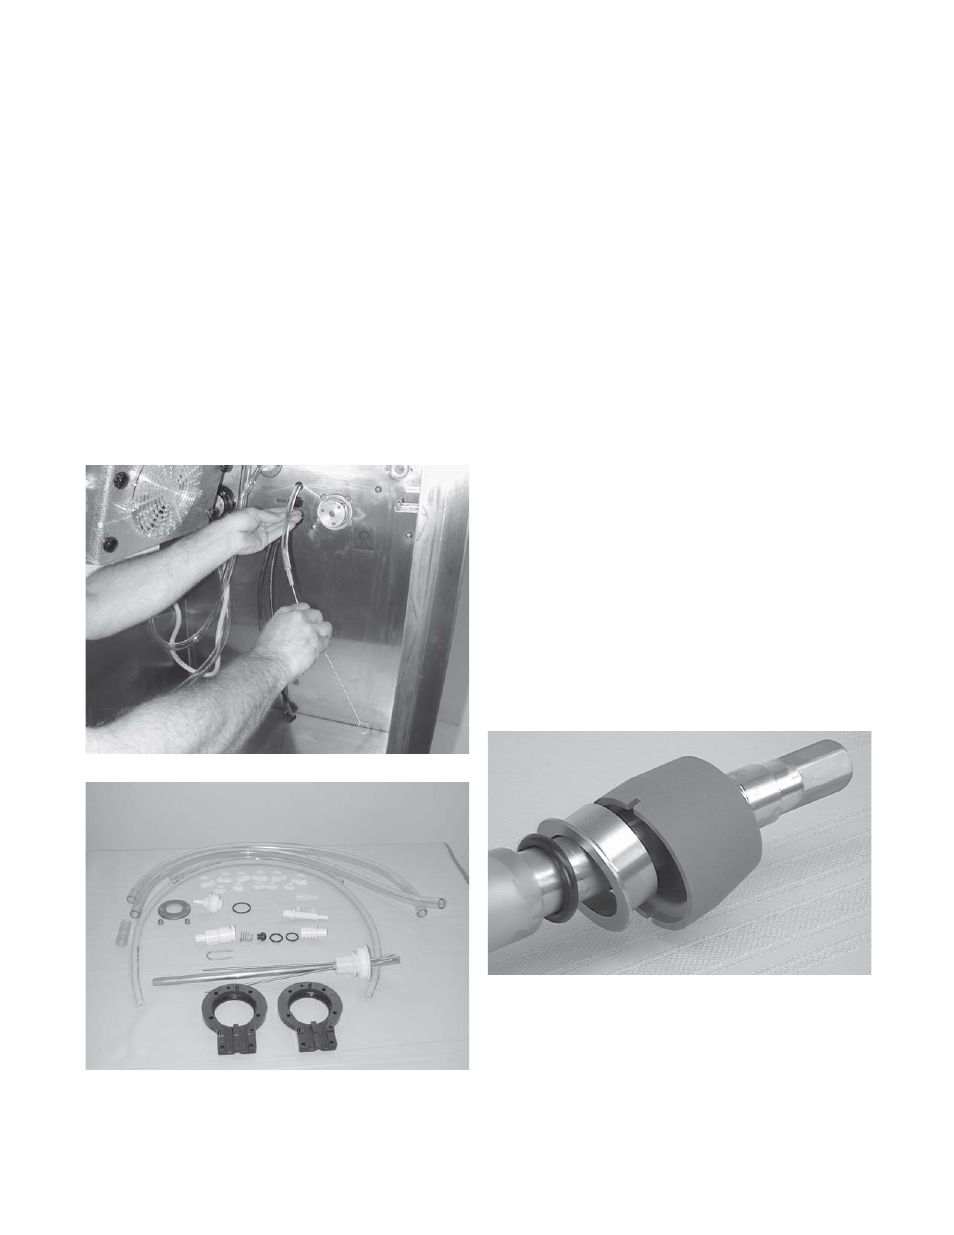
3.11 MIX PUMP CLEANING
The mix pump is approved for CIP (clean in place) and is
thoroughly cleaned as cleaning solutions are pumped thru
the freezer. We recommend completely disassembling
the pump and connecting tubing every 14 days for inspection
of parts to confirm the CIP has been properly performed. If
any residue is detected clean or replace those parts. Clean
parts in warm soapy water using brushes provided. See
Figures 21 and 22.
Figure 21. Cleaning Air Tube
Figure 22. Removable Parts
3.12 SANITIZE FREEZER PARTS
A.
Use a sanitizer mixed according to manufacturer's
instructions to provide a 100 parts per million strength
solution. Mix sanitizer in quantities of no less than 2
gallons (7.5 liters) of 120°F (49°C) water. Allow the
sanitizer to contact the surfaces to be sanitized for 5
minutes. Any sanitizer must be used only in accor-
dance with the manufacturer's instructions.
B.
Place all parts in the sanitizing solution, then remove
and let air dry.
C.
Using this sanitizing solution and the large barrel
brush provided, sanitize the barrel by dipping the
brush in the sanitizing solution and brushing the
inside of the barrel.
3.13 ASSEMBLY OF FREEZER
To assembly the freezer parts, refer to the following steps:
NOTE
Petro-Gel sanitary lubricant or equivalent must be
used when lubrication of freezer parts is specified.
NOTE
The United States Department of Agriculture and
the Food and Drug Administration require that lubri-
cants used on food processing equipment be certi-
fied for this use. Use Lubricants only in accordance
with the manufacturer's instructions.
A.
Assemble all "O" rings onto parts dry, without lubri-
cation. Then apply a thin film of sanitary lubrication
to exposed surfaces of the "O" rings.
B.
Lubricate rear seal area on auger with a thin layer of
sanitary lubricant. Install the rear seal (Figure 23)
"O" ring. Lubricate and install rear seal.
Figure 23. Rear Seal Lubrciation
C.
Lubricate the hex drive end of auger with a small
amount of white socket lubricant. A small container
of socket lubricant is shipped with the freezer.
D.
Screw the springs onto the studs in plastic flights.
Spring must be screwed into the flights com-
pletely to provide proper tension. Figure 24.
З
З
З
З
З
Й
Й
Й
Й
Й
Й
Й
Й
Й
Й
Lubricate with Petrogel
Lubricate with
Socket
Lubricant
К
К
К
К
К