Figure 7: button cap orientation with label, Figure 8: replacing the button cap, Figure 7 – Kramer Electronics RC-78R User Manual
Page 20
RC-76R/RC-78R - Front Panel Button Caps and Labels
17
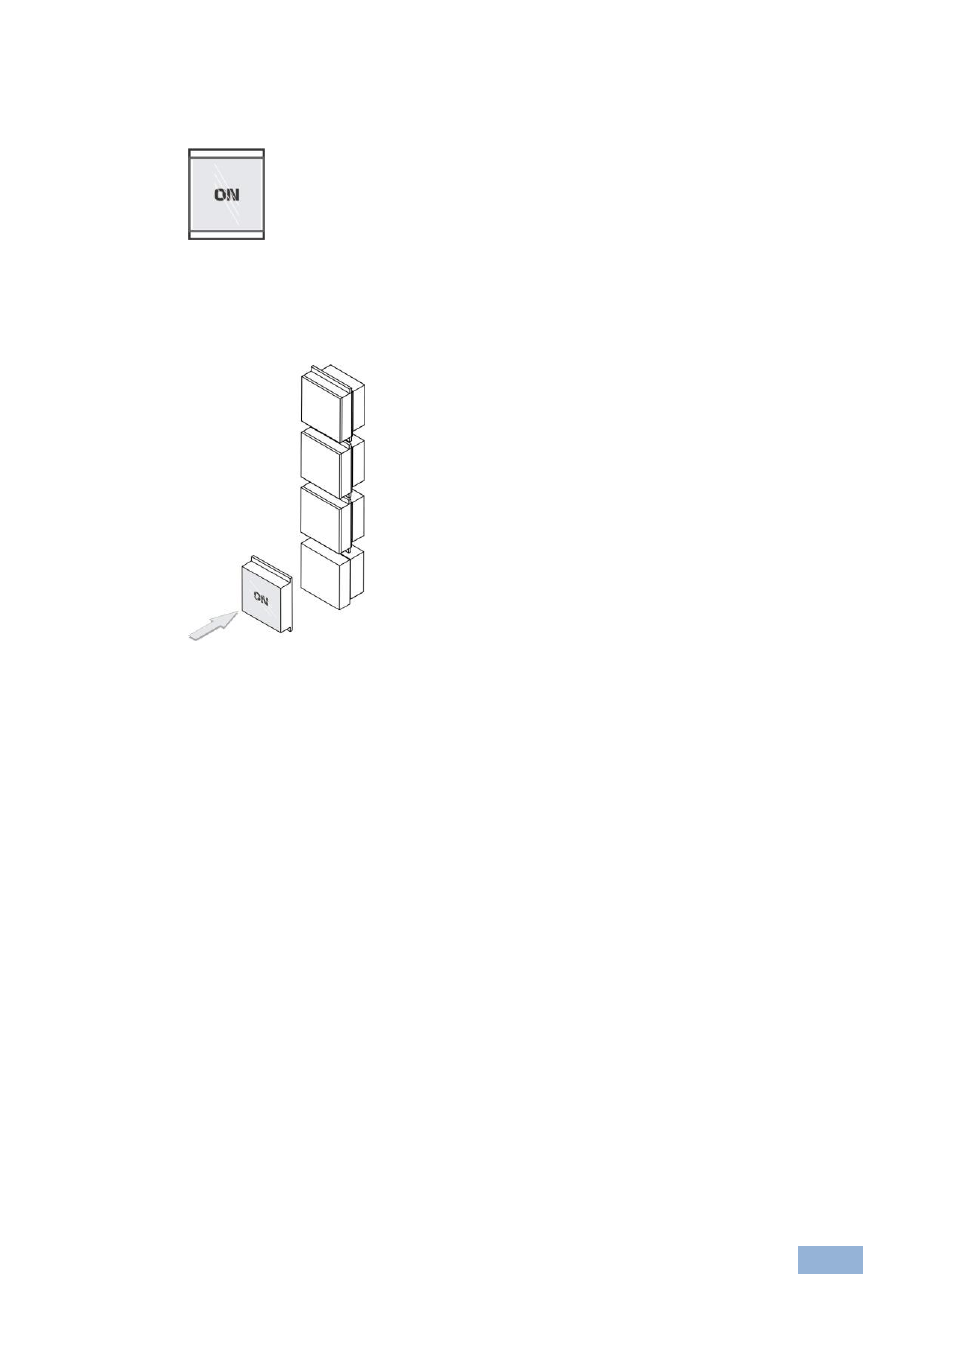
Figure 7: Button Cap Orientation with Label
6. Retaining the orientation, return each cap to its correct button.
Figure 8: Replacing the Button Cap
7. Repeat for all caps.
8. Replace the button cover plate and screw it into place with its mounting
screws.
9. Replace the Decora face plate over the unit and screw it into place with its
mounting screws.
This manual is related to the following products: