5 connecting the video audio switcher, Connect the power cord to the mains electricity – Kramer Electronics VS-421 User Manual
Page 5
Connecting the Video Audio Switcher
3
Table 1: Front Panel Features and Functions of the VS-421 4x1 Video Audio Switcher
# Feature
Function
1 POWER Switch
Illuminated switch supplying power to the unit
2 INPUT SELECTOR Buttons Select the video-audio source (from 1 to 4)
Table 2: Rear Panel Features and Functions of the VS-421 4x1 Video Audio Switcher
# Feature
Function
1 VIDEO IN BNC Connectors
Connects to the video-audio source (from 1 to 4)
2 REMOTE Detachable Terminal Block
Connector
Connects to a remote unit
3 IN = VERTICAL Switch
Pushing in selects the vertical interval mode
1
,
releasing selects the immediate mode
4 VIDEO OUT BNC Connector
Connects to the video-audio acceptor
5 AUDIO (R and L) IN RCA Connectors
Connects to the video-audio source (from 1 to 4)
6 AUDIO (R and L) OUT RCA Connectors
Connects to the video-audio acceptor
7 Power Connector with Fuse
230 VAC 50/60 Hz (115 VAC, U.S.A.) power inlet
5 Connecting the Video Audio Switcher
To connect a
VS-421 4x1 Video Audio Switcher unit, do the following:
1. Connect up to 4 composite video-audio sources to the appropriate input
video connectors and input AUDIO L and AUDIO R connectors.
2. Connect the appropriate output video connector and output AUDIO L and
AUDIO R connectors to a composite video-audio acceptor.
3. Connect a remote unit
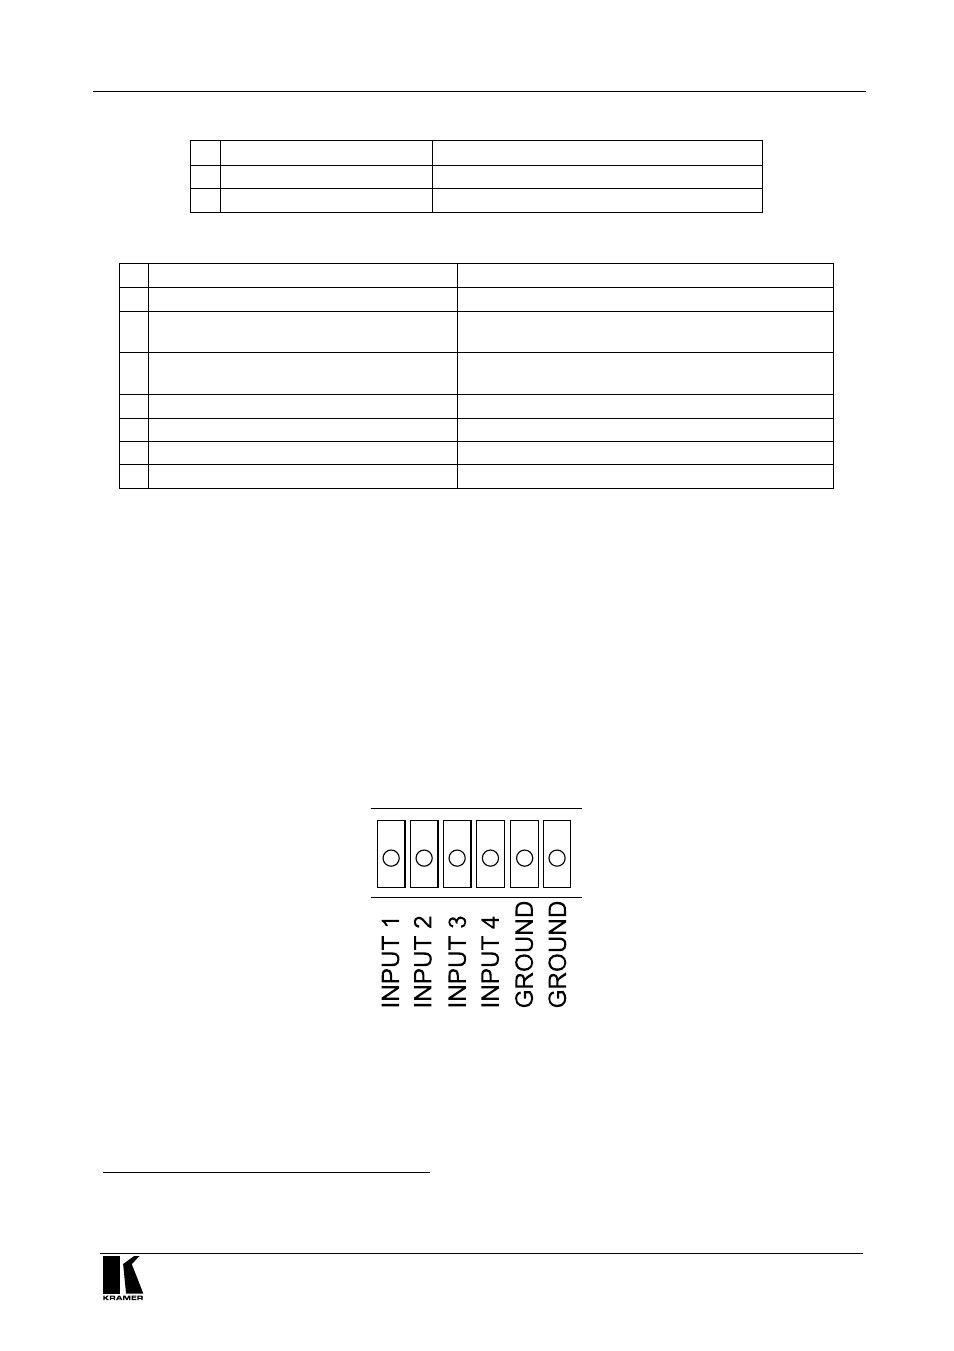
2
, if required, to the REMOTE terminal block 6 pin
connector, according to the PINOUT in Figure 2:
Figure 2: REMOTE PINOUT
4. Connect the power cord to the mains electricity.
1 Between Genlocked sources
2 A mechanical switcher with a common wire for ground or a security dry contact with a separate wire for ground