Rugged Ridge 3-Inch Lift Kit without Shocks, 84-01 Jeep Cherokee (XJ) User Manual
Page 4
14. Add-A-LEAF INSTALLATION: To perform the installation of add-a-leafs properly you must use
two large C-clamps to contain the elastic potential energy in a leaf spring when the center tie bolt
is removed. Attach and tighten a C-clamp on leaf spring on both sides of the center tie bolt to hold
spring assembly securely together. Using vice grips to hold the head of the center bolt, loosen and
remove it. With care slowly loosen and remove the C-clamps and springs bottom overload leaf, if
equipped.
15. Place new leaf into the spring so that the leaves remain progressive longest to shortest while
matching the long end and short end of add-a-leaf to leaf spring. (New add-a-leaf will install under
top main leaf). Insert new tie bolt through original bottom overload leaf, if equipped, and then
through spring pack. Only finger tighten the tie bolt nut.
16. dO NOT uSE THE CENTER TIE bOLT TO dRAw THE SPRING LEAVES TOGETHER. Failure
of any component can cause an explosive disassembly and possible injury! Place one C-clamp
on each side of center tie bolt and tighten evenly. Once C-clamp has drawn the leaves securely
together, hold center tie bolt head with vice-grips and tighten nut. Remove C-clamps.
17. Install leaf spring on vehicle and lower the rear axle back down, aligning spring pins into axle
housing. Install original U-bolts and tighten evenly. Install rear shock absorbers, tires, remove jack
stands and lower vehicle down.
18. NEw REAR SPRING INSTALLATION: (Cherokee Only)
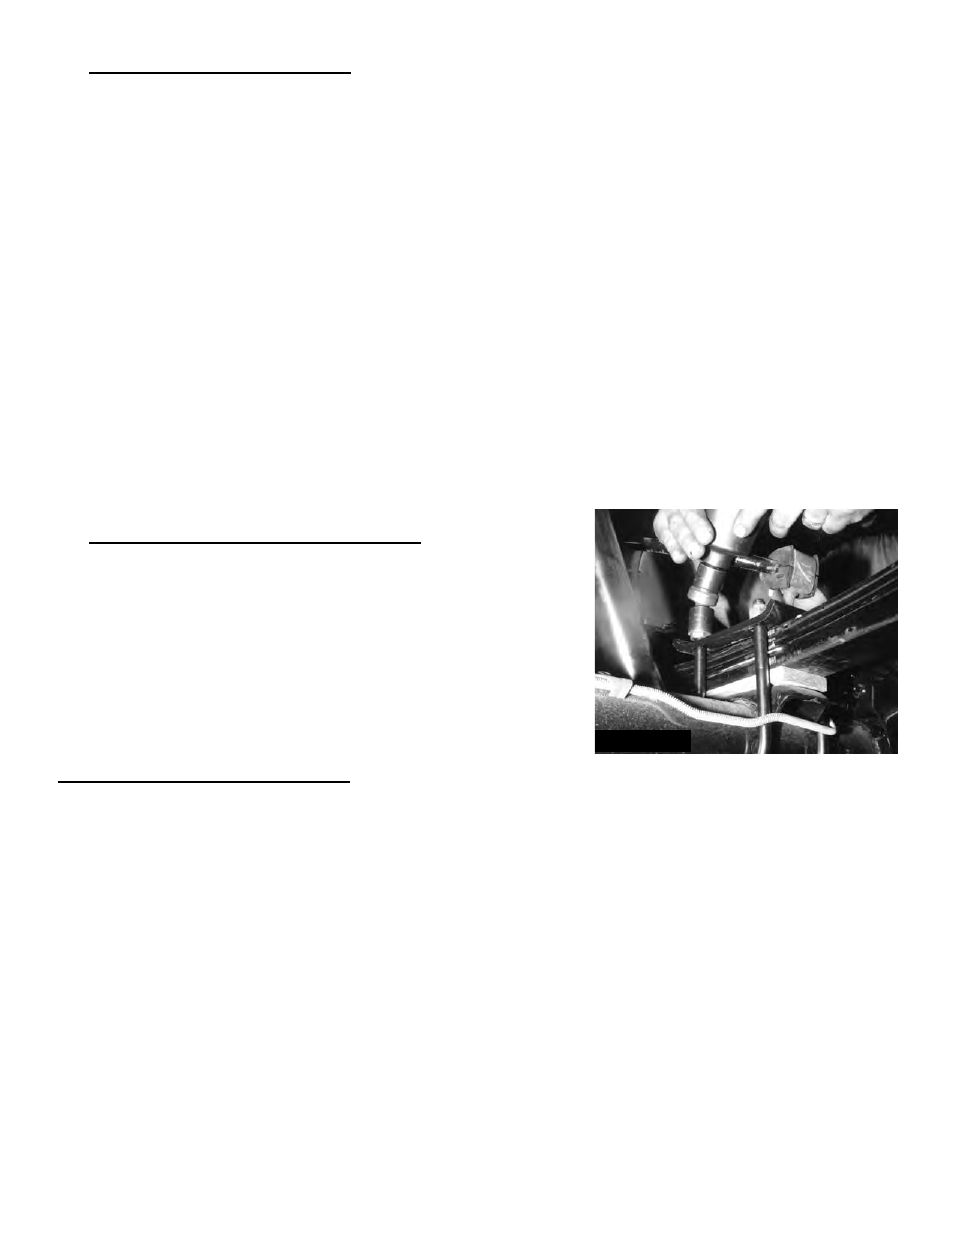
Remove the spring eye bolts and remove original springs from
vehicle. Install new springs with thick end of bottom degree
shims pointing toward the rear bumper. (Which is also the long
end of the spring toward the rear bumper). See photo # 12.
19. Raise the axle back up, aligning spring pins into axle
housing. Install and tighten new U-bolts evenly. Install rear
shock absorbers, tires, remove jack stands and lower vehicle
down.
GRANd CHEROKEE - REAR:
20. Place a floor jack under rear axle and raise vehicle. Place jack stands under the frame ahead
of lower link bracket to support vehicle and remove the rear tires and shock absorbers. Remove rear
track bar and sway bar end link bolts at axle housing. Lower rear axle down and remove coil springs.
21. Install new coil springs. Raise jack up so that enough load is applied to hold coil springs in
place.
22. Install drive-in zerk fittings in each end of links by using a 1/4" (.625cm) socket over the fitting,
tap with a hammer until fitting is completely tapped in. Install poly bushings and steel sleeves
(2.645" or 6.61cm long) in each end of links. Be sure to slightly grease them prior to installation.
23. Remove and replace the rear links with the new Rugged Ridge extended links (one side at a
time). Only start these bolts and nuts, do not tighten at this time. NOTE: so that the links may be
greased while on the vehicle, install the rear lower links with the zerk fittings positioned as follows:
rear eye of link has fitting pointing out of the end, front eye of link should have the fitting pointing
down.
Pg 4
Photo #12