Chapter 9 – Asoka Pluglink PL9950-BBR User Manual
Page 18
Asoka® User’s Guide
PlugLink 9950 Cable/ DSL Router PL9950-BBR
Page 18 of 43
Chapter 9
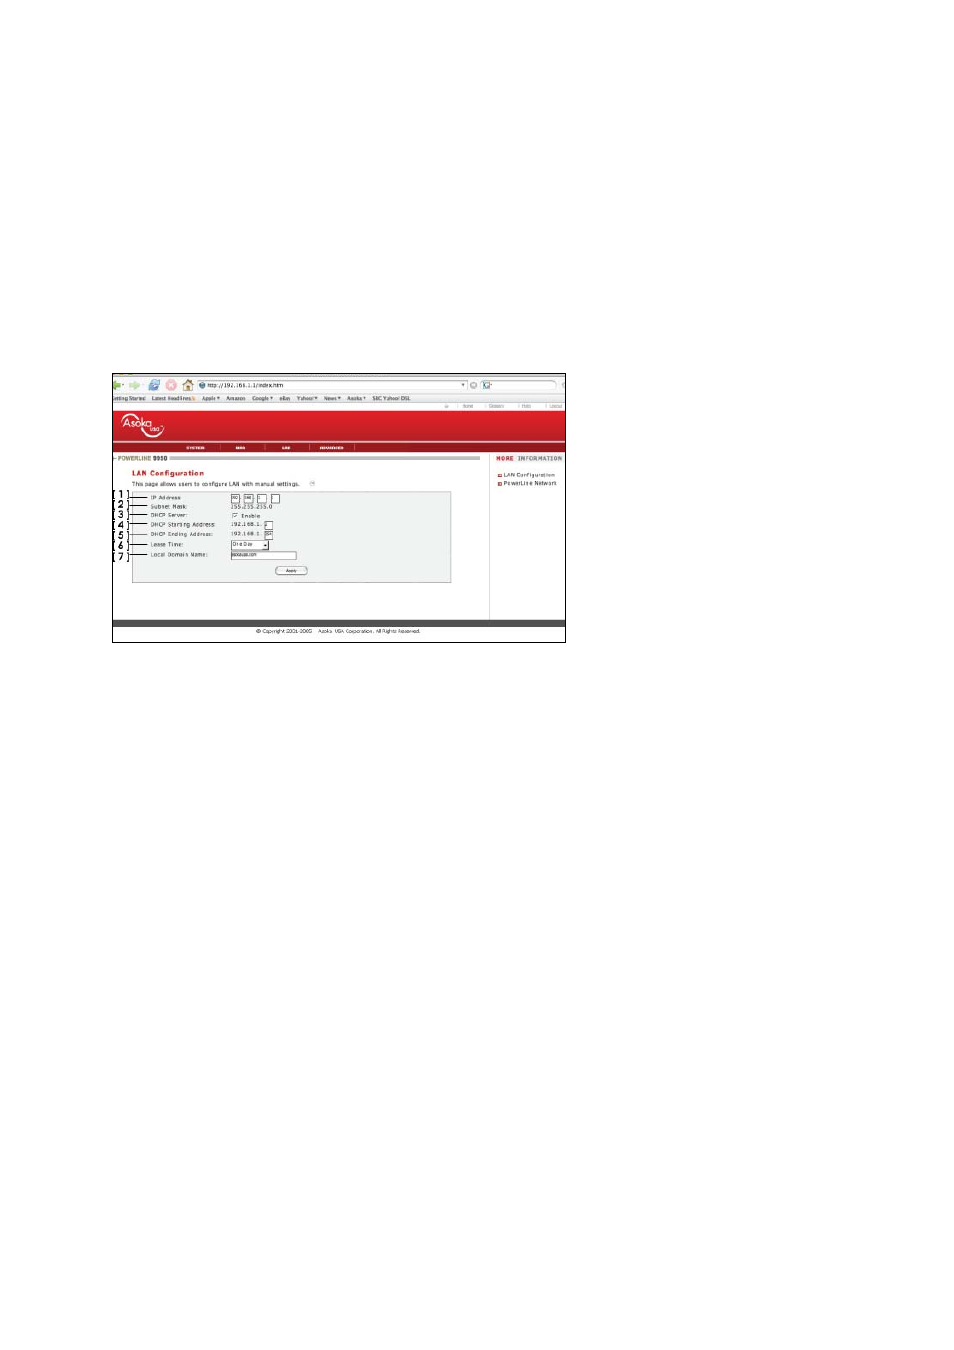
Changing LAN Settings
All settings for the internal LAN setup of the PL9950-BBR Router can be viewed and changed
here. Changing LAN Settings is recommended for advanced users only.
Figure 9-1: LAN Setting Page
1. IP
Address
The IP address is the internal IP address of the PL9950-BBR Router. The default IP address is
192.168.1.1. To change the settings of the PL9950-BBR, type this IP address into the address
bar of your browser. This address can be changed if needed and is optional and is
recommended only for advanced users. To change the IP address, type in the new IP
address and click Apply.
2. Subnet
Mask
There is no need to change the subnet mask. This is a unique advanced feature of your
PL9950-BBR Router. It is possible to change the subnet mask if necessary; however, do not
make changes to the subnet mask unless you have a specific reason to do so. The default
setting is 255.255.255.0.
3. DHCP
Server
The DHCP server function simplifies setting up a network by assigning IP addresses to each
computer on the network automatically. The default setting is ON. The DHCP server can be
turned OFF if necessary; however, in order to do so you must manually set a static IP address
for each computer on your network. To turn the DHCP server OFF, uncheck the box next to
the word Enable.
4. DHCP
Scope
DHCP Scope is the range of IP addresses set aside for dynamic assignment to the computers
on your network, defined by a Starting Address and an Ending Address. The default range is
between the numbers 2 and 254 (253 computers). If you want to change this number, you
can do so by entering a new starting and/or ending IP address here.
5. Lease
Time
The duration of time that the DHCP server will reserve an IP address for each computer.