Installation, Broiler assembly – Magikitch'n FM User Manual
Page 6
Installation
Broiler Assembly
NOTE: This appliance shall be installed in accordance
with current regulations and used only in a well–
ventilated space. Refer to these instructions before
installing and using this appliance.
NOTE: Installation and connection must be performed by
a qualified installer only.
COUNTERTOP MODELS
Countertop models must be sealed to the counter surface in
compliance with National and Local Sanitation standards.
1. Apply a 13mm bead of silicone to the bottom of the
broiler. The silicone should run approximately 6mm
from the front, back and side edges of the unit.
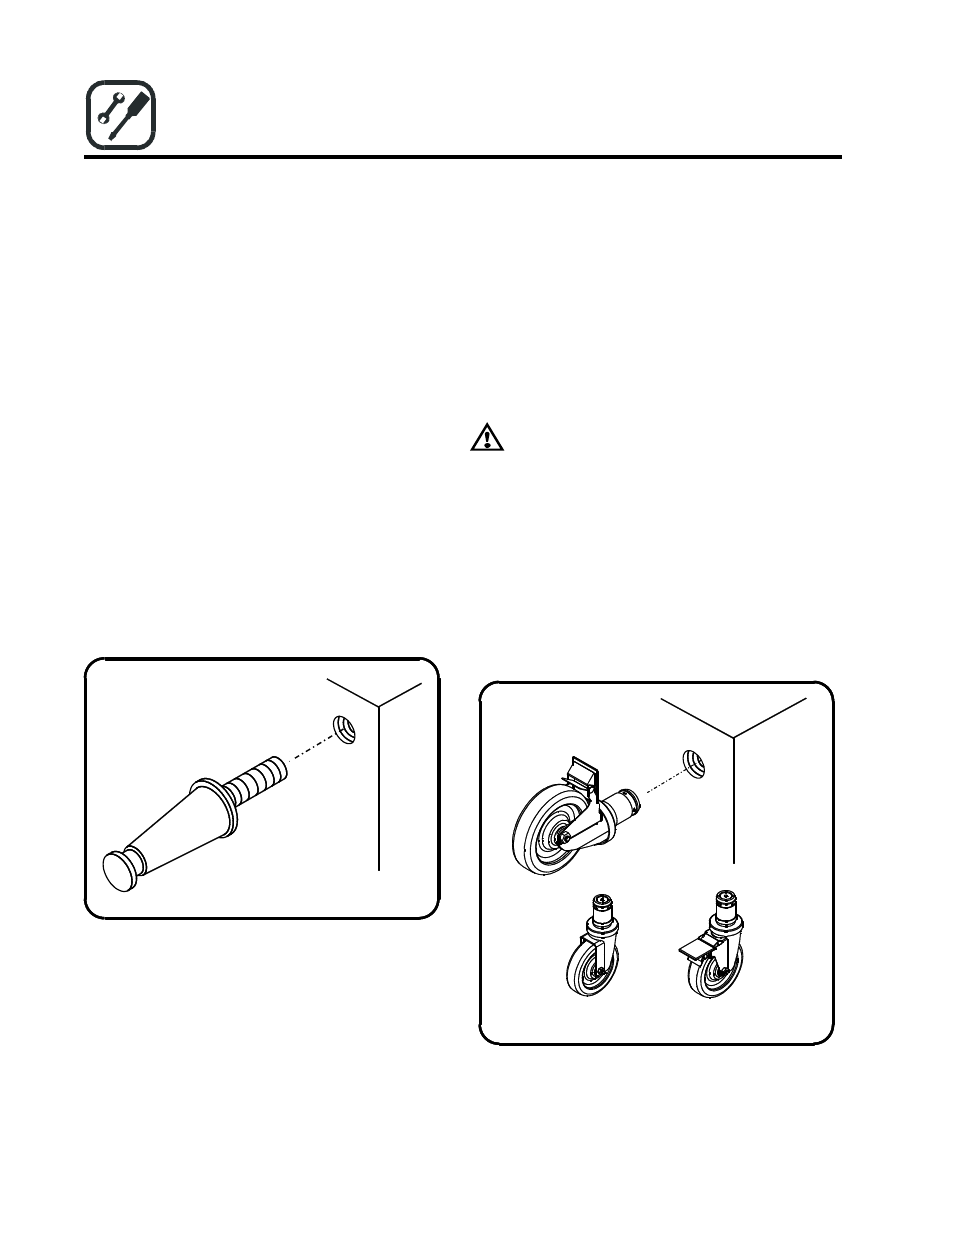
LEG ATTACHMENT
The 15 cm legs are packed in the top section of the broiler.
1. Screw the legs into the threaded holes in the corners
on the bottom of the broiler.
2. Place the broiler onto the legs.
3. Turn the adjustable leg feet to level the oven.
Figure 1
CASTER INSTALLATION
A flexible hose/connector must be used on any broiler
installed on casters. The connector must meet National and
Local codes.
A restraint must be used to limit the movement of the
appliance. Limited movement cannot depend on the
flexible connector. DO NOT attach the restraint to gas
piping or electrical conduit!
WARNING!!
If the restraint is disconnected for any reason it
must be reconnected when the unit is returned to
its original position.
1. Screw the casters into the threaded holes in the corners
on the bottom of the broiler.
NOTE: The locking casters must be installed on the
front of the broiler.
2. Place the broiler onto the casters.
Figure 2
Non-locking
Caster
Locking
Caster
1-01-12962 rev B L25-004 rev
1 (05/11)
2