NaceCare Solutions RM1800F User Manual
Page 6
6
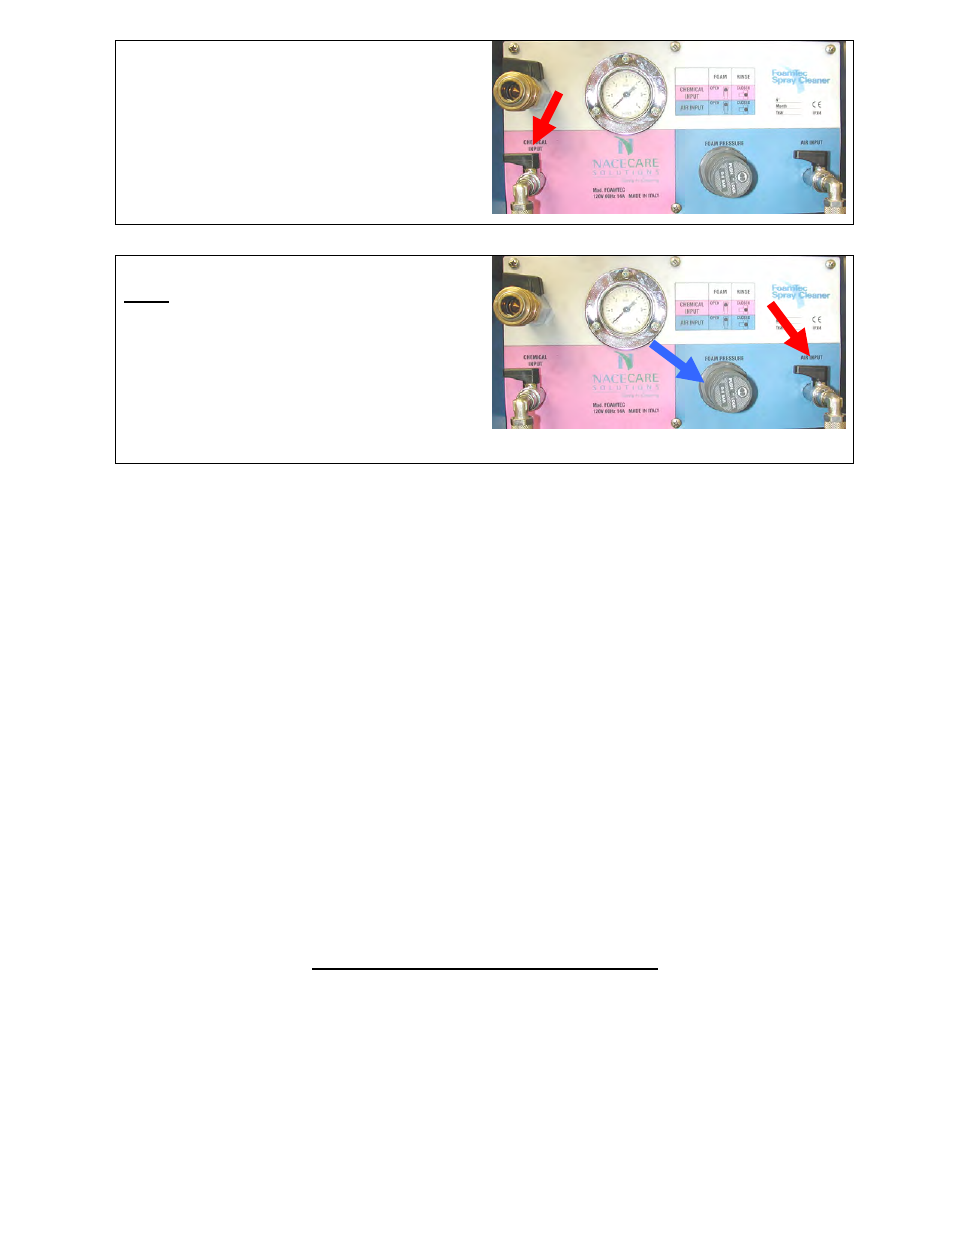
5.
Open the chemical input, and spray
water until the chemical line is filled with
chemical
6.
Open the air input valve.
NOTE: WHEN SPRAYING FOAM, THE THICKNESS
OF THE FOAM CAN BE ADJUSTED BY THE AIR
PRESSURE REGULATOR INDICATED BY THE
BLUE ARROW. TURNING THE DIAL CLOCKWISE
WILL MAKE THE FOAM THICKER, AND
COUNTER-CLOCKWISE WILL MAKE THE FOAM
THINNER.
7.
Adjust the spray gun to inject chemical by pulling the nozzle away from the trigger and
rotate to a fan pattern. In this position the spray gun is able to apply the foam under
low pressure.
8. Apply the foam on the surfaces to be cleaned, starting at the nearest fixture and
working in a circular pattern. (Only apply the foaming solution onto surfaces that will
not be damaged by the water/chemical mixture)
9.
Proceed from top to bottom and cover all surfaces that need cleaning.
10. Applying the chemical should take 3 to 5 seconds for urinals, 6 to 8 seconds for toilets
and 2 to 3 seconds for sinks. There is no need to over apply the chemical unless the
situation calls for it.
11. Now that you have worked your way back to the door and the machine, turn off the
chemical input and air input valve and rinse the chemical from the solution line onto the
floor, again under low pressure. (Do not inject chemical under high pressure at any
time).
STEP B – MANUAL BRUSHING (Optional)
This highly effective step is an option when time permits or when you encounter heavily
soiled floors.
When you are finished using the brush leave it by the door as you are going to rinse it.