CertainTeed Quiet Soundproofing System User Manual
Page 3
Quiet Rock ES/ES MR Installation Instructions | Copyright ©2012 Serious Energy | September 2012 CTG-2803 |
Professional: 800-233-8990 • Consumer: 800-782-8777
Distributed in Canada by:
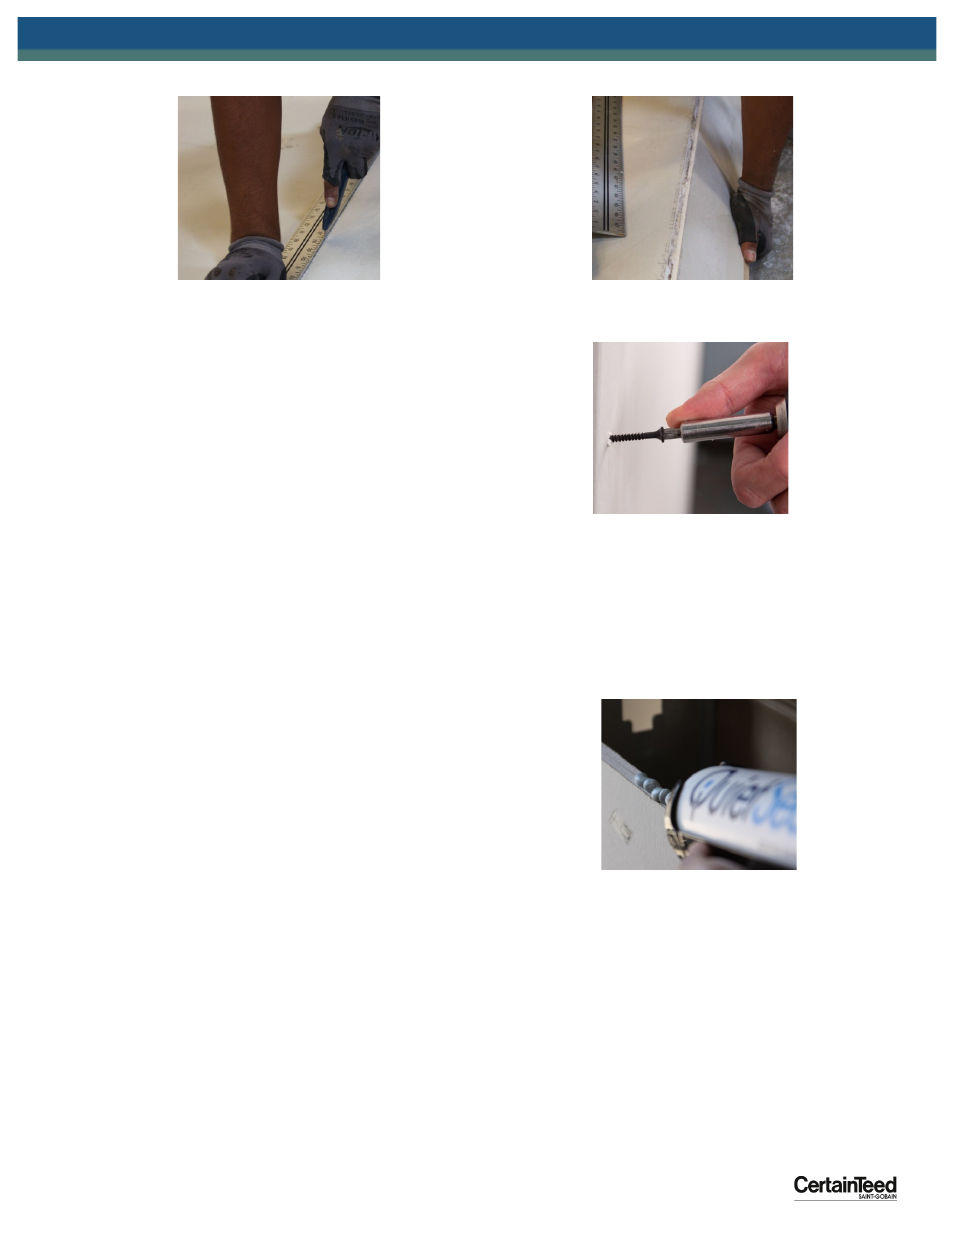
Score
Snap
Hang as usual:
1) Secure QuietRock EZ-‐SNAP panel to the studs using
appropriate
Bugle
Head
drywall
screws
every
12”
or
as
required
by
code.
Use
coarse
thread
for
wood
studs
and
fine
thread
for
metal
studs.
Nails
may
also
be
used
only
on
wood
studs.
You
may
also
place
QuietRock
EZ-‐SNAP
over
existing
drywall
in
retrofit
applications.
Do
not
use
structural
glue
when
hanging
QuietRock
EZ-‐SNAP.
2) Finish securing the QuietRock EZ-‐SNAP panel to the studs with drywall screws. The screw
head
should
go
just
below
the
surface
of
the
paper.
If
you
accidentally
break
through
the
paper,
drive
another
screw
nearby.
QUIETSEAL
PRO:
PROPERLY
SEAL
AROUND
PERIMETER
OF
WALL,
FLOOR,
CEILING,
PENETRATIONS
AND
ANY
SEAM
UNBACKED
BY
A
STUD
TO
MAINTAIN
HIGH
ACOUSTIC
PERFORMANCE
1) Clean all surfaces before installation so they are free of
dirt,
grease,
wax,
dust,
corrosion,
moisture
or
any
material
that
may
interfere
with
obtaining
optimum
adhesion
2) For new construction before the top and bottom stud
plates
and
end
studs
are
installed,
run
two
1/8”-‐3/8”
beads
of
QuietSeal
Pro
between
them
and
the
wall,
floor
and
ceiling.
3) Apply a 1/4” bead of QuietSeal Pro around the perimeter of the wall or floor/ceiling
assembly.
Ensure
that
the
QuietSeal
Pro
is
airtight
between
the
QuietRock/QuietWood/Drywall/Wood
and
the
adjacent
wall
floor
or
ceiling.
4) For the best acoustic isolation, apply QuietSeal around the perimeter of each panel before
putting up the next sheet.
5) Seal around all electrical and plumbing outlets with QuietSeal Pro.
Tips
For
very
large
gaps,
first
fill
the
opening
with
a
pre-‐molded
loose-‐cell
filler
or
backer
rod.
When
using
on
the
edges
of
the
panels,
the
adjacent
sheet
of
QuietRock
EZ-‐SNAP
should