Airlink SkyIPCam310 User Manual
Page 41
40
5 Rotate
image
angle
Click to rotate the image shown in the View Window.
6 Snapshot
Click to capture a still image from the View Window.
7 Audio
ON/OFF
Click to turn on/off the camera’s audio.
8 Zoom
Mode
Click to zoom in/out the image in the View Window.
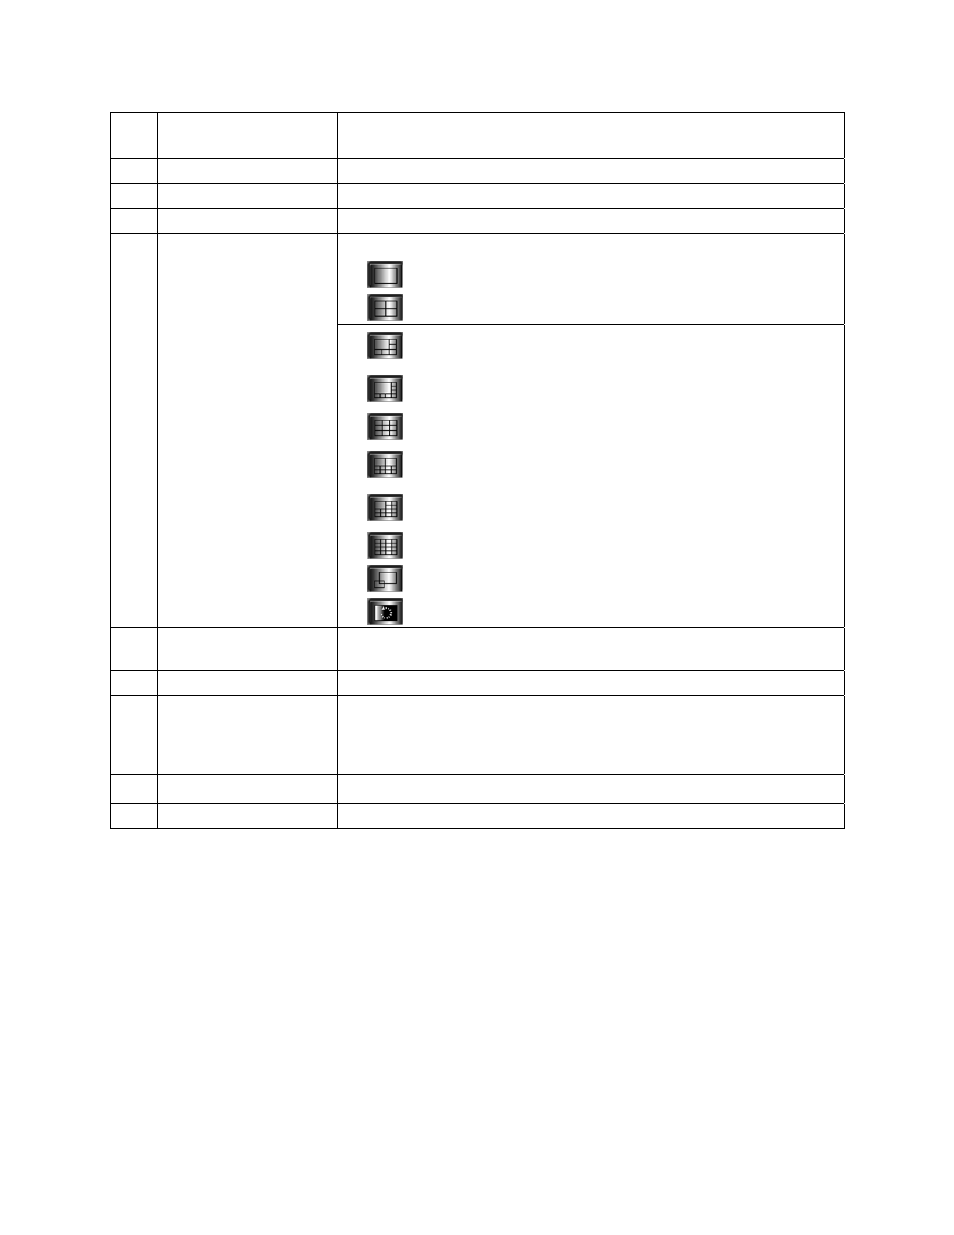
Select the view mode from these buttons.
Show one camera in View Window.
Show four cameras in View Window.
Show six cameras in View Window with the first one as the
major view.
Show eight cameras in View Window with the first one as
the major view.
Show nine cameras in View Window.
Show ten cameras in View Window with the first two as the
major views.
Show thirteen cameras in View Window with the first one as
the major view.
Show sixteen cameras in View Window.
Show the selected camera in full screen view.
9 View
Mode
Buttons
Enable displaying the video views in circles.
10
Key Lock Button
Click to lock/unlock the camera. When locked, the user cannot operate
any camera.
11 Power
Button
Click to exit or minimize IPView Pro.
12 Record
Button
Record video clip of the selected camera and save it in the computer.
The storage position can be configured in System Configuration. When
you click the button, you can select Manual Record, Schedule
Record, or Motion Record.
13 Play
Button
Play the recorded video file in the computer.
14 System
Configuration Click to enter the System Configuration.