Moving recorded tracks (move) – Sony MZ-B10 User Manual
Page 30
30
Notes
•
When you erase a track mark between the two
consecutive tracks that are registered to
different groups, the second track is re-
registered into the group containing the first
track. In addition, if you combine a track that
is registered to a group with a track that is not
(consecutive tracks), the second track takes
the same registration setting as the first track.
For example, if the first track is registered to a
group, the second track will be registered to
the same group as the first track.
•
You cannot erase track marks according to the
system limitations.
Moving recorded tracks
(Move)
You can change the order of the recorded
tracks.
Note
To move tracks in a disc with group settings,
see page 35.
Example
Move track C from the third to the second
track.
1
While playing the track you want to
move, press MENU/ENTER.
2
Press . or > until “EDIT”
appears in the display, and then press
MENU/ENTER.
The recorder plays the selected track
repeatedly.
3
Press . or > until “Move”
appears in the display, and then press
MENU/ENTER.
4
Press . or > until
“
: Move” flashes in the display,
and then press MENU/ENTER again.
The selected track number flashes in
the display.
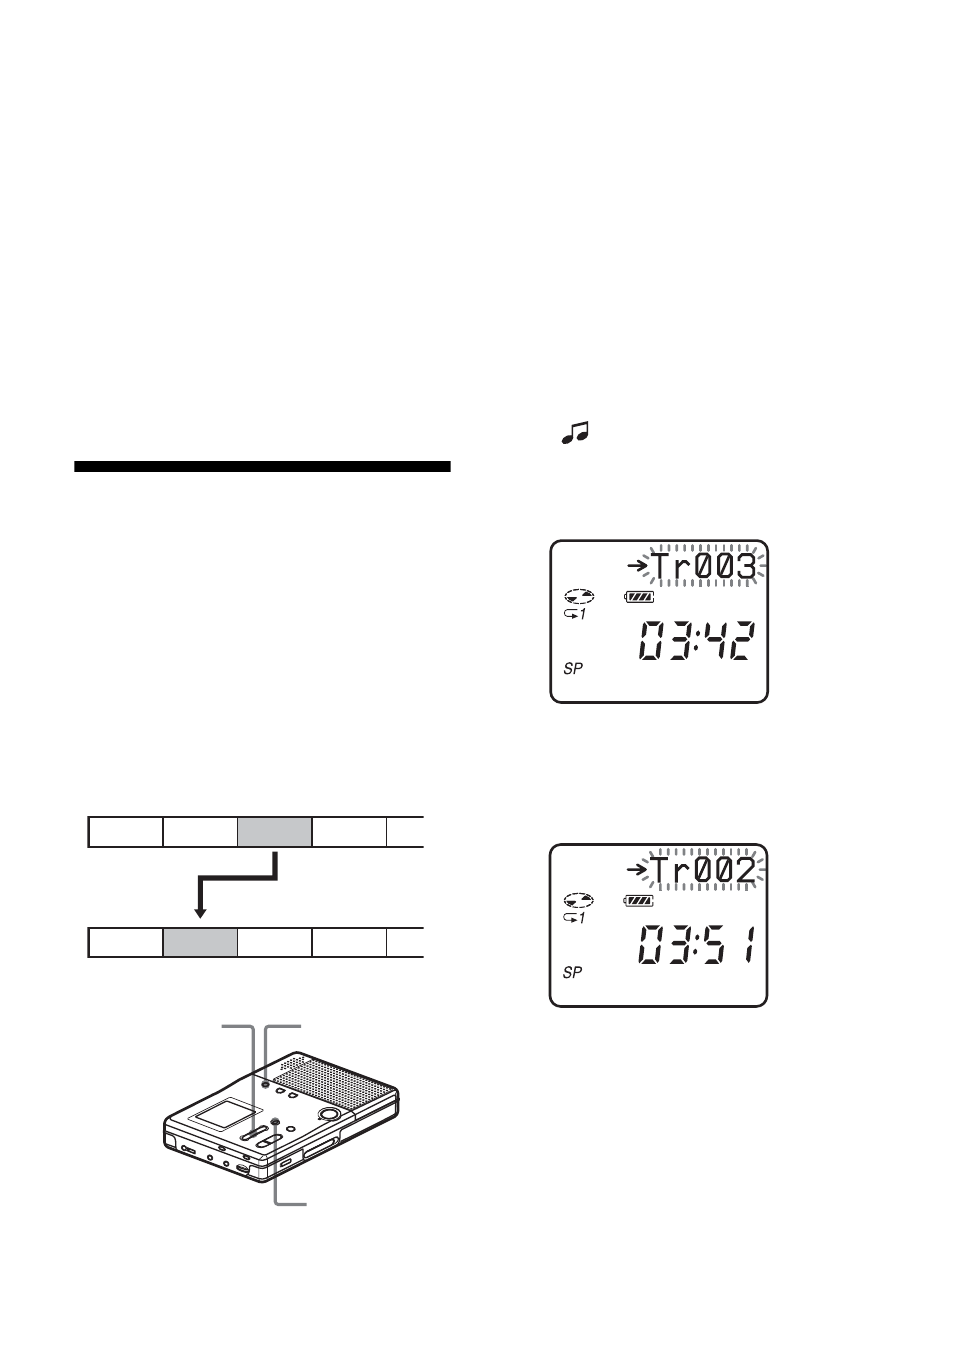
5
Press . or > to select the
destination track number.
For the example, “Tr002” appears in
the display.
6
Press MENU/ENTER again.
The track moves to the selected
destination track.
To cancel moving
Press x • STOP.
A
C
D
B
A
B
D
C
Before moving
After moving
TRACK MARK
MENU/ENTER
.
• REVIEW
• AMS, > •
CUE • AMS