Print): printing images using a printer – Sony NSC-GC1 User Manual
Page 47
47
U
sing fu
nc
tion
s fo
r v
iew
ing
Viewing menu
For details on the operation 1 page 34
8
Select [OK] with B, then press the Multi-selector.
The
mark turns white.
To cancel, select [Cancel] in step 4 or select [Exit] in step 8, then press the Multi-selector.
To remove the mark
To remove the
mark from an image, select the image to remove the
mark and take the
same steps as when marking a
mark on an image.
indicator disappears.
To remove all the marks in the folder
Select [All In This Folder] in step 4, then press the Multi-selector. Select [Off], then press the
Multi-selector.
Even if you do not have a computer, you can print images shot using your camera by
connecting the camera directly to a PictBridge compliant printer.
• You cannot print movies.
Stage 1: Preparing the camera
1
Press MENU.
2
Select [USB Connect] in [Setup 2] with v/V/b/B on the Multi-selector.
3
Select [PictBridge] with v/V.
The USB mode is set.
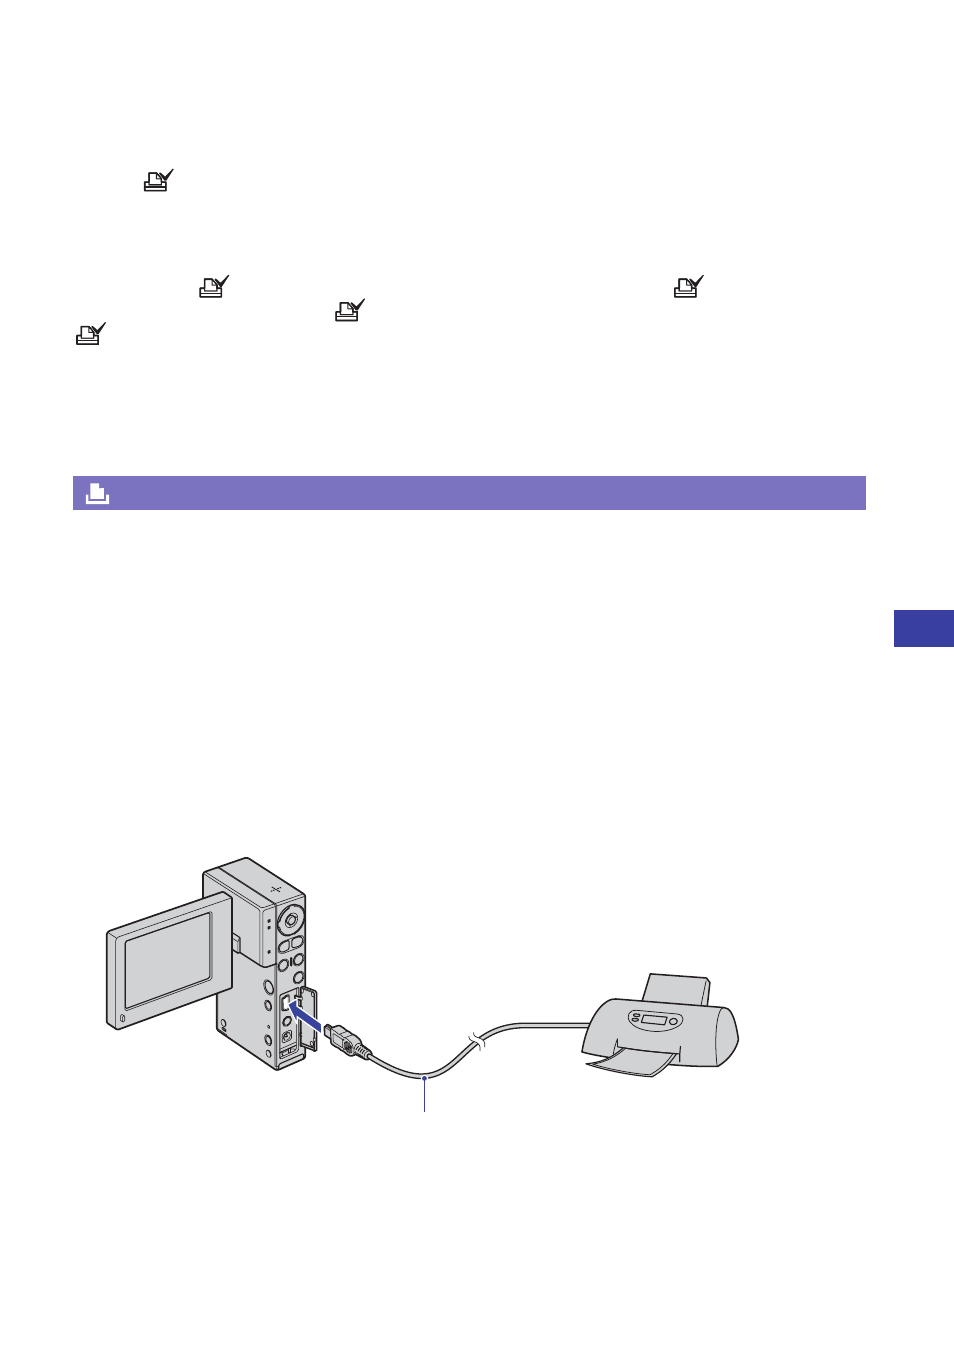
Stage 2: Connecting the camera to the printer
1
Connecting the camera to the printer.
(Print): Printing images using a printer
1
To the USB jack
2
To the USB jack
USB cable