Sony HDR-FX7 User Manual
Page 81
81
D
u
b
b
in
g/
Edi
ting
6
Start playing the cassette on your
VCR.
The picture played on the VCR appears
on the LCD screen of your camcorder.
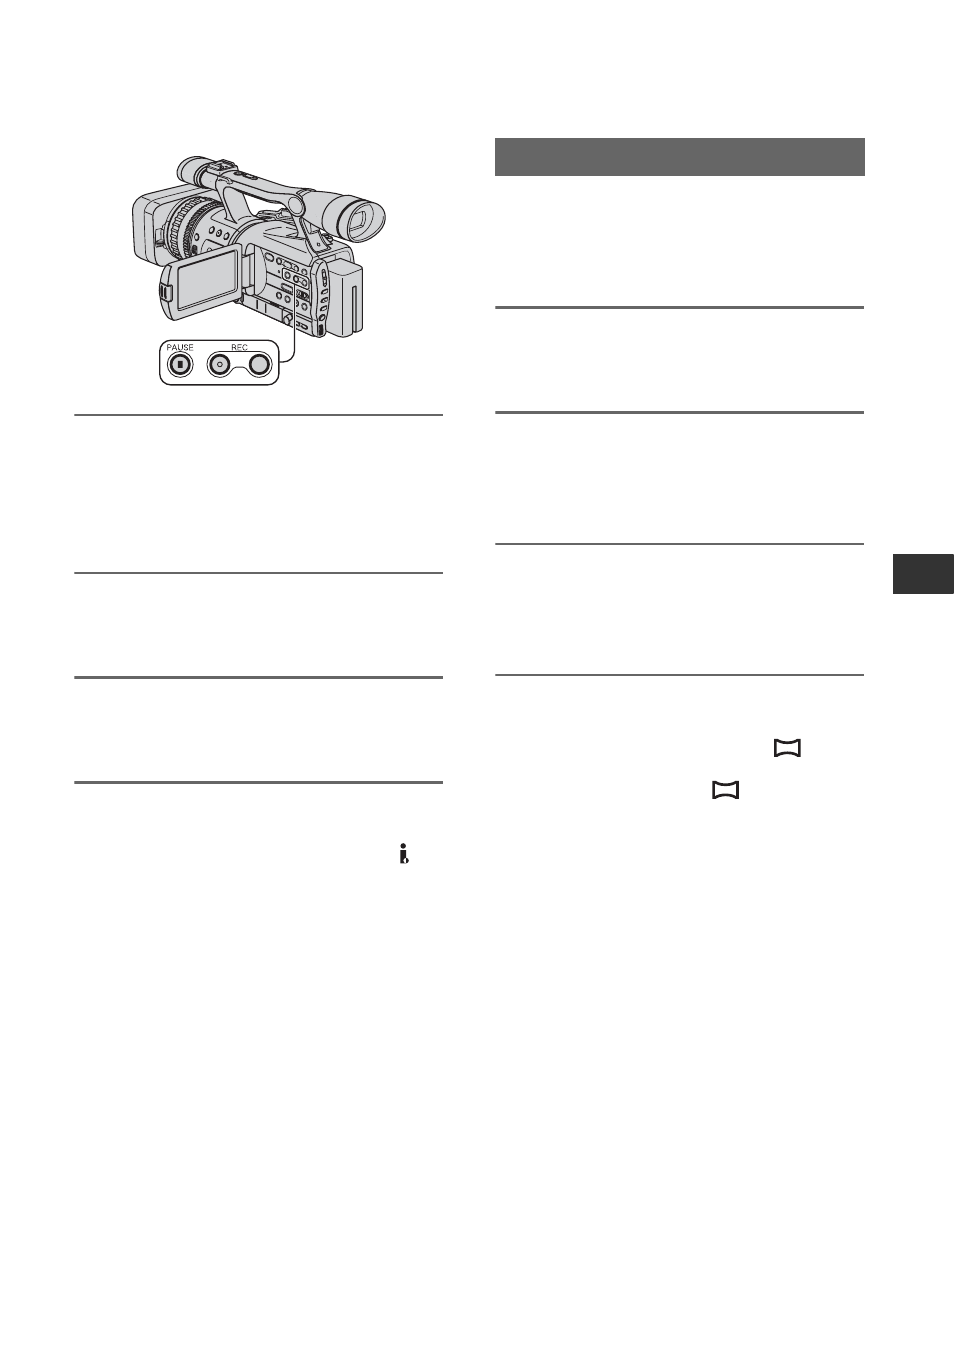
7
Press
X
(PAUSE) again at the
point you want to start recording.
8
Press x (STOP) to stop
recording.
b
Notes
• You cannot record TV programs from the
HDV/DV interface (i.LINK).
• You can record pictures from DV devices only
in the DV format.
• Note the following when connecting with an
i.LINK cable:
– The recorded picture becomes rough when a
picture is paused on your camcorder while
recording to a VCR.
– You cannot record the picture and sound
separately.
– If you pause or stop the recording and restart
it, the picture may not be recorded smoothly.
z
Tip
• When a 4:3 video signal is input, it appears with
black bands on the right and left sides on the
screen of your camcorder.
Be sure to insert a “Memory Stick Duo” for
recording in your camcorder beforehand,
and set [PHOTO/EXP.FOCUS] to
[PHOTO] (the default setting) (p. 74).
1
Perform steps 1 to 4 in
“Recording movies.”
2
Start playing the cassette.
The pictures on the VCR appear on the
screen of your camcorder.
3
Press the PHOTO/EXPANDED
FOCUS button at the scene you
want to record.
b
Note
• Movies will be fixed to image size [
1.2M]
when playing back in the HDV format. Movies
will be fixed to image size [
0.2M] (16:9) or
[VGA (0.3M)] (4:3) when playing back in the
DV format.
Recording still images