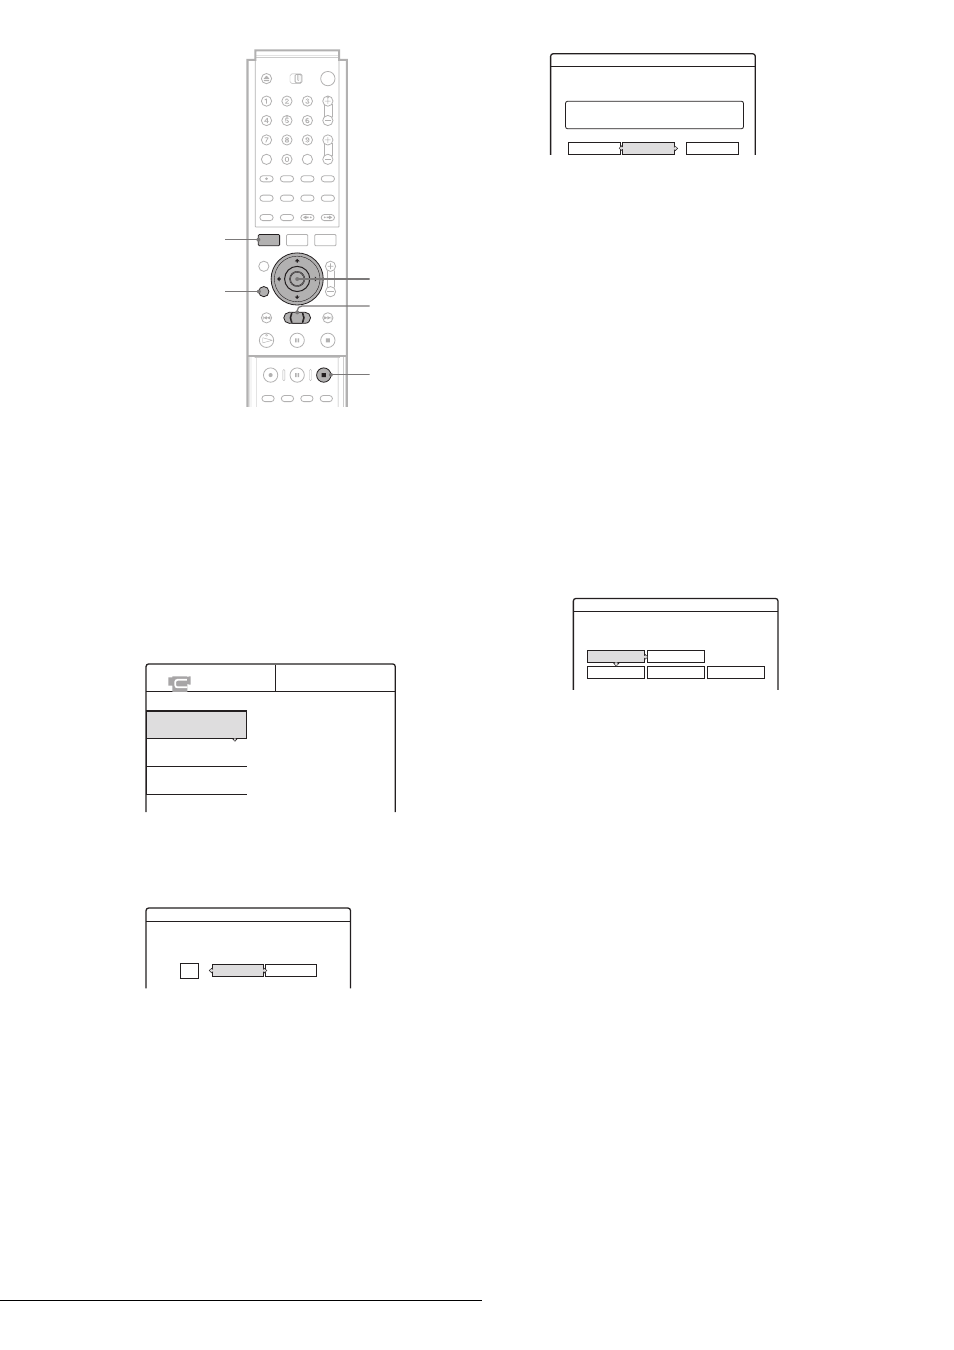
D press < / , to select “start,” then press enter – Sony RDR-GX7 User Manual
Page 82
82
Advanced Program Edit
a Follow steps 1 to 7 of “Preparing for recording
using the DV IN jack” (page 75), then press
SYSTEM MENU.
Insert a DVD-RW (VR mode) into the recorder.
Make sure that the disc has enough free space to
record the contents of your tape.
b Press M/m to select “DV/D8 EDIT,” then
press ENTER.
The DV/D8 Edit menu appears.
c Press M/m to select “Advanced Program
Edit,” then press ENTER.
The display asks whether to start recording.
If you want to change the recording mode, press
</, to move the cursor, then press M/m to select
the mode.
d Press </, to select “Start,” then press
ENTER.
The recorder starts recording the tape contents.
To quit recording, press x REC STOP.
When recording is finished, the display asks if you
want to create scenes within the generated program
automatically or manually, or quit editing.
◆ To create scenes automatically
Press
</, to select “Auto,” then press ENTER.
The recorder divides the generated program into
scenes, and the Scene List menu appears.
◆ To create scenes manually
A Press </, to select “Manual,” then press
ENTER.
The display for setting the IN point appears. The
scene starts to play in the background.
B While watching the playback picture, press
m or M to search for the IN point, then
press ENTER.
The IN point is set, and the display for setting the
OUT point (end of the scene) appears.
C While watching the playback picture, press
m or M to search for the OUT point, then
press ENTER.
The OUT point is set, and the display asks
whether to add the selected scene to the Scene
List menu.
• To preview the scene, select “Preview.”
• To reset either the IN or OUT point, select
“Change IN” or “Change OUT.”
D Press </M/m/, to select “OK,” then press
ENTER.
A new Scene List menu appears with the selected
scene.
E Press </M/m/, to select “Add,” then press
ENTER.
The display for selecting the scene insertion point
appears.
F Press M/m to select the insertion point in the
Scene List, then press ENTER.
The display for setting the IN point (start of the
scene) appears.
G Repeat steps 2 to 6 to create all the scenes
you want to add to the Scene List.
You can add up to 50 scenes.
◆ To quit editing
Press
</, to select “Cancel,” then press ENTER.
e To edit the Scene List, press </M/m/, to
select a scene in the Scene List menu and
press ENTER.
When the sub-menu appears, select an edit option
you want to apply to the scene.
<
/
M
/
m
/
,
,
ENTER
RETURN
SYSTEM MENU
x
REC STOP
m
/
M
DV/D8 EDIT
Select only the scenes you want to copy
from the DV/D8 tape.
Program Edit
Advanced Program Edit
DV/D8 Edit List
SP
DV/D8 Dubbing
Change the recording mode if necessary.
Select "Start" to start dubbing.
Start
Cancel
Edit
Select the method for dividing scenes.
Auto
Manual
Cancel
DV10/11/02 1:30PM - 11/12/02 Chapter 2
Scenes Selection
Do you want to capture the scene
between IN 0:00:30 and OUT 0:00:52?
OK
Cancel
Preview
Change IN
Change OUT