For the index (three images) screen – Sony DSC-P2 User Manual
Page 68
68
filename[C:\My Documents\_upload job\3075509111\3075509111DSCP2UC\02GB-DSCP2UC\11ADV02.FM]
masterpage:Left
model name1[DSC-P2]
[3-075-509-11(1)]
g
Press MENU.
The menu appears
h
Select [OK] using
B
, then
press the center
z
.
The setting of the
mark is
completed.
To delete a Print mark
In Step 5, select an image using v/V/b/
B, and press the center z.
To delete all the Print marks
placed on all of your images
In Step 4, select [ALL], then press the
center z. Next, select [OFF], then press the
center z.
To cancel the Print mark
In Step 4, select [CANCEL], or select
[EXIT] in Step 8.
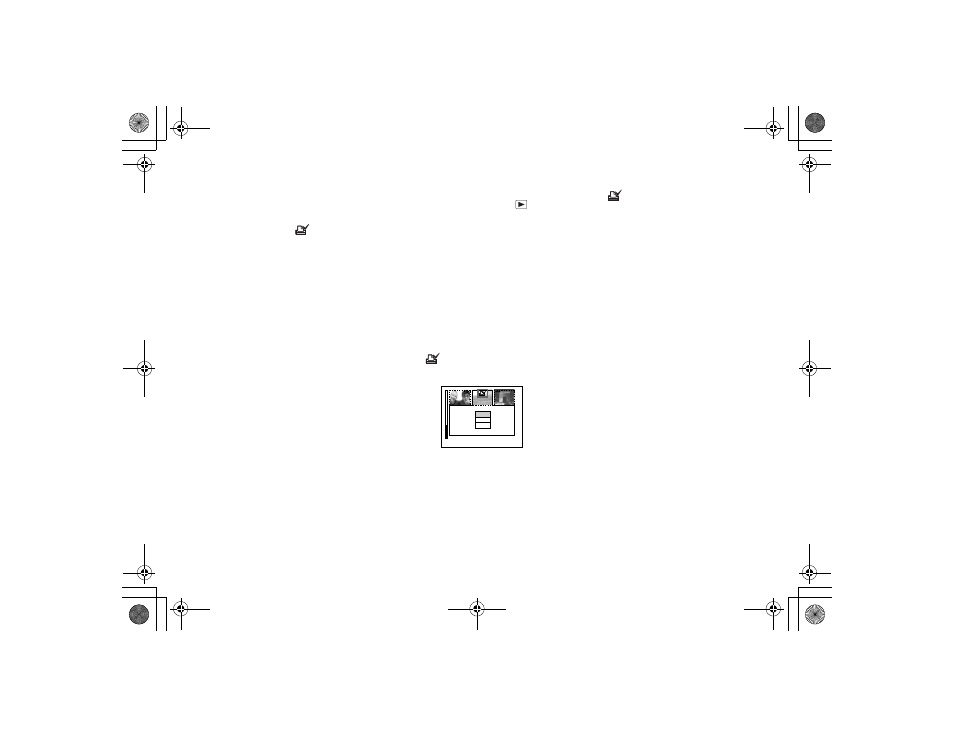
For the Index (three images)
screen
a
Set the mode dial to
, press
the zoom W button twice to
switch to the Index (three
images) screen.
b
Move the image you want to
print to the center using
b
/
B
.
c
Press MENU.
The menu appears.
d
Select [PRINT] using
v
/
V
, then
press the center
z
.
A
(Print) mark is placed on the
center image.
e
To print other images, move
the image you want to print to
the center using
b
/
B
, and
repeat Step
4
.
To delete a Print mark
In Step 4, press the center z again.
The
mark
disappears.
PROTECT
DELETE
•
OK
10:30
PM
2002 7 4
100-0005
01cov.book Page 68 Wednesday, April 3, 2002 11:17 AM