Step 3: setting the date and time – Sony MVC-FD51 User Manual
Page 12
12-EN
Step 3: Setting the date and time
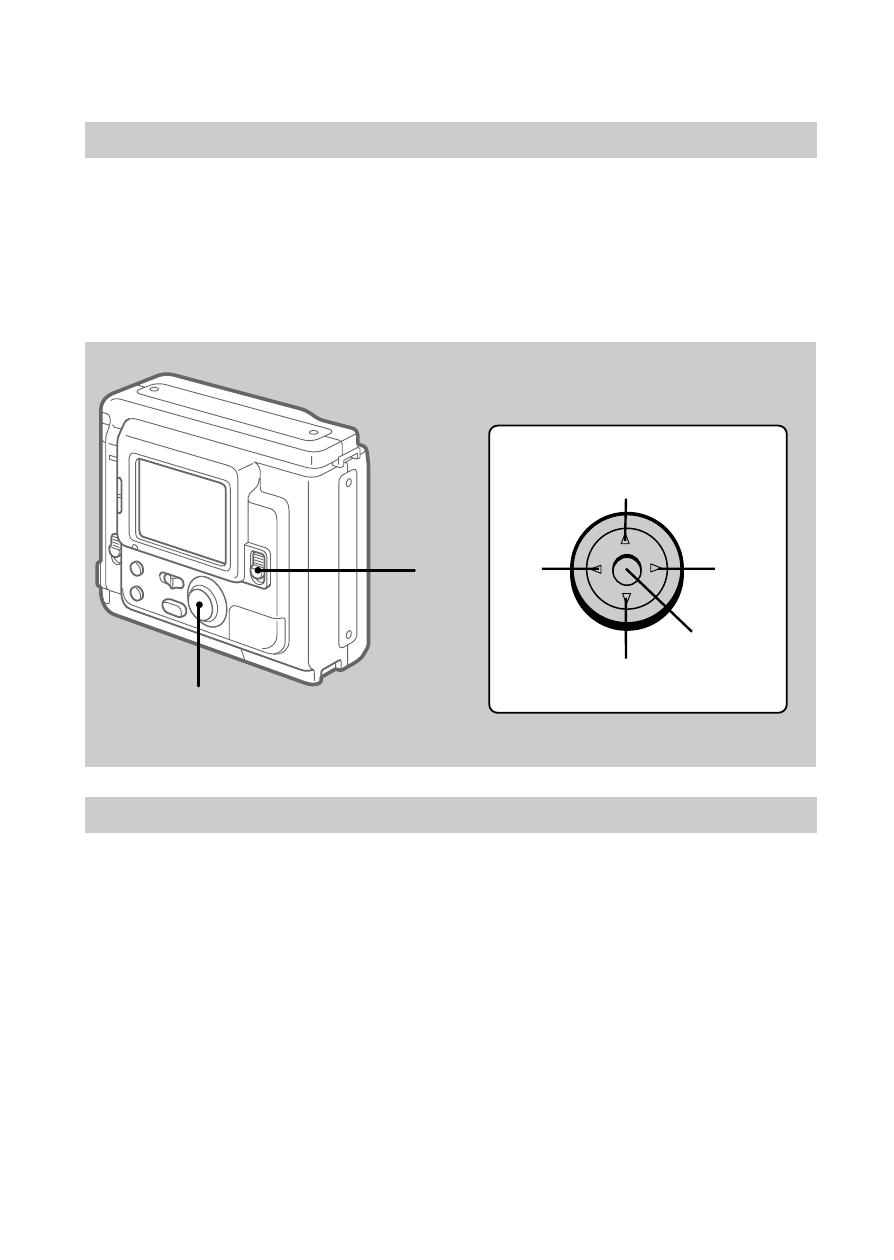
Function of the control button
You can select an item in the menu which appears on the LCD
screen by pressing the upper, lower, left or right side of the control
button. When an item is selected, the color of the item changes from
blue to yellow. To enter your selection, press the center of the
control button.
When you use the camera first
With the floppy disk inserted (p. 15) and the power turned on, as in
step 1, the clock set screen appears. If this occurs, follow the
procedures from step 4.
1
Slide POWER down to turn on the power.
If the “I” indicator appears on the LCD screen, replace the
lithium battery according to the procedures on page 36.
1
2
Control button
Upper side
Left
side
Press to
execute.
Lower side
Right
side
- DSC-H20 (149 pages)
- DSC-H20 (120 pages)
- DSC-U30 (84 pages)
- DSC-T200 (131 pages)
- DSC-T200 (40 pages)
- DSC-M2 (19 pages)
- DSC-H2 (2 pages)
- DSC-H2 (123 pages)
- DSC-T9 (111 pages)
- DSC-T9 (2 pages)
- DSC-P93 (132 pages)
- DSC-T1 (120 pages)
- DSC-T1 (10 pages)
- DSC-T1 (2 pages)
- DSC-V1 (132 pages)
- DSLR-A300X (167 pages)
- DSLR-A300X (1 page)
- DSC-P31 (108 pages)
- DSC-P71 (108 pages)
- DSC-T5 (2 pages)
- DSC-T5 (107 pages)
- DSC-M1 (19 pages)
- DSC-W220 (129 pages)
- DSC-W220 (40 pages)
- DSC-W230 (80 pages)
- DSC-W290 (60 pages)
- DSC-W290 (145 pages)
- DSC-S90 (2 pages)
- DSC-S90 (103 pages)
- DSC-S60 (2 pages)
- DSC-P8 (120 pages)
- DSC-HX1 (151 pages)
- DSC-HX1 (176 pages)
- DSC-H1 (2 pages)
- DSC-H1 (107 pages)
- DSC-U20 (108 pages)
- DSC-U20 (1 page)
- DSC-F88 (132 pages)
- DSC-P41 (124 pages)
- DSC-S40 (91 pages)
- DSC-S40 (2 pages)
- DSC-N1 (2 pages)
- DSC-N1 (132 pages)
- DSLR-A700P (19 pages)
- DSLR-A700P (4 pages)