Viewing scenes recorded on your computer, Viewing scenes on the disc, Viewing scenes recorded on your – Sony DCR-DVD100 User Manual
Page 98: Computer viewing scenes on the disc
98
You must install the USB driver and the
ImageMixer software to view scenes recorded
on a disc with your computer (page 90, 91).
If you are using Windows 2000 Professional or
Windows XP Home Edition/Professional, log
in as administrator.
Viewing scenes on the disc
You can view scenes recorded on the disc
without finalizing on your computer, by
inserting a recorded disc into your camcorder
and connecting it to your computer.
1
Turn on your computer and allow
Windows to load.
2
Connect the AC adaptor to your
camcorder.
3
Set the mode dial to
(Play/Edit).
4
Turn the power on your camcorder by
sliding the POWER switch upward
while pressing the green button.
5
Insert a recorded disc into your
camcorder.
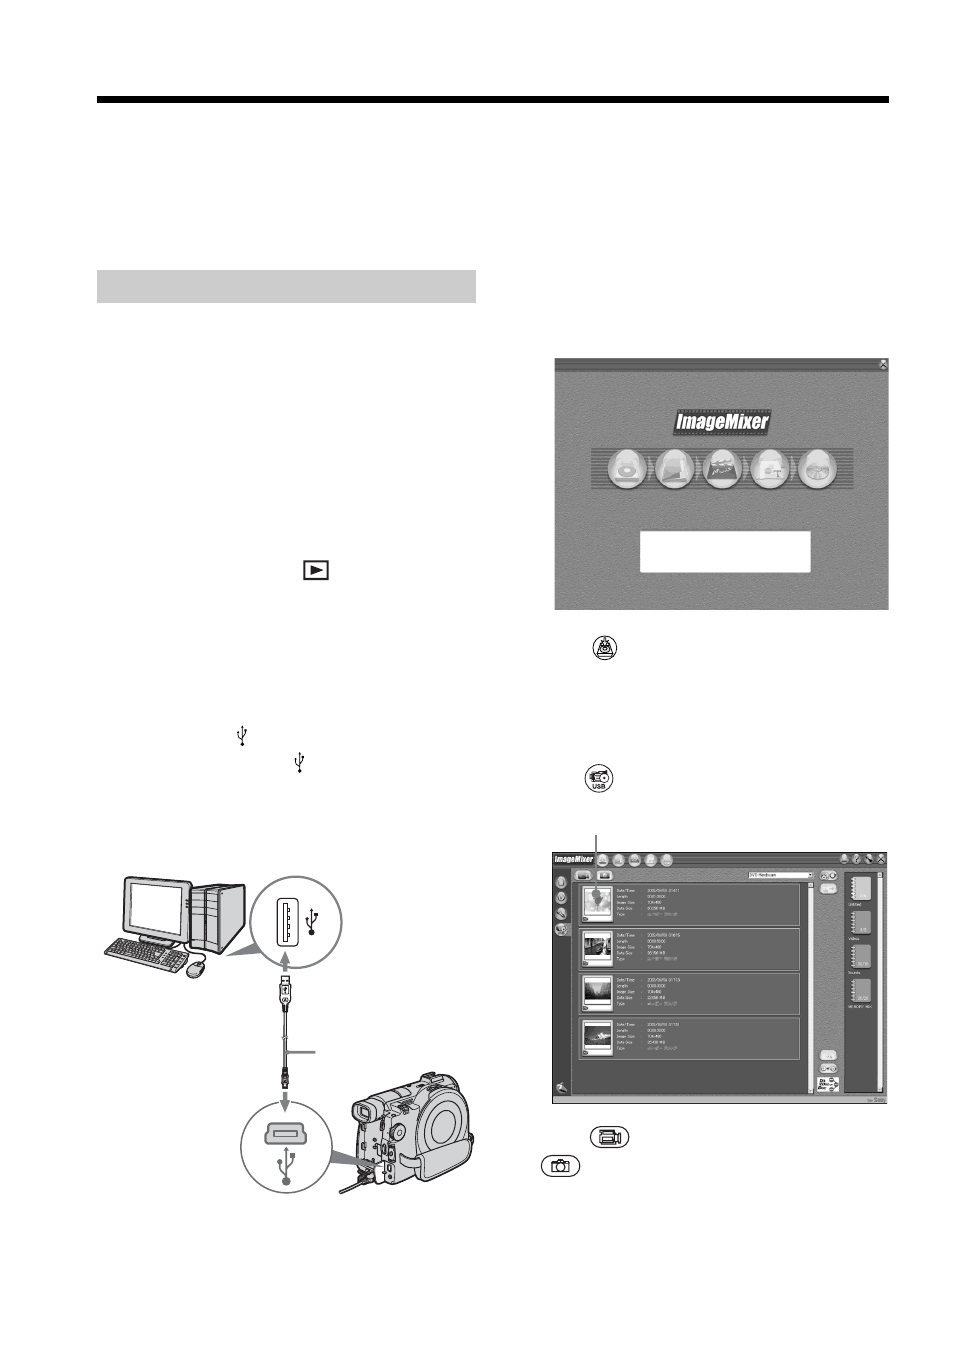
6
Connect the (USB) jacks of the
camcorder and the (USB) port of the
computer using the USB cable supplied
with your camcorder.
Viewing scenes recorded on your computer
7
Double-click [ImageMixer Ver.1.5 for
Sony] icon on the Windows desktop.
Or, click [Start]
t [Programs] ([All
Programs] in Windows XP)
t
[PIXELA]
t [ImageMixer] t [PIXELA
ImageMixer Ver.1.5 for Sony] on your
computer.
The ImageMixer software starts and the
title screen appears.
8
Click
on the left of the screen.
The ImageMixer software starts and
thumbnails of the scenes recorded on
the disc appear.
When the thumbnails do not appear,
click
.
Click
to view movies and click
to view still images.
USB cable
USB port
USB jack
Thumbnails