1 mounting on a relatively flat area, 2 mounting on an incline, 3 mast – Campbell Scientific CM106BK Tripod Kit User Manual
Page 14: Mounting on a relatively flat area, Mounting on an incline, Mast, 2. tripod with one leg pointing downhill
CM106BK Tripod Kit
2.2.1 Mounting on a Relatively Flat Area
Loosen one clamp bracket bolt at a time and extend each leg until the three legs
are at the same extension. With the legs extended, orient the tripod so that one
of the legs points South (assuming the instrument enclosure with –MM Mast
Mount bracket will face North). If the instrument enclosure has the –LM Leg
Mount bracket, orient the tripod so that the enclosure will mount to one of the
three leg mount positions on the tripod, facing the desired direction. The tripod
is typically plumbed after the mast has been installed, as described in Section
2.3, Mast.
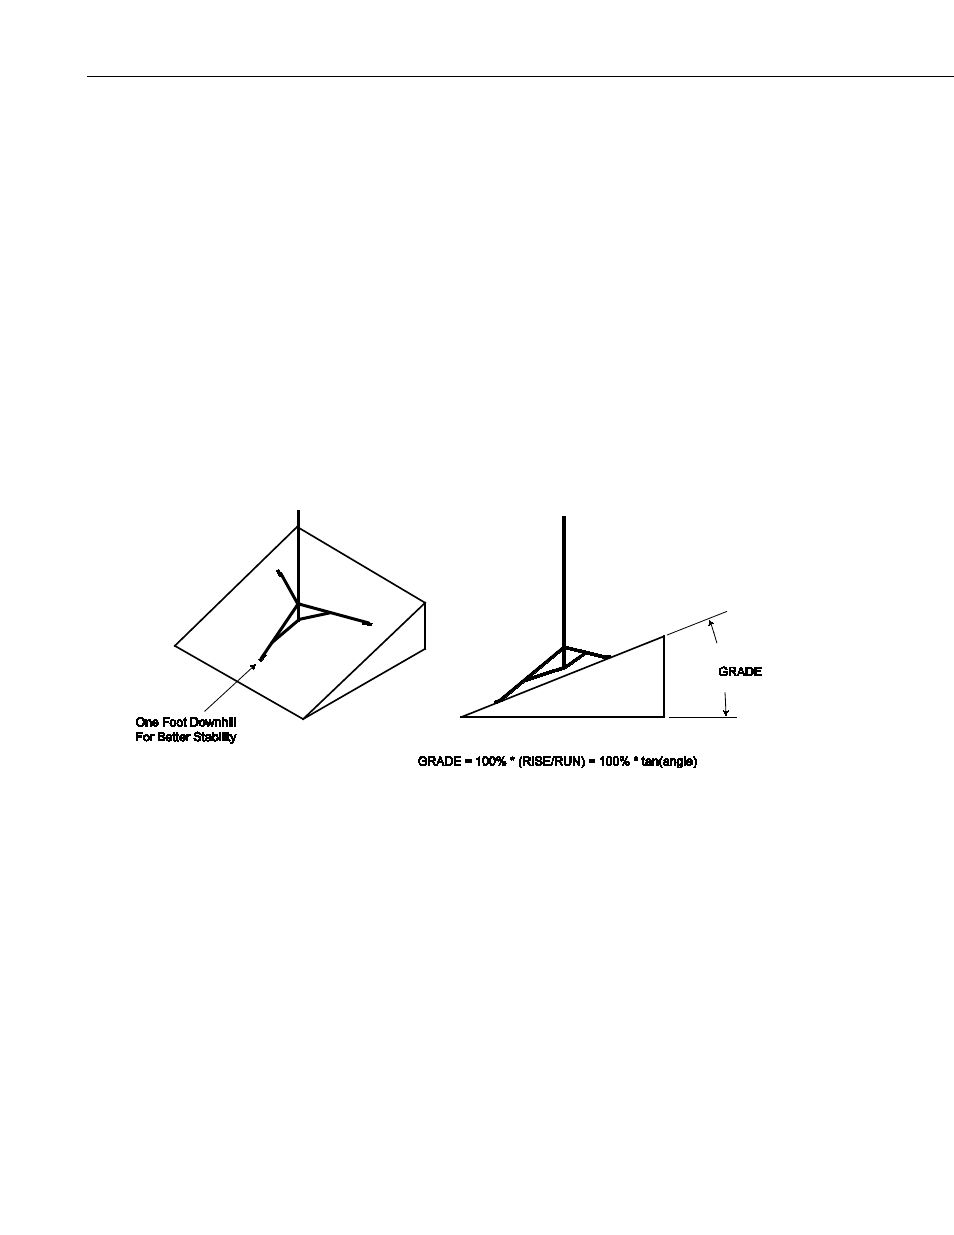
2.2.2 Mounting on an Incline
Loosen the bolts on the clamp brackets. With the legs extended, orient the
tripod so that one leg points downhill and the other two legs point uphill. The
tripod is more stable with only one leg pointed downhill because the mast is
closer to the center of the footprint (see FIGURE 2-2). Tighten the bolts on the
clamp brackets to lock the legs in place.
The tripod is typically plumbed after the mast has been installed, as described
in Section 2.3, Mast.
FIGURE 2-2. Tripod with one leg pointing downhill
2.3 Mast
Slide the mast into the tripod base orienting the end with the hole upwards,
making sure that it extends below the lower bolts and rests on the tripod body
tabs. Tighten the six 5/16-18 x 2.25 in. bolts to secure the mast.
Plumb the tripod by adjusting the northeast and south facing legs (use the
downhill leg and one of the uphill legs when the tripod is installed on a slope).
With a level on the East side of the mast, adjust the Northeast leg for plumb.
With the level on the South side of the mast, adjust the South leg for plumb.
Tighten the 5/16 bolt on each clamp bracket after the adjustments have been
made.
6