Overlay/mask settings, Overlay / mask settings – Axis Communications AXIS 225FD User Manual
Page 15
AXIS 225FD - Video and Image Settings
15
Overlay/Mask Settings
Overlay/Mask Type
When using an image overlay, select from the
following options the type to use:
• Uploaded image as overlay - usually used to
provide extra information in the video image.
• Uploaded image as privacy mask - conceals
part of the video image.
• Configurable areas as privacy masks - up to 3
black areas are used to conceal parts of the
video image.
The difference between an overlay and a privacy
mask is that a privacy mask cannot be bypassed
by accessing the video stream with the help of the
AXIS HTTP API, whereas an overlay can.
Selecting the overlay/mask type will display
further settings available for the selected type. See the online help for further information.
Upload and use an overlay/mask
To upload an overlay image/privacy mask to the camera:
1. Select the type of overlay to use in Overlay/Mask Type.
2. In the field Upload own image, click the Browse button and locate the image file on your computer or
server.
3. Click the Upload button and follow the on-screen instructions.
To use an already uploaded image:
1. Select an uploaded image from the Use image drop-down list.
2. Place the image at the required location by entering the x and y coordinates.
3. Click Save.
Overlay image/privacy mask requirements
There are a number of limitations when using overlay images and privacy masks, such as the size and
positioning of images/masks. Please refer to the online help for more information.
Image Formats
Image Size
•
Windows 24-bit BMP (full color)
•
Windows 4-bit BMP (16 colors)
The height and width of the overlay image in
pixels must be exactly divisible by 4.
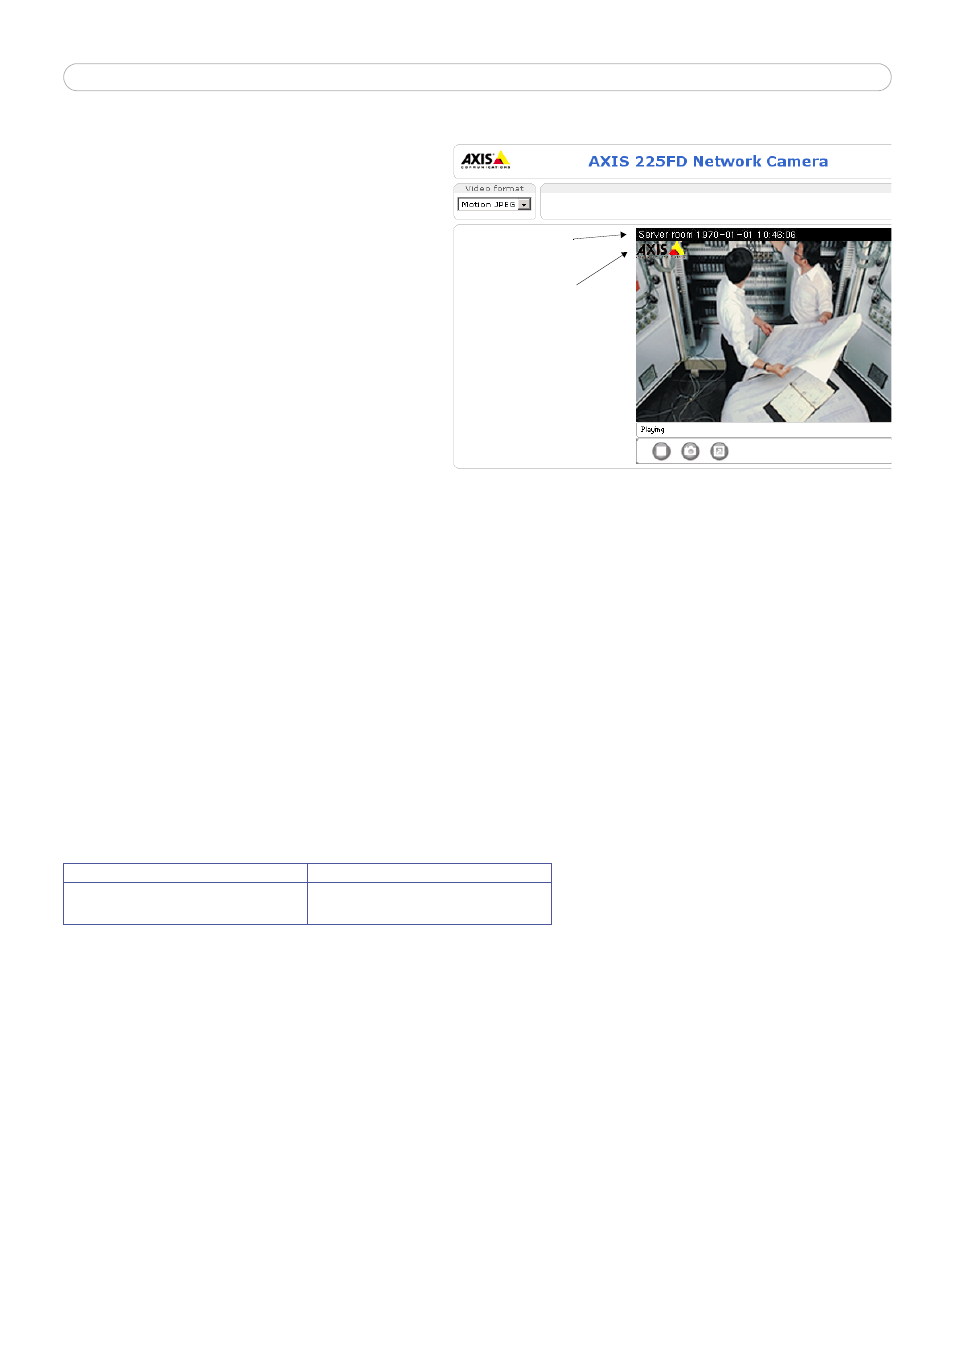
Overlay image
Text, date and
time overlays