How to create a naturalistic terrarium, Materials required, Tools needed – Zoo Med NT-1-4_Naturalistic_Terrariums User Manual
Page 3: Construction, Background
HOW TO CREATE A
NATURALISTIC TERRARIUM
The following example illustrates one method of setting up a naturalistic terrarium. You can
follow this example, or design your own unique habitat. With the proper tools, materials, and
animals, setting up your terrarium will be fun and rewarding. Be sure that your set up will pro-
vide the correct habitat for your particular species of reptiles, amphibians, and plants. Consult
a good book to learn about the requirements of a particular species.
MATERIALS REQUIRED:
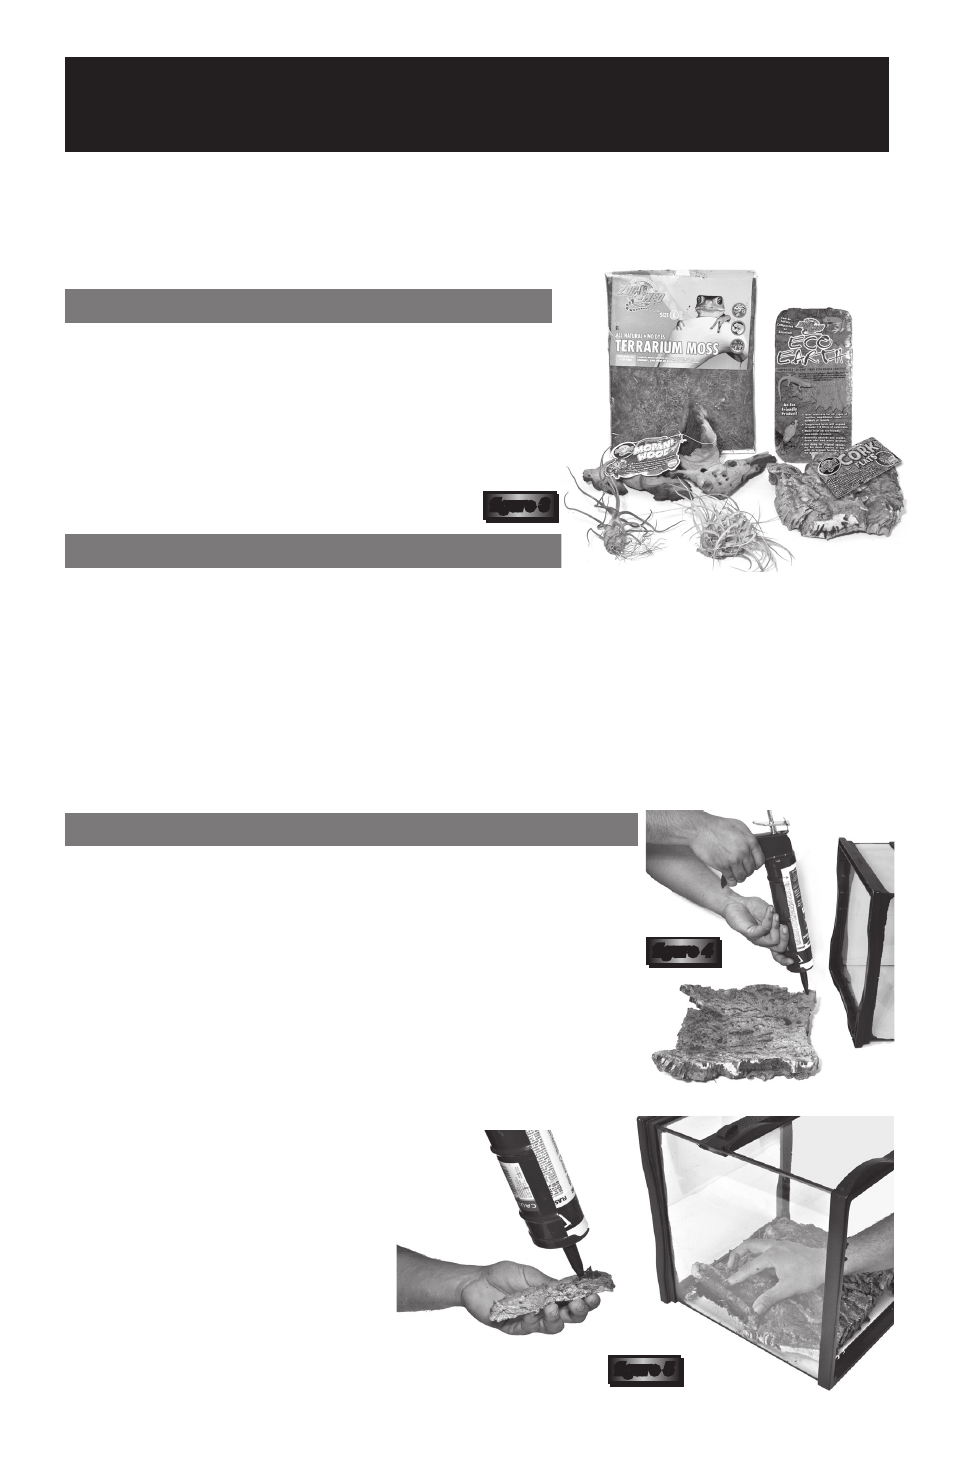
The following natural
Zoo Med
products were used
to create this set-up:
Zoo Med’s Natural Cork
Flats, Zoo Med’s Mopani Wood, Zoo Med’s Eco
Earth,
and
Zoo Med’s Terrarium Moss
(figure 3).
In addition, live plants, live moss, and jungle vines were
used and can be added as desired.
TOOLS NEEDED:
The following tools were used to construct this habitat:
• Silicon and silicon gun: Use silicon that is not toxic after it has dried. Aquarium silicon is a
good choice. Be sure to follow the manufacturer’s directions and give the silicon plenty of
time to dry before placing animals in the terrarium. Do not use silicon with mildew inhibi-
tors as this can be harmful to terrarium inhabitants.
• Hack saw (to be used only by adults!): A hack saw was used to cut the cork bark to fit as
a background in the terrarium, and to cut the vine to length.
• Phillips Screwdriver: Used to puncture holes in the cork for inserting plants.
• Stainless steel wire (optional): Used to secure plants to the cork background.
CONSTRUCTION:
BACKGROUND:
Select one or more pieces of
Zoo Med’s Natural Cork Flats
to use as your terrarium background. Large pieces can be cut to
fit inside your terrarium, or use several small pieces and fit them
together. Test fit the cork bark before using silicon to adhere to
the glass. Brush the cork to remove loose debris, or rinse with
water and allow it to dry before installing. Remove the screen
cover of the terrarium and lay the terrarium on its back. Apply sili-
con to portions of the cork that will contact the glass (figure 4).
Cut or break small pieces of cork to fill any holes and to cover the
entire back wall (figure 5).
Apply silicon to any remaining small
open spaces and apply dry, loose
Eco Earth
to the silicon while it is
still wet (figure 6).
Be sure that there are no open
spaces that will allow terrarium ani-
mals to climb behind the cork. Leave
the terrarium on its back while the
silicon dries, allowing sufficient time
for the silicon to dry according to
the manufacturer’s instructions. Your
background is now complete!
3
fi gure 4
fi gure 2
fi gure 3
fi gure 4
fi gure 4
fi gure 4
fi gure 4
fi gure 5
fi gure 5