Dee Zee DZ760611 User Manual
Page 2
REAR LADDER
07-10 FJ CRUISER
Page 1 of 4
5/21/07 (AM)
PARTS LIST:
1 Step Ladder
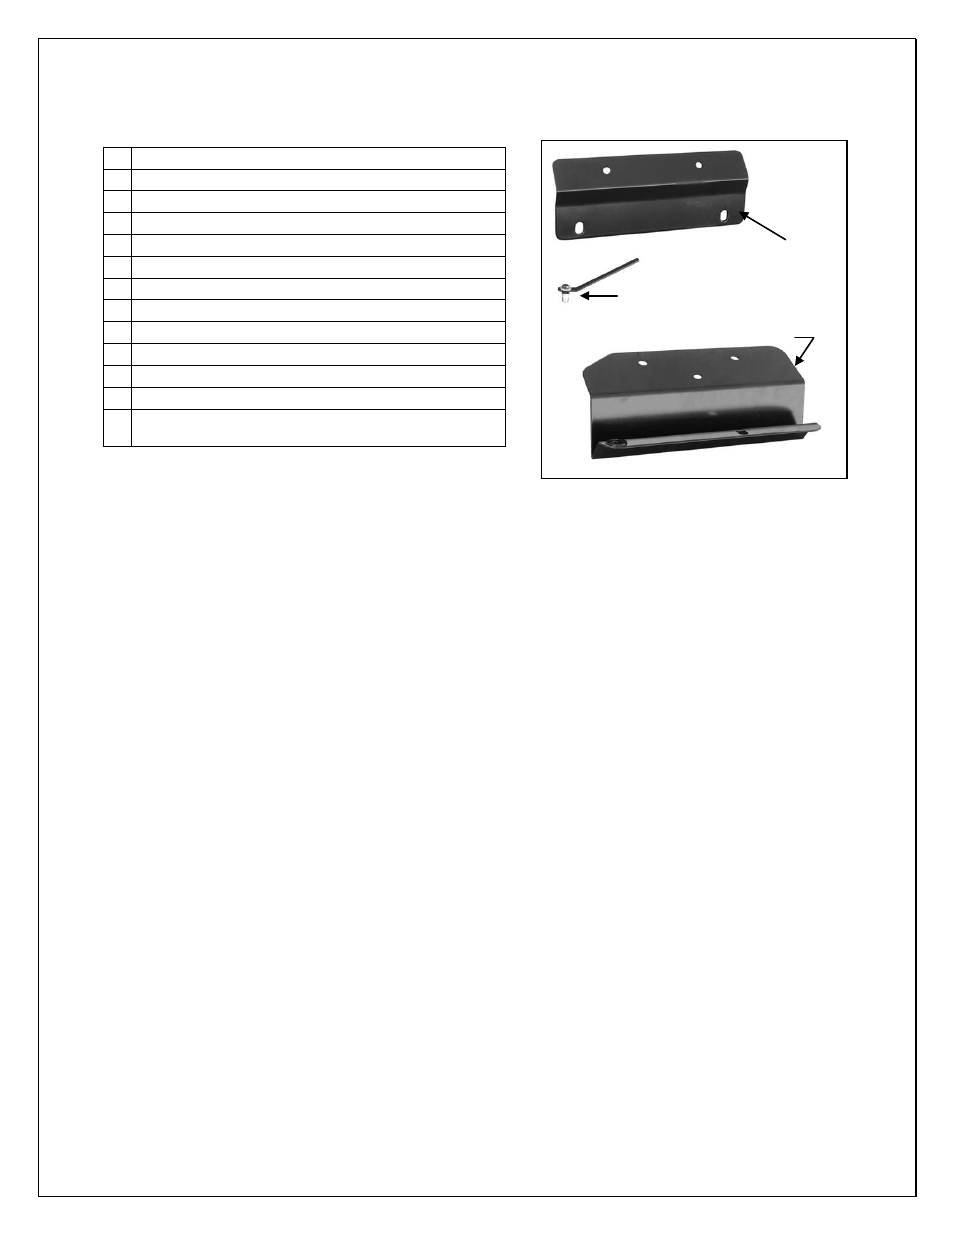
1 Lower Mounting Bracket
1 Upper Mounting Bracket
4 6mm Metal Inserts
1 6mm Insert Tool
4 6-1.00mm x 20mm Hex Bolts
4 6mm Lock Washers
4 6mm ID x 22mm OD x 2mm Flat Washers
5 8-1.25mm x 20mm Hex Bolts
5 8mm Lock Washers
5 8mm Hex Nuts
10 8mm ID x 16mm OD x 1.6mm Flat Washers
2
2.0mm x 278mm x 140mm Adhesive Backed Foam
Tape
PROCEDURE:
1. REMOVE CONTENTS FROM BOX. VERIFY ALL PARTS ARE PRESENT. READ
INSTRUCTIONS CAREFULLY BEFORE STARTING INSTALLATION. DRILLING IS
REQUIRED.
2. Select the lower Mounting Bracket. Apply the adhesive backed Foam Tape to the back side of
the Lower Mounting Bracket, (surface that will be in contact with the door), to prevent the
Mounting Bracket from scratching the finish on the vehicle.
3. Open the rear door of the vehicle and position the lower Mounting Bracket onto the bottom
corner of the driver's side of the rear door, (Figure 1). The lower Mounting Bracket should be
about 2-3/4” back from the corner on the rear door, (Figure 2).
4. Using the holes on the Lower Mounting Bracket as a template, hold the Bracket in place and
mark the drill location onto the vehicle, (Figure 2). Remove the lower Mounting Bracket and
set aside. Drill the marked locations using a 25/64” drill bit. IMPORTANT! Any cutting or drilling
tool may break or shatter. Government regulations require safety glasses & equipment at all
times when cutting or drilling.
5. Assemble the Metal Insert Tool assembly as shown in Figure 3. Hold the handle and push the
insert into the drilled hole until the lip on the insert is tight against the surface on the door.
NOTE: Insert should fit snug into drilled hole for proper installation. Hold the tool and Insert
firmly against the body and tighten the Hex Bolt in the Insert. Continue to tighten the Hex Bolt
until the Metal Insert is fully collapsed and locked in place, (threads will be pulled to the top),
(Figure 4). Once the Metal Insert is properly installed, remove the Hex Bolt and Tool from the
Metal Insert. Repeat this step for second insert installation, (Figure 5).
6. Bolt the Lower Mounting Bracket to the bottom of the door with the included (2) 6mm x 20mm
Hex Bolts, (2) 6mm Lock Washers and (2) 6mm Flat Washers (Figure 6). Tighten hardware at
this time.
7. Select the Upper Mounting Bracket. Apply (1) Adhesive Backed Foam Tape to the back/inner
side of the Upper Mounting Bracket, (surface that will be in contact with the door), to prevent
scratching the finish on the vehicle. Trim away excess Foam Tape.
Upper Mounting Bracket
Lower Mounting Bracket
6mm Insert Tool pictured
with Insert and hardware