Flaming River Dual Adjustable Shocks User Manual
Page 9
7.
Reassemble the lower a-arm and the spindle.
Torque the spindle nut to factory specifications and
insert the cotter pin.
8.
Reattach the wheels and verify everything has
been torqued to the specifications defined by the ve-
hicle’s manufacturer.
9.
Carefully place the car on the ground to check
clearances again. Lightly bounce the vehicle at each
corner to verify that there are not any clearance
issues.
10.
Measure the ride height as you did prior to
installation and ensure that there is sufficient travel in
both directions. Ideally, 60% of the shock stroke will
be available for compression. INCORRECT RIDE HEIGHT
COULD RESULT IN DAMAGE TO THE SHOCK THAT IS NOT
COVERED UNDER WARRANTY.
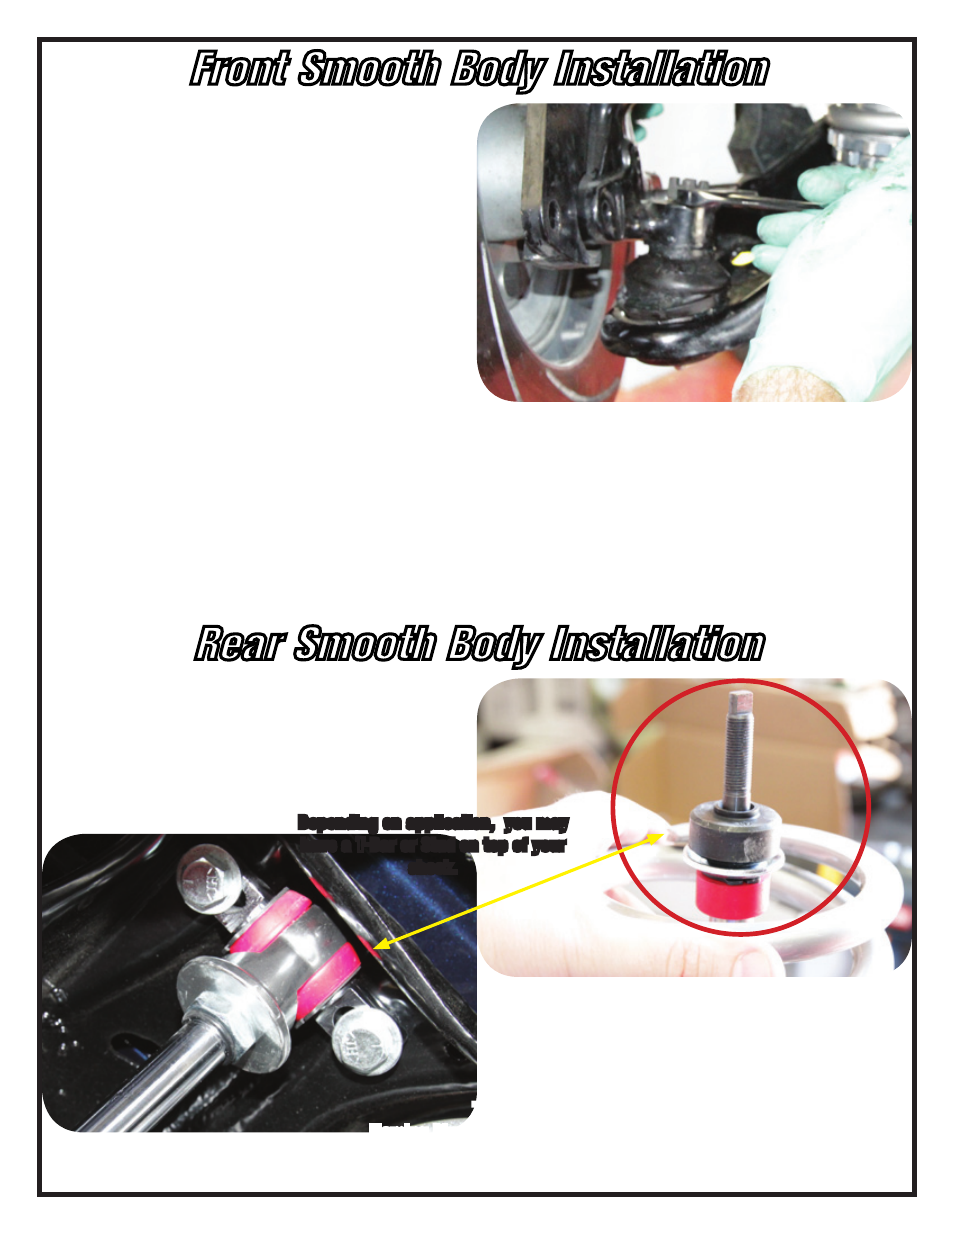
Front Smooth Body Installation
Rear Smooth Body Installation
1.
If applicable, install one stud washer and one
bushing (half of the shock stud bushing pack) onto the
stud on the upper mount.
2.
Mount the upper portion of the shock.
Depending on application, you may
have a T-Bar or Stud on top of your
shock.
7
Flaming River Industries,Inc.
800 Poertner Dr. Berea, Ohio 44017
1-800-648-8022 • www.flamingriver.com